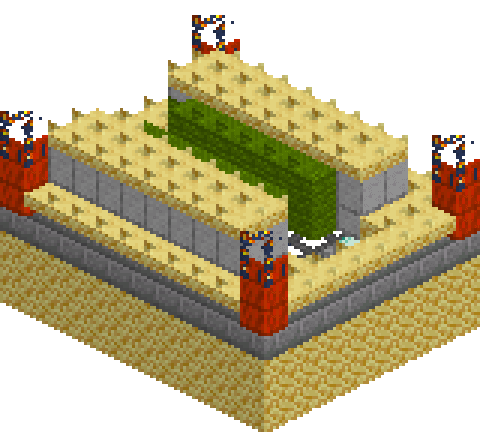
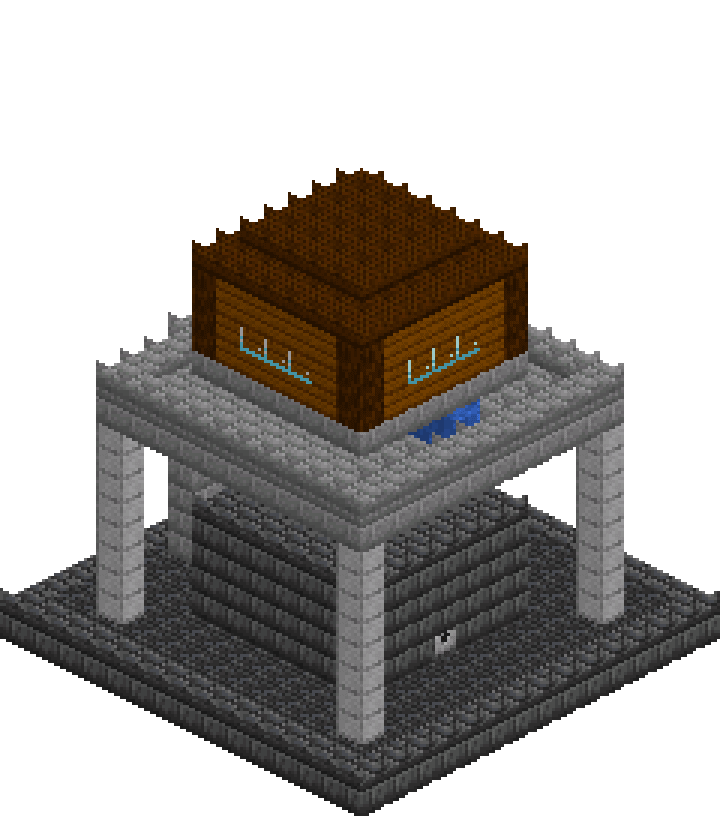
How to build the Melon and Pumpkin Farm in Minecraft
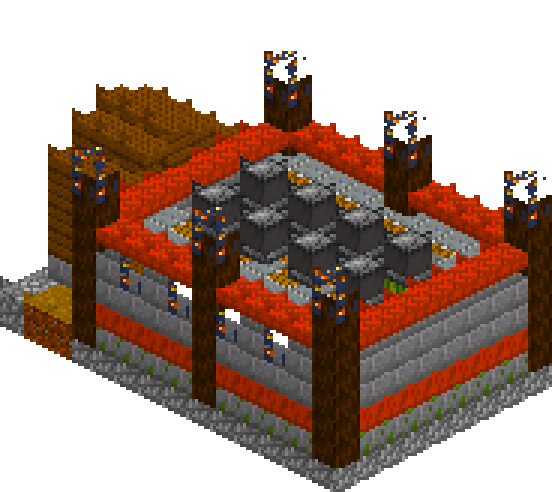
A melon row and a pumpkin row face each other across a single water trench, and everything between them is machine. Stems sit on farmland, fruit is only allowed to form on the coarse dirt block beside each stem, an observer watching the stem fires the piston opposite, and a piston pushing into a melon or a pumpkin breaks it outright. The drop is swept off the soil into the trench, sinks, and the hopper line buried under the water walks it west into the chest in the lean-to. Ten stems, eight fruit spots, two buckets of water, and no sticky pistons anywhere.
What you need
| Block | Count |
|---|---|
| Stone bricks | 225 |
| Cobblestone | 116 |
| Spruce planks | 49 |
| Spruce log | 36 |
| Cut copper slab | 30 |
| Polished andesite | 28 |
| Mossy stone bricks | 23 |
| Cut copper | 23 |
| Lantern | 15 |
| Spruce planks slab | 12 |
| Hopper | 11 |
| Farmland | 10 |
| Water | 10 |
| Coarse dirt | 8 |
| Piston | 8 |
| Observer | 8 |
| Pumpkin | 5 |
| Melon | 5 |
| Dirt path | 4 |
| Glass | 4 |
| Composter | 1 |
| Crafting table | 1 |
| Dropper | 1 |
Counts are exact for the model above. Mine a little spare — nobody places every block first time.
Building it
Each stage names the layers it covers. Drag the slider on the model to that layer and you are looking at exactly what the stage describes.
1.Footing and the storage lean-to
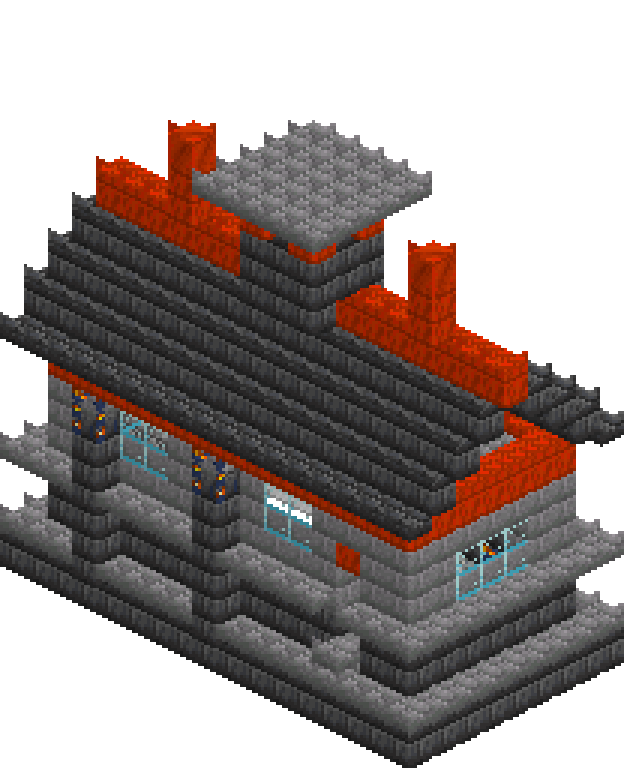
Lay a cobblestone raft over the whole 14 by 9 footprint — it keeps the machine dead level and gives the build a plinth to sit on. The lean-to fills x0 to x2 between z2 and z6: a stone brick base course, spruce plank walls above it, then hollow out x1 to x2 from z3 to z5 so the room is three blocks tall inside. Punch a two-high doorway through the west wall at [0,1,4] and floor the room in spruce. The double chest goes at [2,1,4] and [2,1,5] — chests are not full cubes, so the model leaves those two cells open. A composter and a crafting table take the far corner; you will want somewhere to turn spare melon slices back into seeds.
2.The raised bed and the hopper line
Fill x3 to x13, z0 to z8, y1 to y3 solid with stone bricks. That block of stone is the entire substructure: soil goes on top of it, the collection line hides inside it. Now replace the row at y2, z4 from x3 to x12 with hoppers, every one pointing west into the next. The last one at [3,2,4] punches through the partition into a hopper at [2,2,4], which points straight down into the chest. Hoppers feed the container they point into and pull from the block directly above them — and the block above this line is about to become water, which is exactly right, because a hopper will happily grab items drifting in the water sitting on it.
3.Soil, water and the two planting rows
The top of the bed at y3 splits into five lanes. z3 is the melon row and z5 is the pumpkin row: farmland at x4, 6, 8, 10 and 12, coarse dirt at x5, 7, 9 and 11. The farmland carries the stems, the coarse dirt is where fruit is permitted to form, and that alternation is what puts two stems on every fruit spot. Between them, z4 is the trench — water at y3 from x3 to x12, directly over the hoppers. Pour one source at [3,3,4] and one at [12,3,4]; water runs seven blocks from a source, so two of them keep the ten-block trench wet end to end. Every farmland block is one step from water, so nothing ever dries out.
4.Stems in, and the two legal fruit spots
Melon seeds on the farmland of z3, pumpkin seeds on z5, and never mix a row — two kinds of stem fighting over one block wastes the spot. Stems are not full cubes so the model does not draw them; picture them at y4 on top of each farmland block. Then check what each stem can actually reach. North and south of it are the trench, whose floor is water, and the machine spine, which is a solid block — neither is a legal place for fruit. Only the coarse dirt to the left and right qualifies. Two stems share each of those blocks, which roughly halves the wait for a fruit compared with one stem per spot.
5.Observers and pistons, one bank per row
Run polished andesite along z1 and z7 at y4, x4 to x12 — that is the spine the observers push their signal into. Now build the bank at z2: an observer in every stem column (x4, 6, 8, 10, 12) with its face pressed against the stem and its back against the andesite, and a plain piston in every fruit column (x5, 7, 9, 11) with its face against the fruit cell. Mirror the whole thing at z6 for the pumpkin row. Regular pistons, not sticky. Aim the observers at the stems, not at the fruit: a stem changes state the instant it attaches to a new fruit, which is your trigger, whereas an observer staring at the fruit cell also sees the piston arm arrive and loops forever.
6.The redstone cap and where the drop goes
Cap the machine with redstone dust at y5 — one line along the top of the andesite spine and one along the tops of the observers and pistons, side by side so they join. Dust is flat, so it is not drawn in the model; leave y5 above z1, z2, z6 and z7 clear of blocks. When a stem attaches, the observer strongly powers the andesite behind it, the andesite lights the dust above it, and dust powers the block directly beneath it, so every piston under the cap fires at once. A piston pushing into a melon or pumpkin breaks it, and the extending head sweeps the drop off the coarse dirt into the open lane at y4 over the trench, where it falls into the water and the hopper below takes it.
7.Walls, copper trim and lantern light
The long faces get a band of cut copper at y2 so the stone is not one flat sheet, spruce log pilasters at x8, and a course of stone brick at y4 that hides the andesite from outside. Set lanterns into that course at x5, 7, 9 and 11 on both faces: stems need light level 9 or better to grow, and recessed like this every stem sits within four blocks of a light, so the farm keeps ticking through the night. Finish with cut copper slabs at y5 all the way round, spruce log posts at the corners and mid-span, and a lantern on each post. One more lantern under the lean-to ridge lights the chest.
Make it yours
- Keep the lane at y4 over the trench completely clear. Put a slab or a stray block there and the piston head has nowhere to sweep the drop, so it lands back on the coarse dirt and blocks the next fruit from forming.
- The observers pulse every time a stem advances a growth stage, not just when fruit appears, so the pistons click all day whether or not there is anything to break. Harmless, but do not put your bed next door.
- This is not AFK-safe on its own. Stems only grow in loaded chunks, so the farm runs while you are inside simulation distance of it or while a chunk loader covers it — leave the base and it stops dead.
- To make it longer, repeat the farmland-then-coarse-dirt pair along x and add another water source every eight blocks of trench. The hopper line itself can run as far as you like as long as each hopper points into the next one.
- If a stem sits there fully grown and never attaches, check the coarse dirt beside it is bare — a torch, a slab, a lily pad or a leftover melon on that block counts as occupied and the stem will simply wait.
- Melon slices stack far better than melon blocks, which is why breaking the fruit beats pushing it into storage: eight rows of slices fill a lot less of the chest than the same harvest as whole melons.