How to build the Super Smelter Array in Minecraft
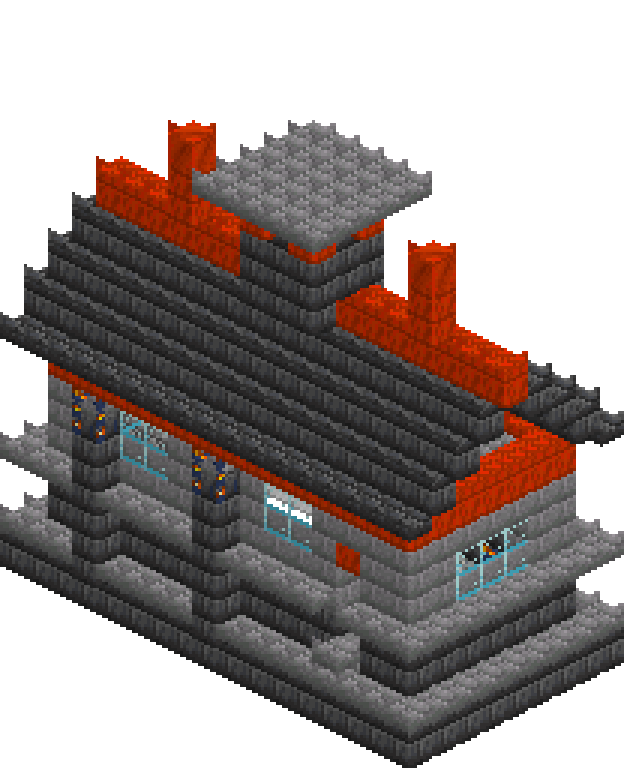
Eight furnaces in a row, fed by two separate hopper ducts — one for ore, one for fuel — and drained by a single output line into a chest bank at the end. A stack of 64 raw iron takes ten minutes and forty seconds in one furnace; across eight it clears in about eighty seconds. The whole machine lives inside a stone brick shed with a copper eaves band, a slab hood and a working chimney, so it reads as part of a base rather than a heap of hoppers on the floor. No redstone, no observers, nothing that breaks between versions — just hoppers pointed the right way and a roof over them.
What you need
| Block | Count |
|---|---|
| Deepslate bricks | 522 |
| Stone bricks slab | 180 |
| Stone bricks | 94 |
| Smooth stone | 67 |
| Cut copper | 66 |
| Hopper | 59 |
| Polished andesite | 52 |
| Glass | 38 |
| Deepslate bricks slab | 34 |
| Dropper | 16 |
| Lantern | 11 |
| Furnace | 8 |
| Copper block | 2 |
| Crafting table | 1 |
| Magma block | 1 |
Counts are exact for the model above. Mine a little spare — nobody places every block first time.
Building it
Each stage names the layers it covers. Drag the slider on the model to that layer and you are looking at exactly what the stage describes.
1.Plinth, shell and the soot course
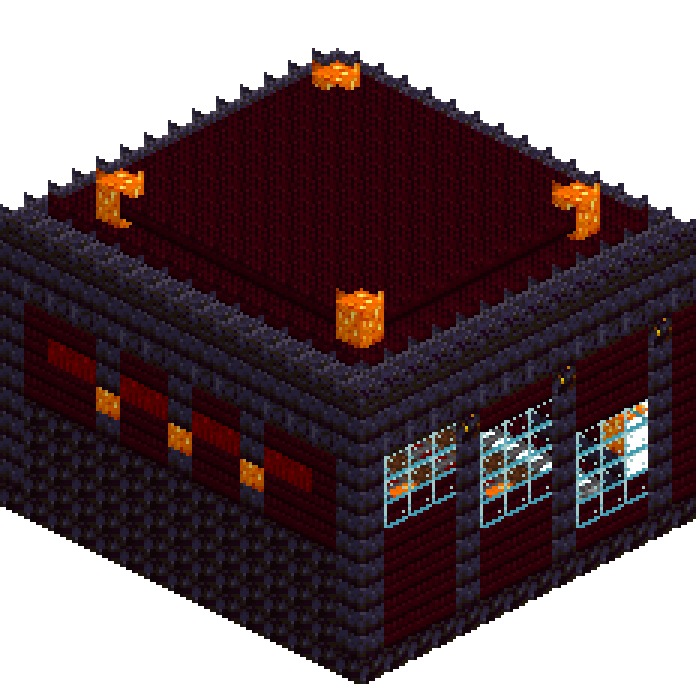
Lay the plinth first: a solid sheet of deepslate bricks across the whole 17 by 9 footprint at y=0, then the base course at y=1 inside the wall line only, so the plinth reads as a step rather than a kerb. Ring that step with stone brick slabs at y=1 on all four sides. The shell goes up as four separate wall boxes rather than one hollow box — a hollow box drops a floor at y=2 and you spend the next five minutes carving it out again. Walls run y=2 to y=8, which leaves six blocks of clear headroom inside once the floor is down. Finish by running deepslate bricks back over the bottom two courses on all four walls. That dark band at boot height is the soot line, and it is the cheapest thing you can do to stop a stone brick box looking like a stone brick box.
2.Ledge, buttresses, windows and doors
A projecting ledge at y=4 does the heavy lifting outside. Run stone brick slabs right round the overhang line — x=0, x=16, z=0 and z=8 — one block clear of the wall, then immediately clear the three slabs at x=7 to 9 on the front, or you have built a shin-height bar across your own doorway. Buttresses next: deepslate bricks at x=3 and x=13 standing off the front face at z=0 from y=1 to y=6 with a lantern on top, and matching pilasters on the wall itself from y=4 to y=8. Glaze the two long front windows at y=5 to 7, one either side of the entrance, plus a window in each gable end and two small ones at the back. The entrance is cleared y=3 to 5 with the wall block at y=2 left in as a threshold and a slab step outside it, so you walk up rather than into it. Cap all four walls at y=8 with cut copper — the only warm colour on the outside, and it ties the chimney to the building.
3.Floor and the output line
Floor the interior in polished andesite, then lay a strip of smooth stone down z=4 and z=5 where the machinery goes — the change of material tells you where to stand before a single hopper is placed. The output line sits flush in that floor at y=2, z=4: nine hoppers running from x=12 down to x=4, every one placed while sneaking and aimed at its neighbour so the whole run points towards the low-x end. The last hopper at x=4 points into the container at x=3. That container and the one beside it at x=2 are a double chest — the renderer has no chest block, so chests are drawn here as droppers, and the three-wide bank above them at y=3 is three more double chests for sorting output by hand. Do not put a hopper underneath any of them unless you want your iron leaving as fast as it arrives.
4.Eight furnaces on a hopper plinth
Smooth stone along z=5 at y=3 makes the plinth the fuel row will sit on. Above the output line, at y=3, z=4, place eight hoppers from x=5 to x=12 pointing straight down — each pulls the finished item out of the furnace above it and drops it into the collection line. The furnaces go at y=4 in those same eight columns, sitting directly on those hoppers. Then the fuel row: eight more hoppers at y=4, z=5, each pointed at the back of the furnace in front of it. A hopper feeding a furnace from the side fills the fuel slot; a hopper feeding from above fills the smelting slot. That distinction is the whole design. Swap them and you will be politely smelting your coal into nothing.
5.Ore duct, fuel duct and the input chests
Two smooth stone columns at x=4 and x=13 carry the ducts. The ore duct is the upper one: eight drop hoppers at y=5, z=4 pointing down into the furnace tops, and above them at y=6 a transfer line of nine hoppers running x=13 back to x=5, all pointing towards low x. Each drop hopper pulls from the transfer hopper directly above it. The fuel duct is the same trick one block back and one down — transfer line at y=5, z=5 feeding the side-entry hoppers at y=4 beneath it. Both runs start under an input chest, ore at x=13, y=7, z=4 and fuel at x=13, y=6, z=5, again drawn as droppers. Cap both runs with smooth stone so nothing can drop in from above and so they read as ducts rather than exposed plumbing. Furnaces nearest the input fill first; once a feed hopper is full, items carry on down the line to the next one.
6.Hood, lanterns and the work corner
A slab canopy at y=8 over the middle of the row, five by three, with one block knocked out at x=8, z=4 for the flue. It gives the machine a hood and gives the chimney somewhere to start. Light the room properly: lanterns on top of both duct columns at y=8, three more standing on the fuel duct cover at y=7, and two on the floor at the ends of the aisle. Lighting here is not doing spawn control — this is not a mob farm — it is stopping things spawning inside your own machine room, which is a different and considerably more irritating problem. A crafting table in the back corner finishes the working end.
7.The gable roof
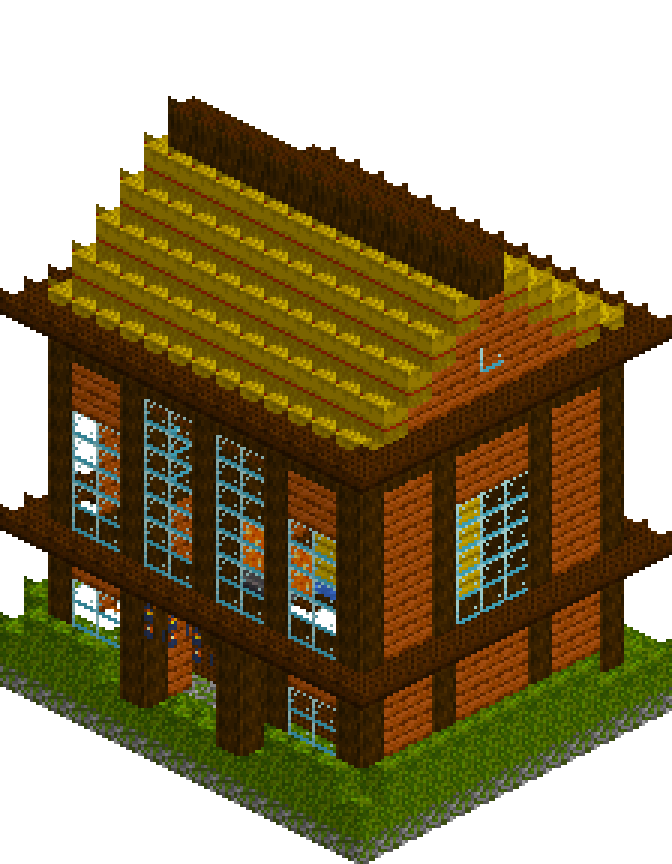
Gable the roof across the depth in deepslate bricks, from y=9 up to y=13. Nine blocks of span rises four levels, which is why the roof tops out at 13 and not at a number you have to guess at on the day. It overhangs the walls by one block on every side and lands over the ledge line, so the eaves have something to sit above. Thin the bottom edge with deepslate brick slabs along z=0 and z=8 at y=9 — a slab eave stops the roof reading as one solid wedge. Then run cut copper along the ridge at y=13, z=4. One line of it, and the whole roof stops being grey.
8.Chimney, cowl and copper vents
Punch the flue through at x=8, z=4 from y=9 to y=13, then build the shaft as four separate walls rather than a hollow box, or you will cap your own chimney at both ends. Deepslate bricks, x=7 to 9 and z=3 to 5, y=10 to 15, centre left open all the way up. A magma block at y=14 sits in the throat and glows out of the top — purely decorative, and worth remembering before you climb in after a stray item. Four cut copper posts at y=16 on the shaft corners carry a slab cowl at y=17, floating clear so the glow escapes sideways. Finish with two small copper vent stacks straddling the ridge at x=3 and x=13, three blocks of cut copper each with a copper block cap.
Make it yours
- Never put lava buckets in the fuel chest. A hopper-fed furnace hands the empty bucket straight back into the fuel slot, where it jams the feed until you clear it by hand. Coal, charcoal or blocks of coal only.
- Blocks of coal are the right fuel for this build: one burns for 800 seconds and smelts 80 items, so a single stack in the fuel chest keeps all eight furnaces fed for hours without you touching anything.
- Hopper-drained furnaces hoard their stored experience rather than paying it out. If you want the levels, open a furnace occasionally and pull a few items out by hand before the output hopper gets to them.
- The array only runs while its chunk is loaded, so this is not a leave-it-overnight machine. Put it inside your main base where you already spend time, or on a chunk loader if your server has one.
- Test the whole thing with a stack of cobblestone before you commit any ore. If cobble never reaches the output chest, one of the two feed ducts is pointing at the wrong block and you have lost nothing.
- Sneak-place every hopper while aiming at the block you want it to feed into. Hoppers face whatever you click, and a single one turned the wrong way will silently swallow ore for a week before you notice.