How to build the Mob Grinder Tower in Minecraft
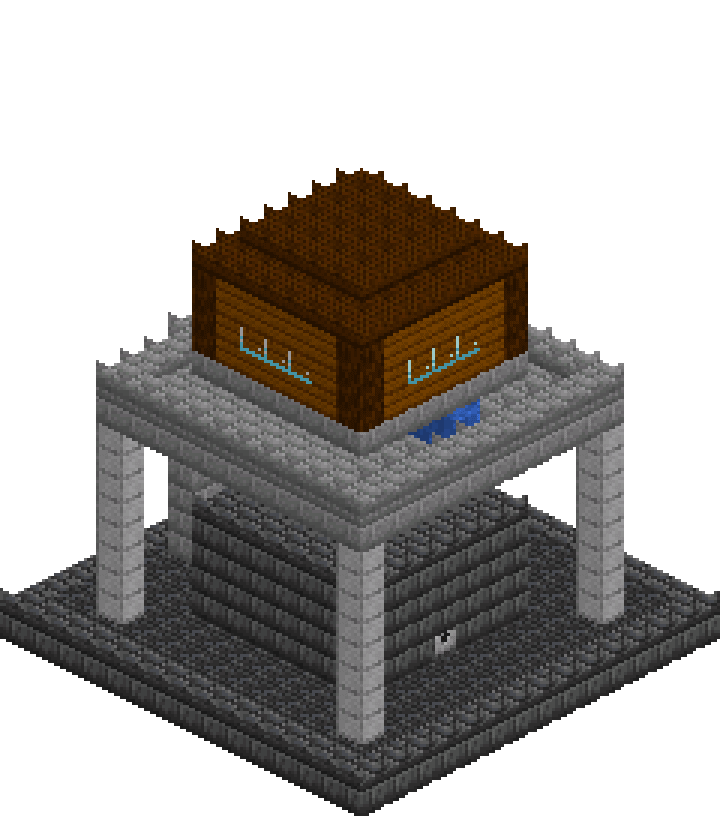
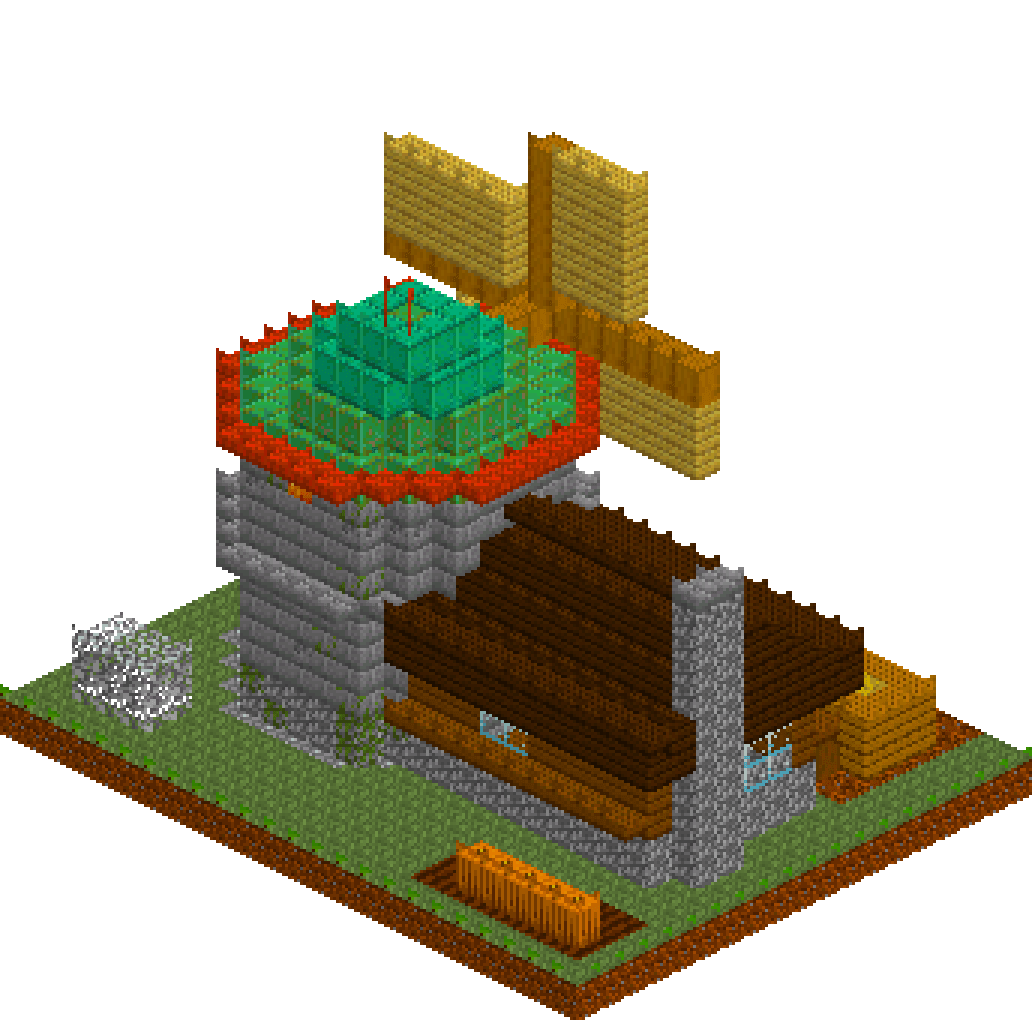
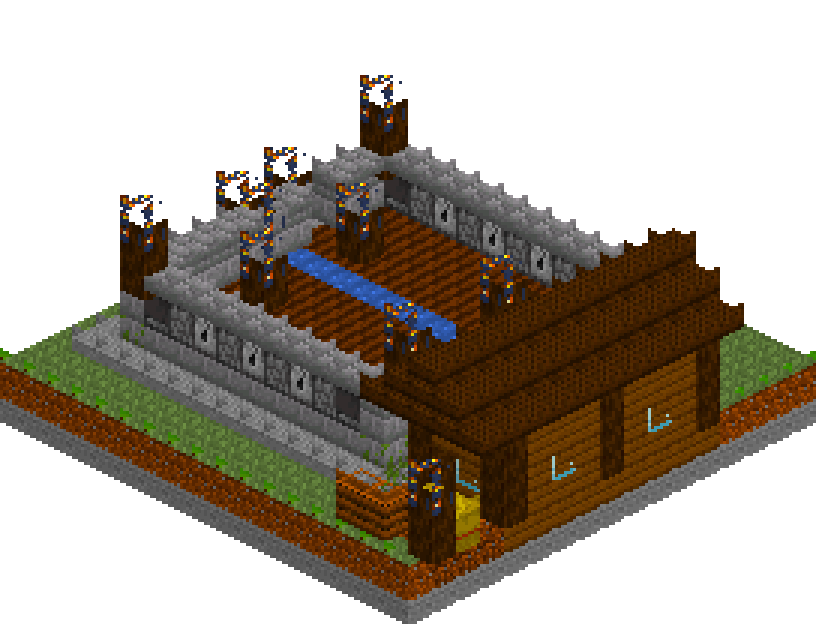
A stone tower on four legs with a pitch-dark 18x18 spawn floor at the top, water channels that sweep everything into a central 2x2 shaft, and a 19.5-block drop onto a slab-topped hopper pad wired straight to a chest. Every zombie, skeleton and creeper that spawns up there arrives at the bottom on two hearts, so one hit from a stone sword finishes it and you collect the experience as well as the loot. Bones, arrows, gunpowder, string and rotten flesh, all from one build and eight buckets of water.
What you need
| Block | Count |
|---|---|
| Stone bricks | 1036 |
| Stone bricks slab | 732 |
| Deepslate bricks | 334 |
| Deepslate bricks slab | 56 |
| Water | 8 |
| Hopper | 6 |
| Dropper | 2 |
| Lantern | 2 |
Counts are exact for the model above. Mine a little spare — nobody places every block first time.
Building it
Each stage names the layers it covers. Drag the slider on the model to that layer and you are looking at exactly what the stage describes.
1.Collection room and the hopper line
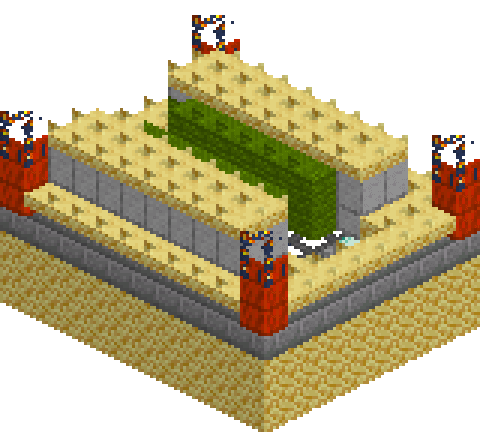
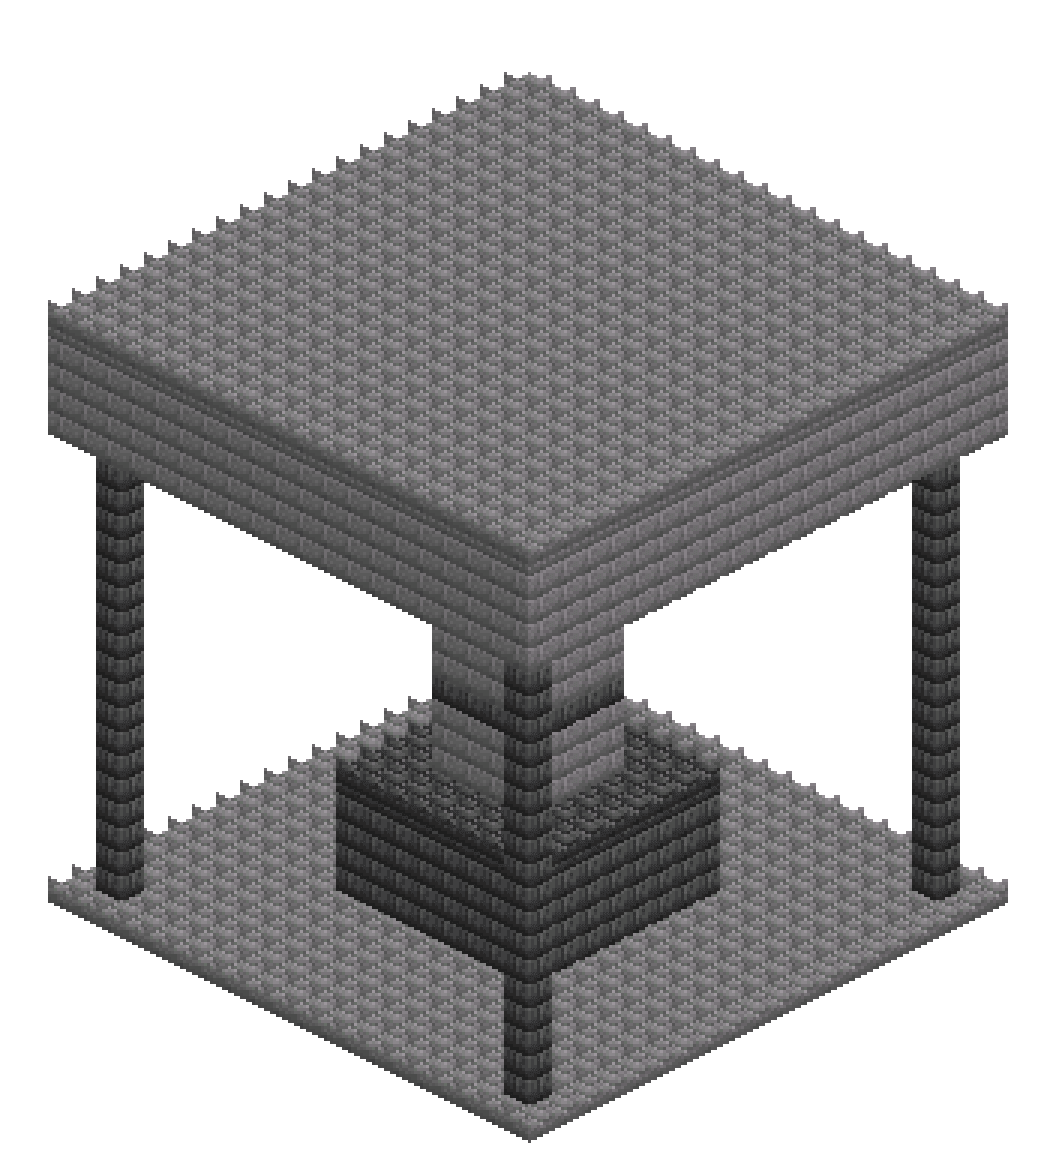
Lay a 20x20 apron of stone brick slabs at y=0 first: the tower's shadow keeps that ground dark, and anything spawning down there is a mob that did not spawn upstairs. Then shell an 8x8 deepslate room, and inside it raise a 4x4 wall ring at x10-13, z10-13, three blocks high up to the ceiling, with the middle hollowed out. That 2x2 pit is the landing zone. Its floor and the two blocks north of it are hoppers, all facing north: [12,0,12] into [12,0,11] into [12,0,10] into the double chest at [11,0,9] and [12,0,9]. Cap the four pit hoppers with deepslate brick bottom slabs, [11,1,11] to [12,1,12]. Mobs land on the slabs, and a hopper still pulls in any item lying in the block above it, slab or not. For the kill window, put two more bottom slabs at [10,1,11] and [10,1,12] in place of full wall blocks. Their tops are level with the slabs in the pit, so the half-block slit above them opens right at the mobs' feet. It is too low for anything to walk out, where an open one-block gap would let baby zombies, which are under a block tall, straight into the room. And because it is flush with the pit floor, experience orbs slide out through it to you: an orb is half a block tall and cannot climb, so a slit that started above the floor would leave every orb stuck in the pit. Then make the floor in front of the window, [9,0,11] and [9,0,12], bottom slabs too, so you stand half a block lower. From the full floor your eyes are too high to see into the pit. From those two slabs, stand back against the outer wall and you look down through the slit at the mobs' feet, while nothing in the pit can see you, so no creeper lights its fuse. Step up to the window and crouch, and your eyes drop level with the slit, which brings the whole pit into reach. Baby zombies and spiders can see you then, but they cannot reach across a wall a full block thick. Two lanterns keep the room itself lit and unspawnable.
2.Legs, shaft and the slab cap
Cap the collection room with deepslate slabs at y=5. That roof is otherwise a flat, dark 8x8 platform that would spawn mobs you never collect, and slabs refuse to host a spawn. Four corner legs climb from the apron to y=19 at (3,3), (20,3), (3,20) and (20,20), but the real load-bearer is the 4x4 stone brick column at x10-13, z10-13. Its 2x2 core is cut out in a single pass later, from y=4 all the way to y=21, so the shaft is one clean chimney from the platform straight down onto the pit slabs. Deepslate bands at y=9 and y=14 break up the stack.
3.Spawn floor and water channels
Two solid 20x20 layers, at y=20 and y=21, make the platform. Cut a two-wide trench out of the upper layer along z=11-12 and along x=11-12, right across. The trench floor is the y=20 layer and the untouched pad blocks are its walls, so the water cannot spill onto the spawn floor. What is left is four 8x8 dry pads: 256 spawn tiles at light zero. Flood the trenches last, with sources at the four outer ends only, [3,21,11-12], [20,21,11-12], [11-12,21,3] and [11-12,21,20]. Each source pushes exactly seven blocks and stops on the lip of the shaft.
4.Walls, roof and darkness
A one-block wall at x=2, x=21, z=2 and z=21 rises to y=23 so nothing wanders off the edge, and the whole lid is stone brick bottom slabs at y=24. The slabs do two jobs: they seal the platform in permanent darkness so it spawns by day as well as by night, and nothing can spawn on the roof of the farm to eat into your mob cap. The gap between pad and roof is exactly two blocks, which is enough for zombies, skeletons, creepers and spiders and one block short of an enderman. That is deliberate.
5.Switching it on
Mobs spawn on the dark pads, blunder into a channel and get shoved over the lip. They fall 19.5 blocks, from the trench floor to the slabs in the pit. That costs sixteen points of damage, so a ten-heart mob lands on two hearts and dies to one swing of a stone sword or better, taken through the slit from the slabs at [9,0,11] and [9,0,12]. Its experience slides out through the slit to you. Its drops fall on the pit slabs, where the hoppers underneath pull them through and pass them north into the chest; the odd one skids into the slit instead, and you pick it up when you step up to the wall. Nothing spawns within 24 blocks of a player and the pads are only 21 blocks above the kill-room floor, so the farm all but stops while you stand at the slit. Wait underneath it instead: dig straight down through the apron at [7,0,13], just outside the door, until you are standing four blocks below the room floor, and put a ladder in the shaft. From the bottom every pad is 25 to 30 blocks away, far enough to spawn and near enough that the mobs keep wandering into the channels. This is not a hands-off farm: it needs you nearby to keep the chunks loaded, and you do the killing.
6.Trace the item path
Follow one bone from spawn to chest before you call it finished. Pad at y=22, into the trench at y=21, along the flow to the edge of the shaft, down the open 2x2 column through y=20, past y=4 and into the pit, dead on the slab at [11,1,11]. The hopper under it, [11,0,11], faces north into [11,0,10], which faces north into the chest at [11,0,9]. If any block in that column is still solid, or a single hopper points the wrong way, the mobs pile up or the loot sits on the slabs.
Make it yours
- Count the channel out loud: one source block, then exactly seven flowing blocks to the lip of the shaft. Flowing water at level seven cannot spread again, so it stops dead at the edge instead of pouring down the shaft and cushioning the fall, yet it still shoves anything standing in it over the drop.
- Never wait in the kill room. Hostile mobs will not spawn within 24 blocks of you and the pads are only 21 blocks above its floor, so standing at the slit leaves only the far edge of the platform spawning. Walking off along the ground is no better: mobs more than 32 blocks from you stop wandering, and twenty blocks out from the door puts half the platform past that. Wait at the foot of the shaft outside the door, four blocks below the floor, where every pad sits between those two limits, then climb back up to swing.
- The fall is 19.5 blocks, measured from the trench floor to the slabs in the pit. Fall damage is the distance minus three, rounded down, so that is 16 damage and leaves a zombie on two hearts. One hit from a stone sword or better finishes it and you keep the experience; a wooden sword leaves a zombie on a sliver of health, because its 2 points of armour soak up part of the blow. If you would rather mobs died on landing, sink the collection room four blocks deeper when you build it for real: 23.5 blocks of fall deals 20 damage, which kills a 20-health mob outright, while three blocks deeper leaves it on half a heart. A mob the fall kills drops its loot but no experience.
- Light and slab everything around the base. The tower throws a permanently dark 20x20 shadow, and any cave mouth within 128 blocks competes for the same mob cap. Lanterns belong in the collection room only, never in the shaft, or the light creeps up the chimney and thins out your spawns.
- The two droppers at [11,0,9] and [12,0,9] are standing in for a double chest, because this block palette has no chest model. Hoppers and water are drawn as full cubes as well: place real hoppers, facing north, and real water source blocks at those coordinates.