How to build the Automatic Wheat Farm in Minecraft
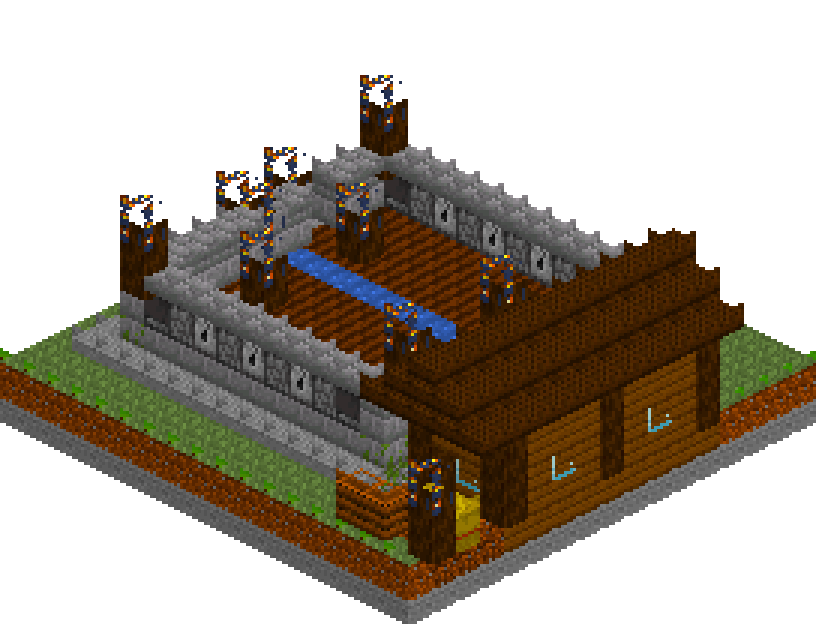
Every world reaches the point where hand-cutting a wheat field stops being charming. This is the fix, and nothing in it needs the Nether except the optional observer: a nine-by-nine bed with a water channel down the middle, a hopper spine running underneath it, and a row of nine water-bucket dispensers set into the lip on each side. One button press floods the field, the water breaks every stalk and carries the drops into the channel, and a second press pulls the water back so the hoppers can post the harvest through the wall into the barn. Seventy-two tiles cut in a few seconds, from a build with no slime and no observers in the firing line. Most of the bill is iron and string: 114 ingots for the eighteen buckets and twelve hoppers, and 54 string for the eighteen bows the dispensers are made from.
What you need
| Block | Count |
|---|---|
| Stone | 290 |
| Dirt | 193 |
| Dark oak planks slab | 99 |
| Grass block | 83 |
| Farmland | 72 |
| Spruce planks | 59 |
| Stone bricks | 57 |
| Dirt path | 37 |
| Cobblestone | 35 |
| Stone slab | 34 |
| Spruce log | 21 |
| Dispenser | 18 |
| Coarse dirt | 12 |
| Hopper | 12 |
| Water | 9 |
| Hay block | 8 |
| Dropper | 6 |
| Glass | 5 |
| Lantern | 5 |
| Mossy cobblestone | 4 |
| Composter | 4 |
| Mossy stone bricks | 4 |
| Crafting table | 1 |
| Furnace | 1 |
| Note block | 1 |
| Observer | 1 |
Counts are exact for the model above. Mine a little spare — nobody places every block first time.
Building it
Each stage names the layers it covers. Drag the slider on the model to that layer and you are looking at exactly what the stage describes.
1.Groundworks and the terrace
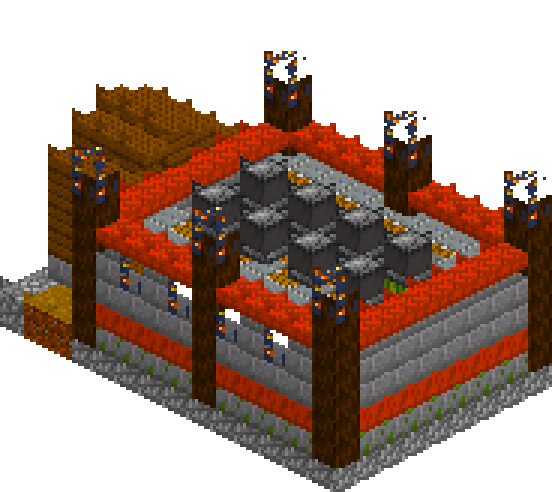
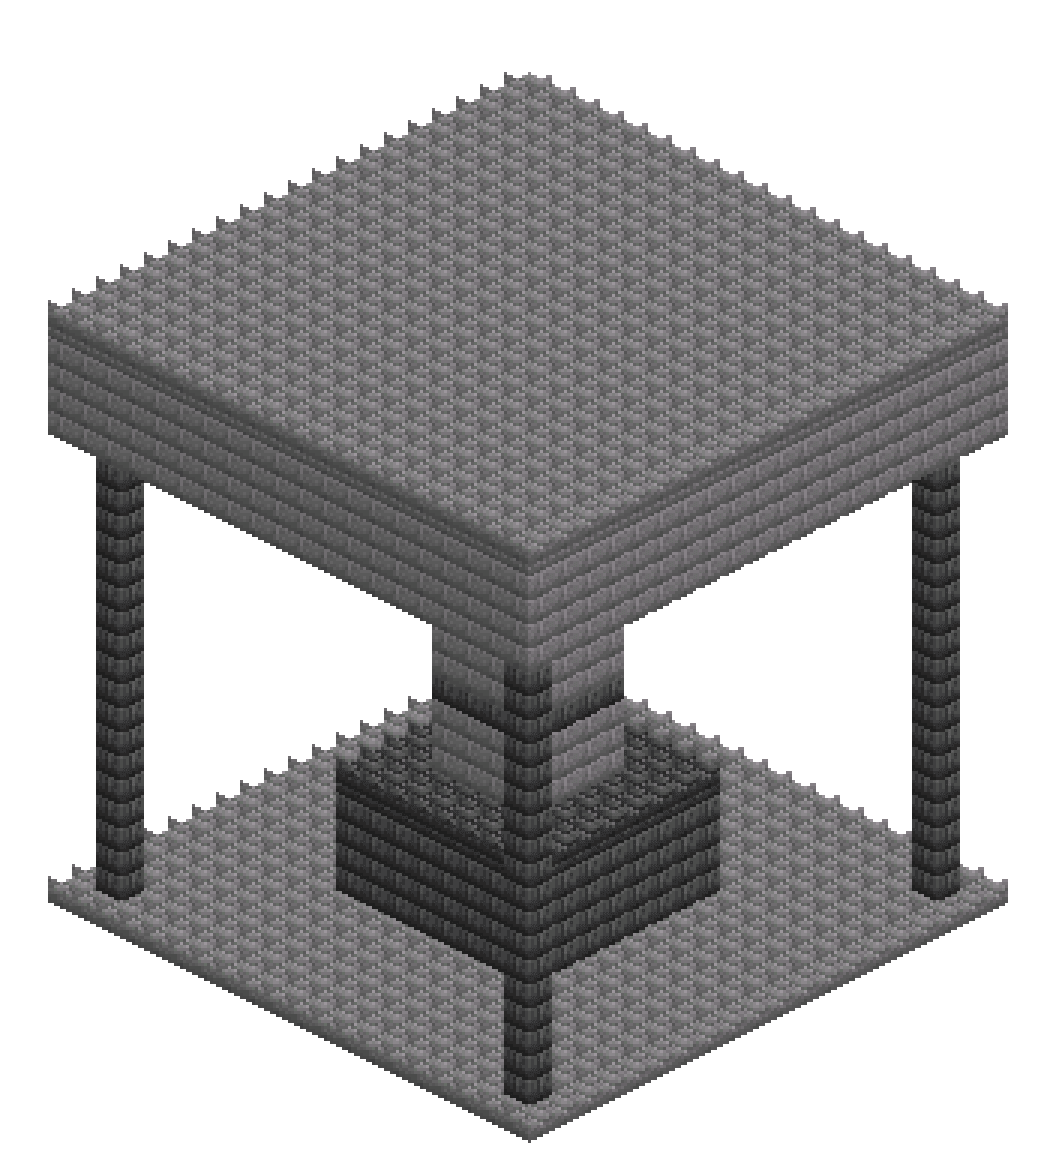
Flatten a 17 by 17 patch and lay stone at y=0. You build on top of it, so it only has to be solid. Cap it with grass at y=1, then stamp a dirt path ring from [1,1,2] to [13,1,14]; that ring is the walkway round the bed, and it keeps your feet off the crop. Put dirt back inside it at [2,1,3] to [12,1,13] — that is the underside of the farm bed and never shows. Plank the barn floor at [13,1,4] to [16,1,12], and lay a patch of coarse dirt south of it at [13,1,13] to [16,1,15] for the compost yard. Finish by laying stone slabs over the west, front and back runs of the path at y=2, with one full stone block at [1,2,8] as the step up to the stile. Half a block of shadow is the difference between a terrace and a flat grey sheet.
2.Base course and the hopper spine
Ring the bed in cobblestone: [2,2,3] to [12,2,3], the same at z=13, and the two sides at x=2 and x=12. Cobble at the bottom with stone brick above is the cheapest way to make a wall look built rather than pasted on. Fill the inside with dirt, [3,2,4] to [11,2,12]. Now the row that matters: hoppers from [3,2,8] to [14,2,8], every one pointing east into the next. The nine inside the bed sit directly under the water channel you are about to lay, one threads through the wall at x=12, and the last two cross the barn floor so that [14,2,8] feeds the chest at [15,2,8]. A hopper sucks in anything lying in the block above it, so wheat and seeds that reach the middle row are collected wherever they land — nothing has to be carried along. Each hopper passes on 2.5 items a second, so a full harvest takes a minute or two to reach the chest. Hoppers are not full cubes in game; the render just draws them square.
3.Farmland and the central channel
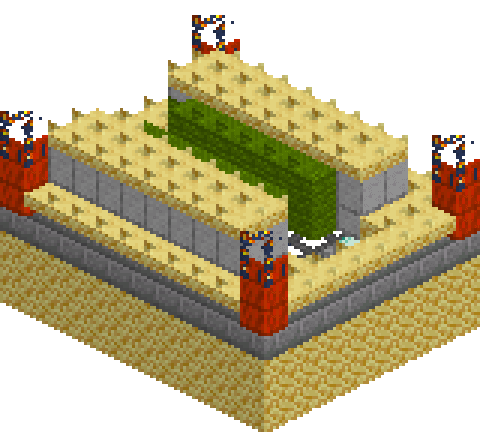
Lay the second course of the ring in stone brick, the same four runs one block higher. Then till everything inside: farmland from [3,3,4] to [11,3,12]. Overwrite the middle row with water sources, [3,3,8] to [11,3,8]. That channel does two jobs at once. It hydrates — farmland stays moist with water up to four blocks away horizontally, at its own level or one above, and no tile here is more than four rows from the channel, so all 72 stay damp. And it collects — it sits flush with the field, so the flush carries the harvest straight to it. The water sits on top of the hoppers, not in them: hoppers cannot be waterlogged in Java. That does not matter, because a hopper pulls items from the whole block above it, and anything floating in the channel is inside that space. Keep the bed itself clear. A post or a lamp standing on it blocks the stream running down its column, strands the drops piled against it and leaves the tile between it and the channel unharvested.
4.The lip, the dispensers and the sensor
The field surface is y=4 and the flush runs through that layer, so the bed needs a lip one block high or the water simply pours off the sides. Run stone brick along [2,4,3] to [2,4,13] and [12,4,3] to [12,4,13], then set nine dispensers into the front lip, [3,4,3] to [11,4,3], and nine into the back lip, [3,4,13] to [11,4,13], all facing in over the field, each loaded with one water bucket. A dispenser with a bucket toggles: power it once and it places a source in front of it, power it again and it takes the water back. Every column needs its own, because flowing water only heads for the nearest spot within four blocks where it can drop, and water sitting on the channel counts as one. Each source runs straight down its column to the channel instead of fanning out, so three dispensers a side would wash three columns and leave the rest standing. Leave [2,4,8], where the channel meets the west lip, open as the stile: water that reaches the channel spreads no further, so that gap never leaks. Finally swap [2,4,4] for an observer facing east at the corner stalk — your growth sensor, and still a solid block, so it holds the water in — with a note block behind it at [1,4,4], standing on a stone brick at [1,3,4].
5.Wiring the one-button flush
Redstone dust and buttons do not render, so this part is words. Lay dust along the top of both dispenser rows, [3,5,3] to [11,5,3] and [3,5,13] to [11,5,13]: dust powers the block it sits on, and that is all a dispenser needs to fire. Crouch while you place it, or each click opens the dispenser instead. Join the two rows with dust along the top of the west lip, from [2,5,3] round to [2,5,13], dipping into the stile gap at [2,4,8] on its way past. Then put a stone button on the outside face of the lip at [1,4,7], beside the stile. The button powers the block it is fixed to, [2,4,7], and that block feeds full power into the dust on top of it and the dust in the gap. Power drops one level for every block of dust: the dust in the gap starts at 15, and the dust over the last back-row dispenser, [11,4,13], fourteen blocks further on, gets 1. That still fires it, but do not lengthen the run without a repeater. Press once and all eighteen dispensers fire together. The water breaks every crop it reaches, ripe or not, and carries the drops towards the channel. Once they are bobbing over it, press again. A dispenser fires only when its power switches on, so it takes a second pulse to make it scoop its source back up; a lever left on would fire them once and leave the field flooded. As the water drains, the drops settle into the channel and the hoppers take them. The observer at [2,4,4] is not wired to any of this: it pulses the note block behind it whenever the corner stalk changes, as a growth chime.
6.The barn and the storage bank
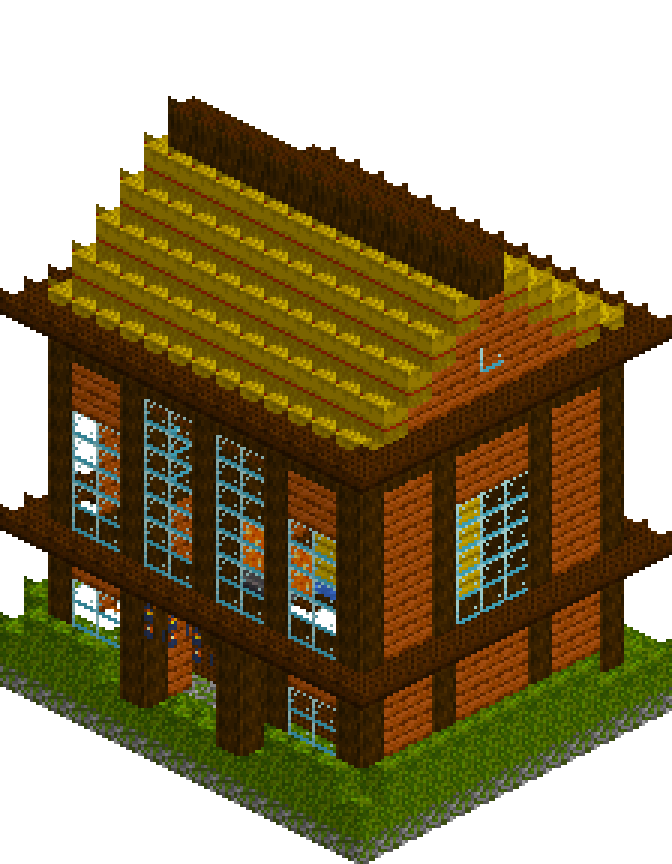
Plank the barn on the floor you laid at y=1. The back wall runs [16,2,4] to [16,4,12], with logs at the corners and a log pilaster at [16,2,8] so nine blocks of plank are not one blank sheet, and glass at [16,3,6] and [16,3,10]. The north wall, z=4, has logs at x=13 and x=16 with planks between and glass at [14,3,4] and [15,3,4]. The south wall, z=12, matches it but leaves [14,2,12] and [14,3,12] open as the door, with glass at [15,3,12]. The west side needs no wall of its own: it is the bed's east wall. Line it at floor level with the crafting table at [13,2,5], the furnace at [13,2,6], hay bales at [13,2,7] and [13,2,9] either side of the hopper, and composters at [13,2,10] and [13,2,11] for surplus seeds. That leaves a one-block aisle down x=14. The hopper line crosses it and points east into the chest bank at x=15, drawn as the six droppers from [15,2,7] to [15,3,9] because the renderer has no chest block: put chests in those cells, with the one at [15,2,8] taking the hopper's output. Hay bales fill [15,2,5], [15,2,6], [15,2,10] and [15,2,11]. Interior headroom is y=2 to y=4, three clear blocks, and lanterns hanging from the roof at [14,4,6] and [14,4,10] keep it bright enough that nothing spawns in your storage. Outside the door, the coarse-dirt yard takes two more composters at [13,2,15] and [14,2,15], a pair of bales and a lantern post at [16,2,15].
7.Lamps, roof and the first sowing
Roof it in slabs, never cubes. A full course of dark oak slabs from [12,5,3] to [16,5,13] oversails the barn on three sides and caps the east lip of the bed as a coping, then step in to [13,6,3] to [15,6,13] and finish with a ridge at [14,7,3] to [14,7,13]. Lanterns hang in the barn, stand on the posts either side of the stile at [0,4,7] and [0,4,9], and top the yard post at [16,4,15]. None go on the bed. Crops need light 9 to grow, but the game counts sky light at full strength even at night, so a bed open to the sky grows around the clock with no lamps at all. Now sow all 72 tiles and wait. One honest warning: a flush farm harvests and collects, it does not replant, so after each pull you walk the rows once with seeds. It only grows while you are nearby to keep the chunk loaded, too.
Make it yours
- Test the flush once on an empty field before you plant anything: press, watch the water reach the channel, press again. A dispenser facing the wrong way shows up as a dry column or water spilling outside the bed, and fixing it after the wheat is in means breaking the lip.
- Walk across the bed, never jump on it. Landing on farmland from a jump or a drop can turn it back to dirt and pop the crop off, and hopping down off the lip counts as a drop. Come in by the stile instead: hop from the step at [1,2,8] up into the gap at [2,4,8], wade along the channel and climb out of the water at the row you want.
- The composters at [13,2,10] and [13,2,11] are where the spare seeds go: tip them in and take bone meal out. It averages about 21 seeds a bone meal, so a harvest's surplus hurries a few tiles along rather than regrowing the field.
- To make the bed longer, extend the channel and the hopper line and give every new column its own dispenser on both lips, with a repeater in the dust, because the far end of the back row already gets the weakest signal that still fires. Do not make it wider: farmland more than four blocks from water dries out.
- The observer chimes on every one of wheat's eight growth stages, so treat it as a tick and not an alarm. Wire it straight into the dispensers and it will flush a field of green shoots.
- Overflow protection is one block: put a hopper under the far chest pointing into a second double chest, so a full harvest never backs the spine up and leaves wheat floating in the channel.