How to build the Medieval Castle in Minecraft
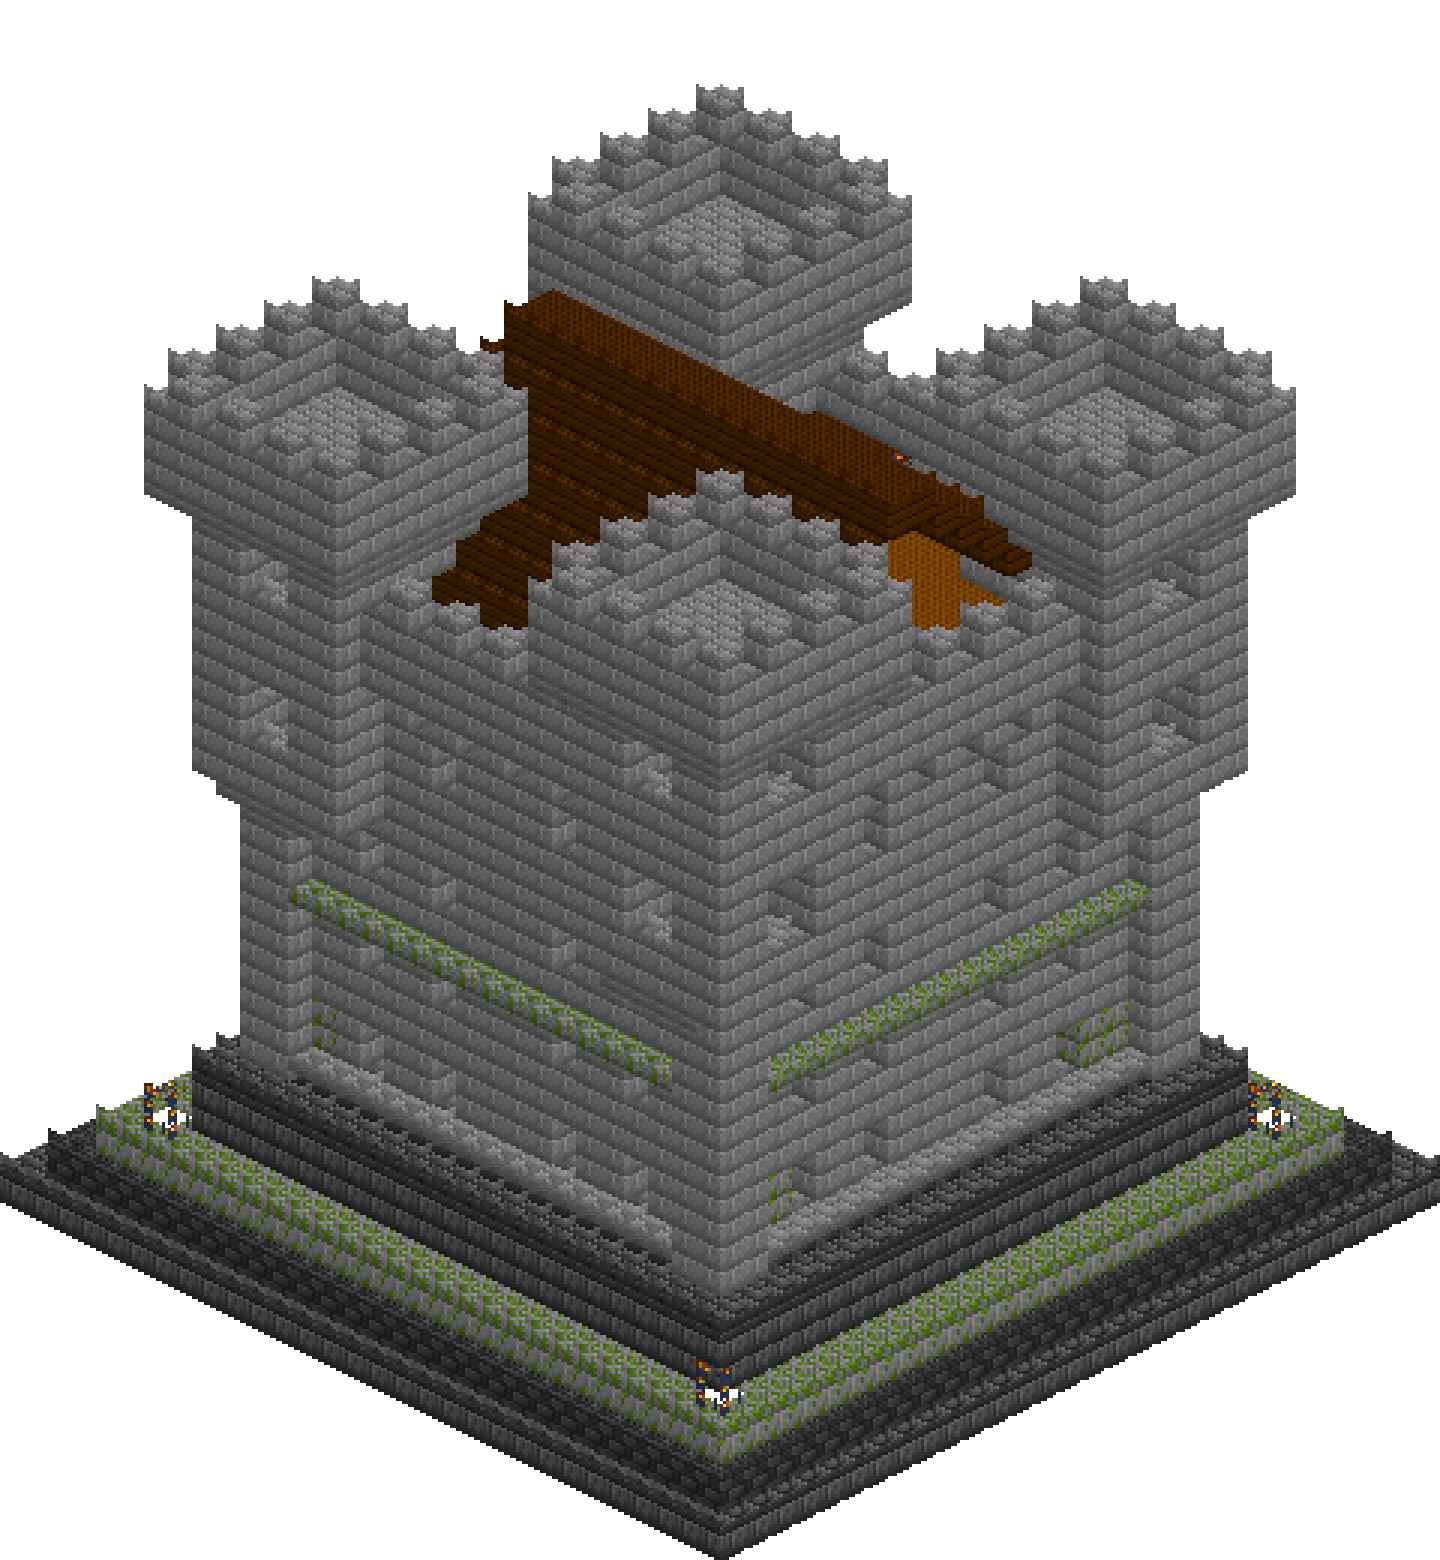
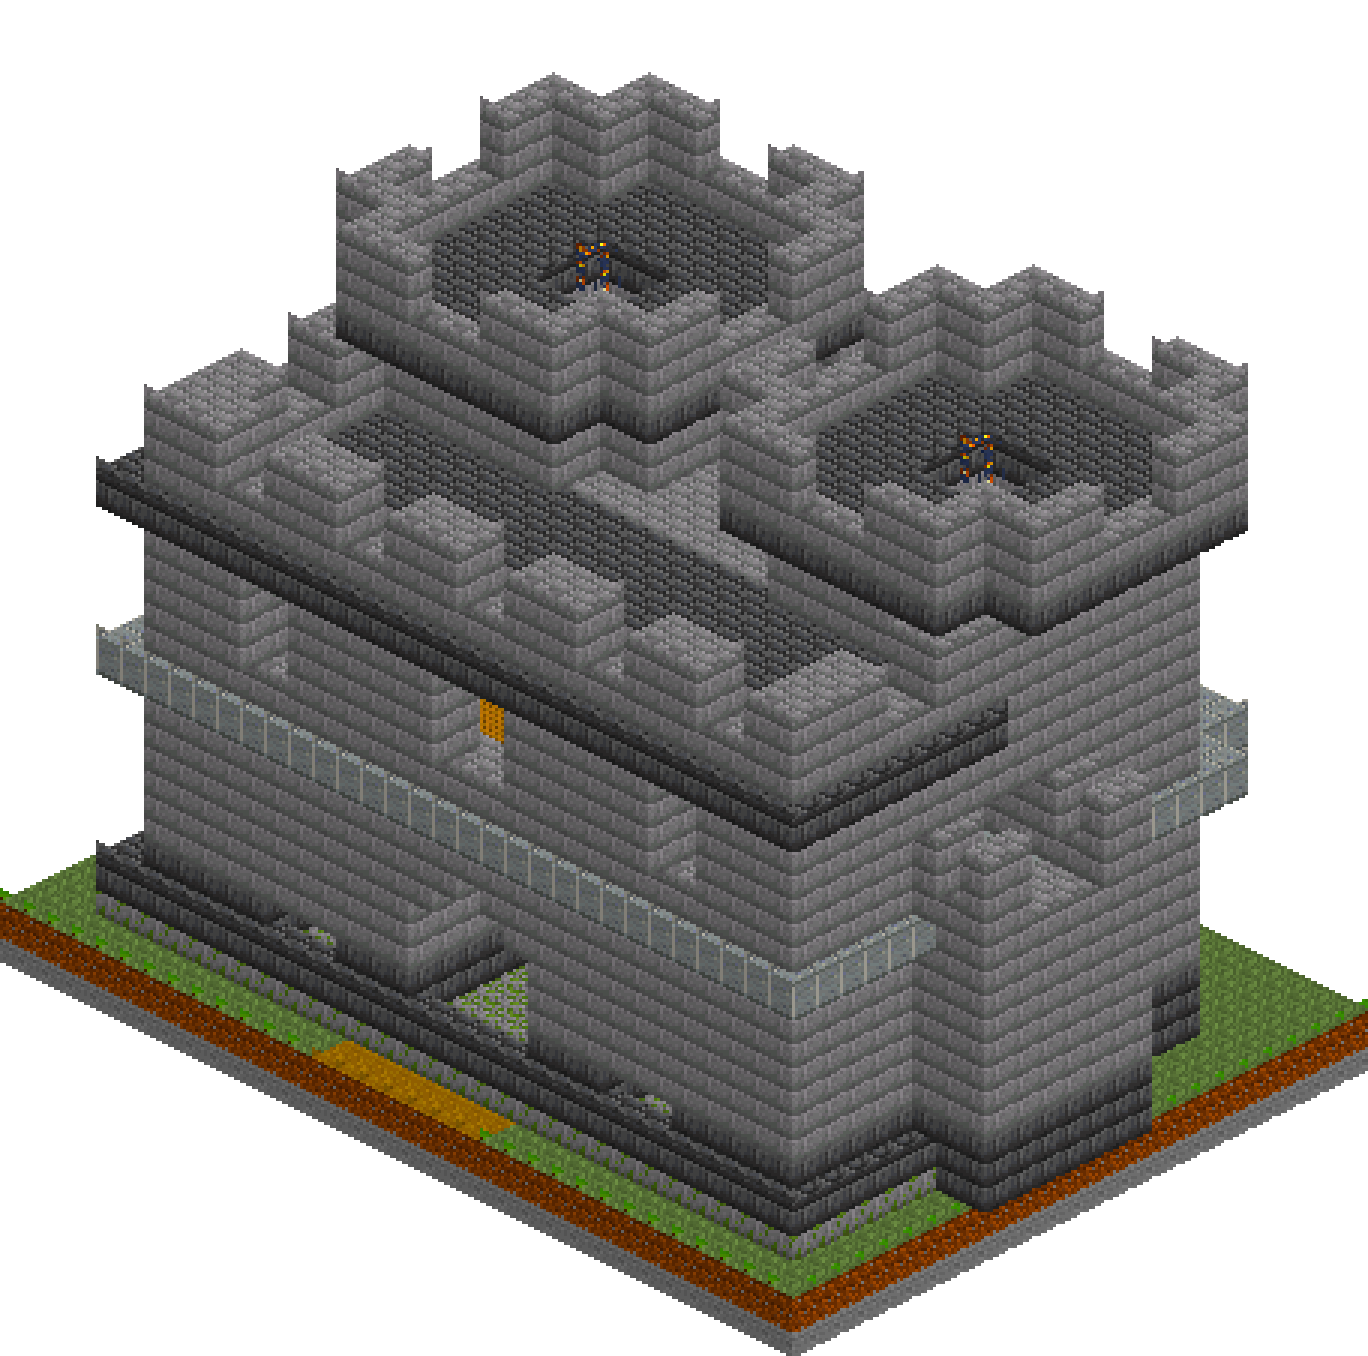
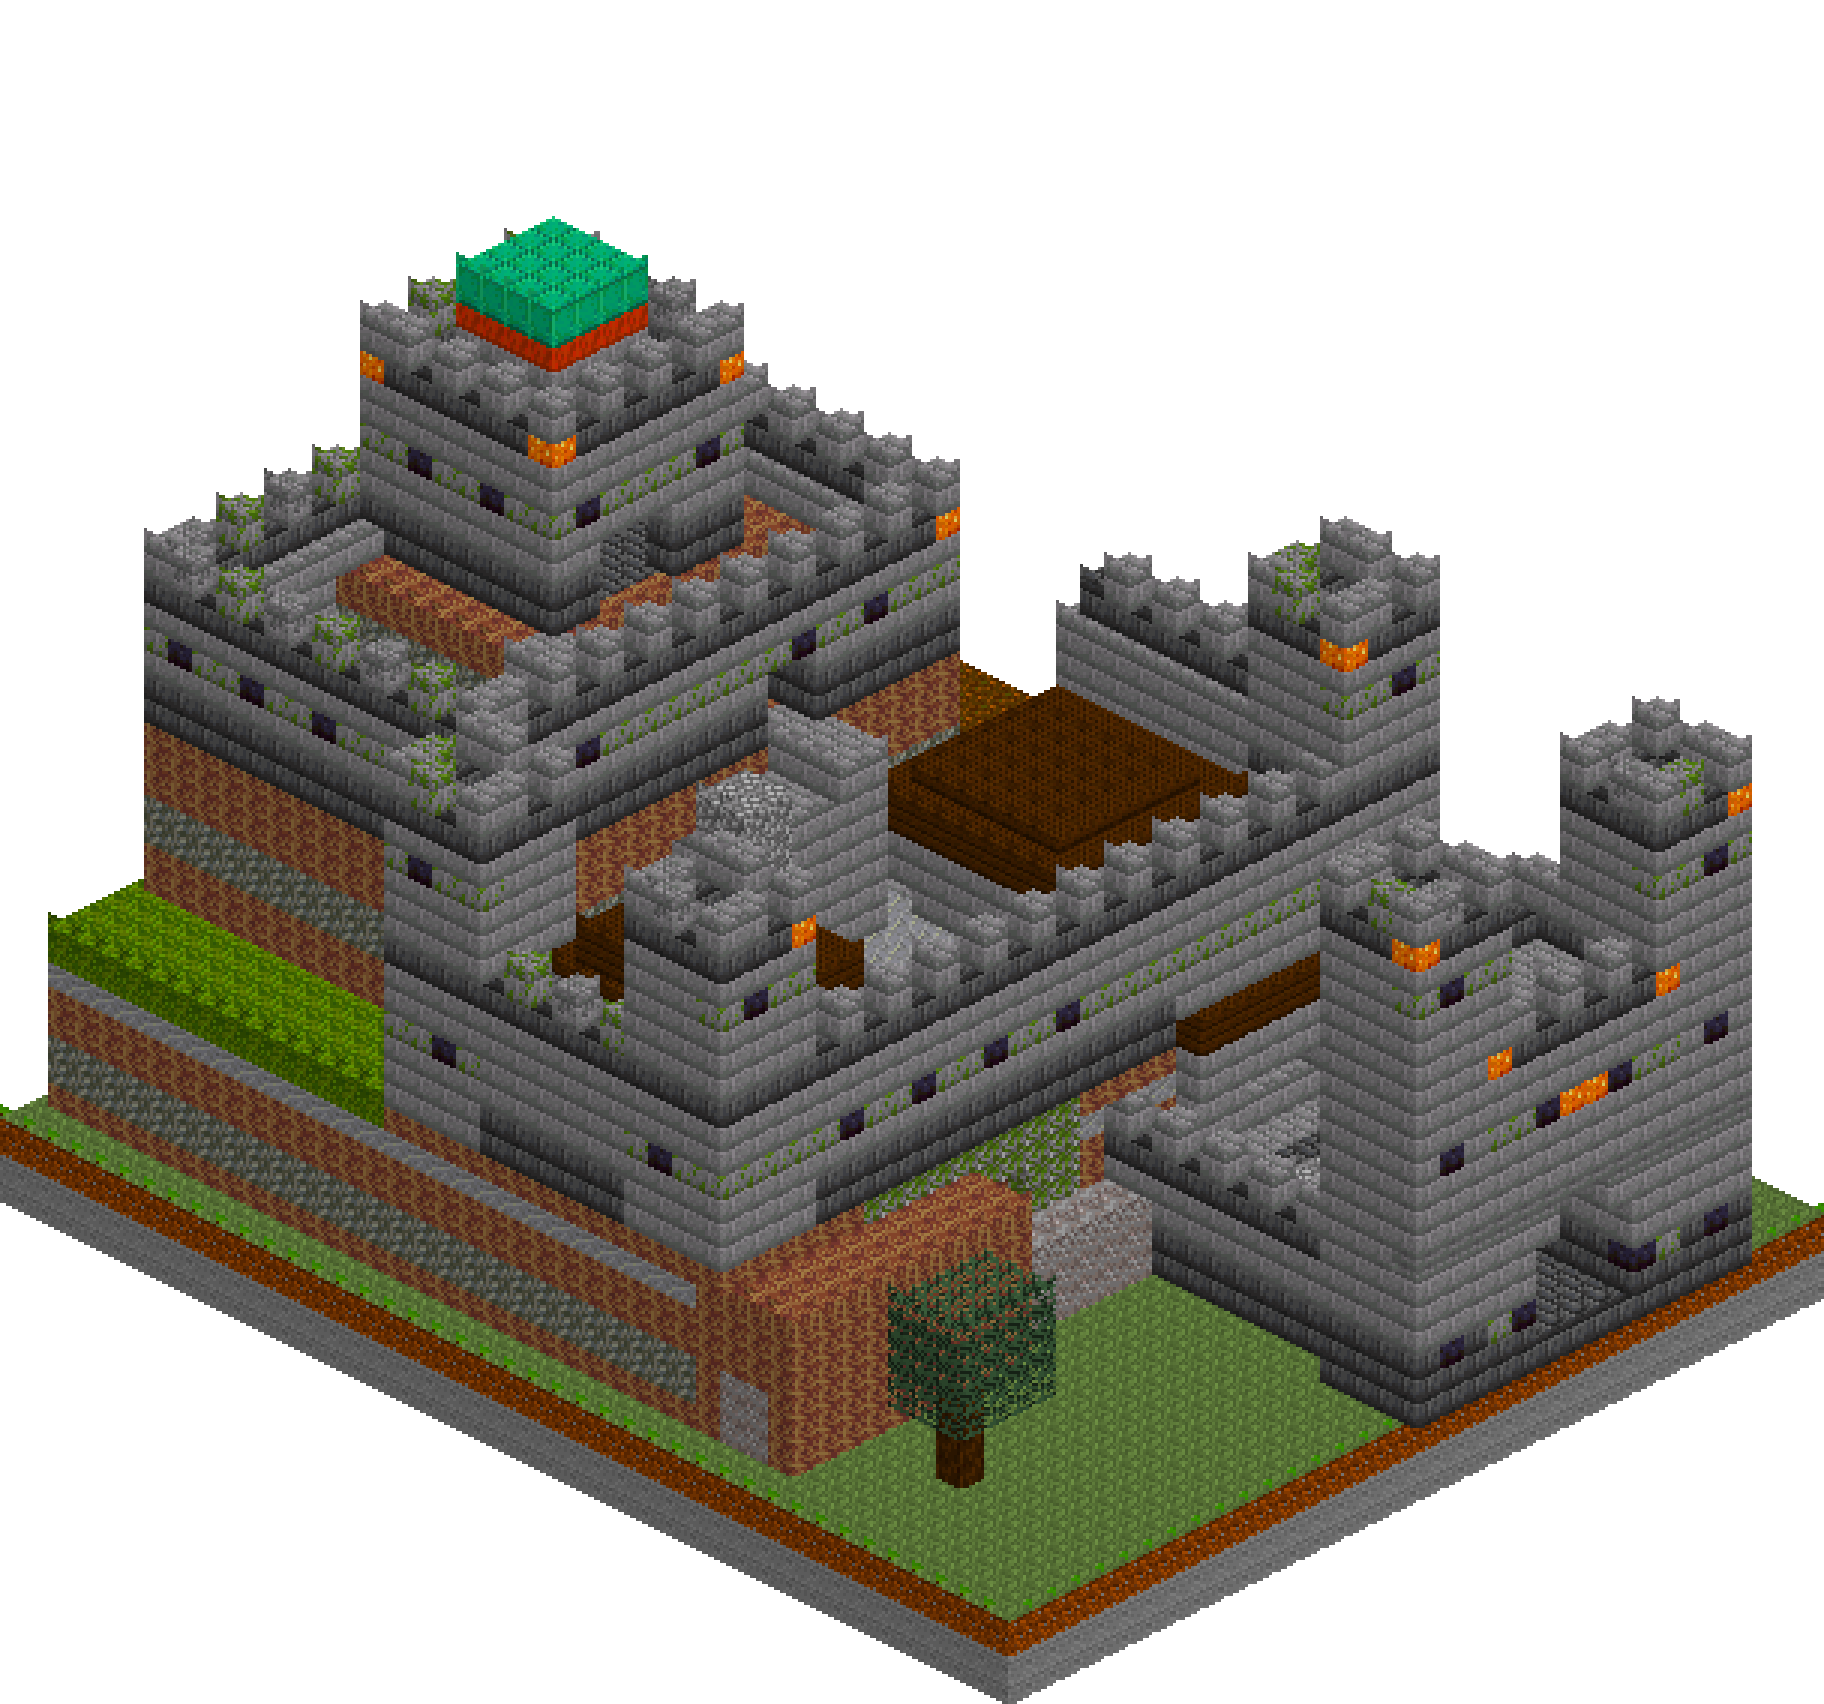
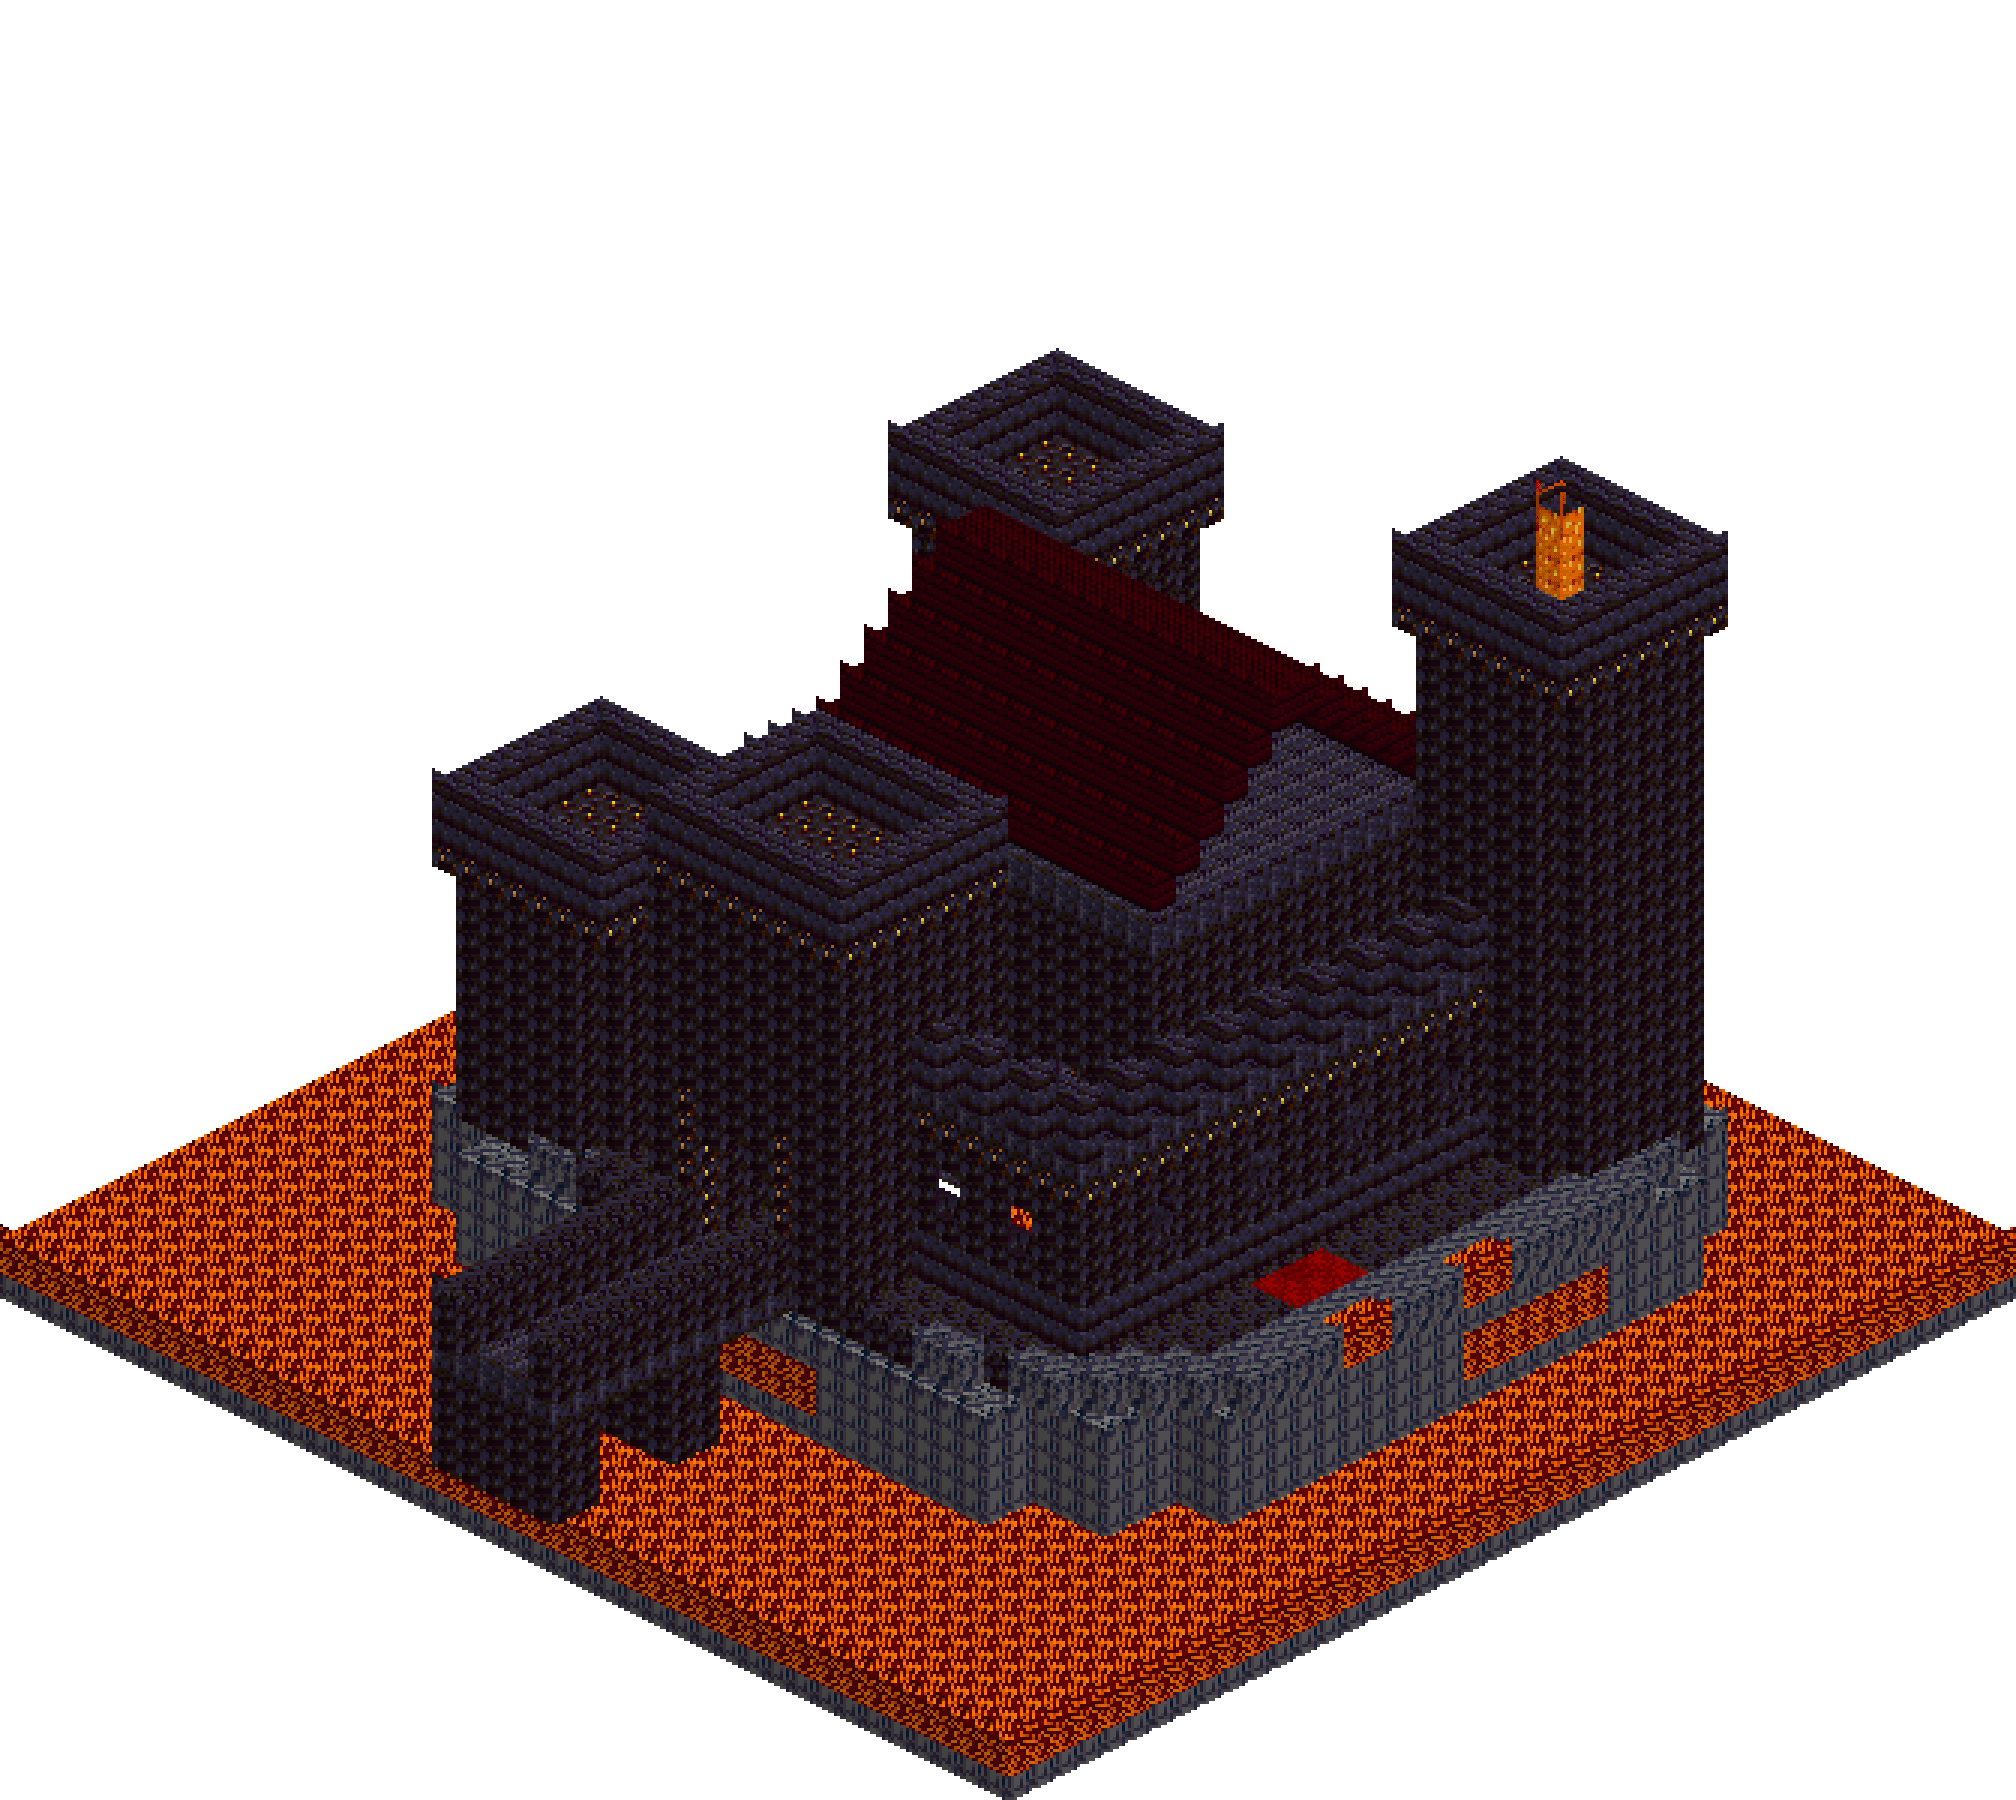
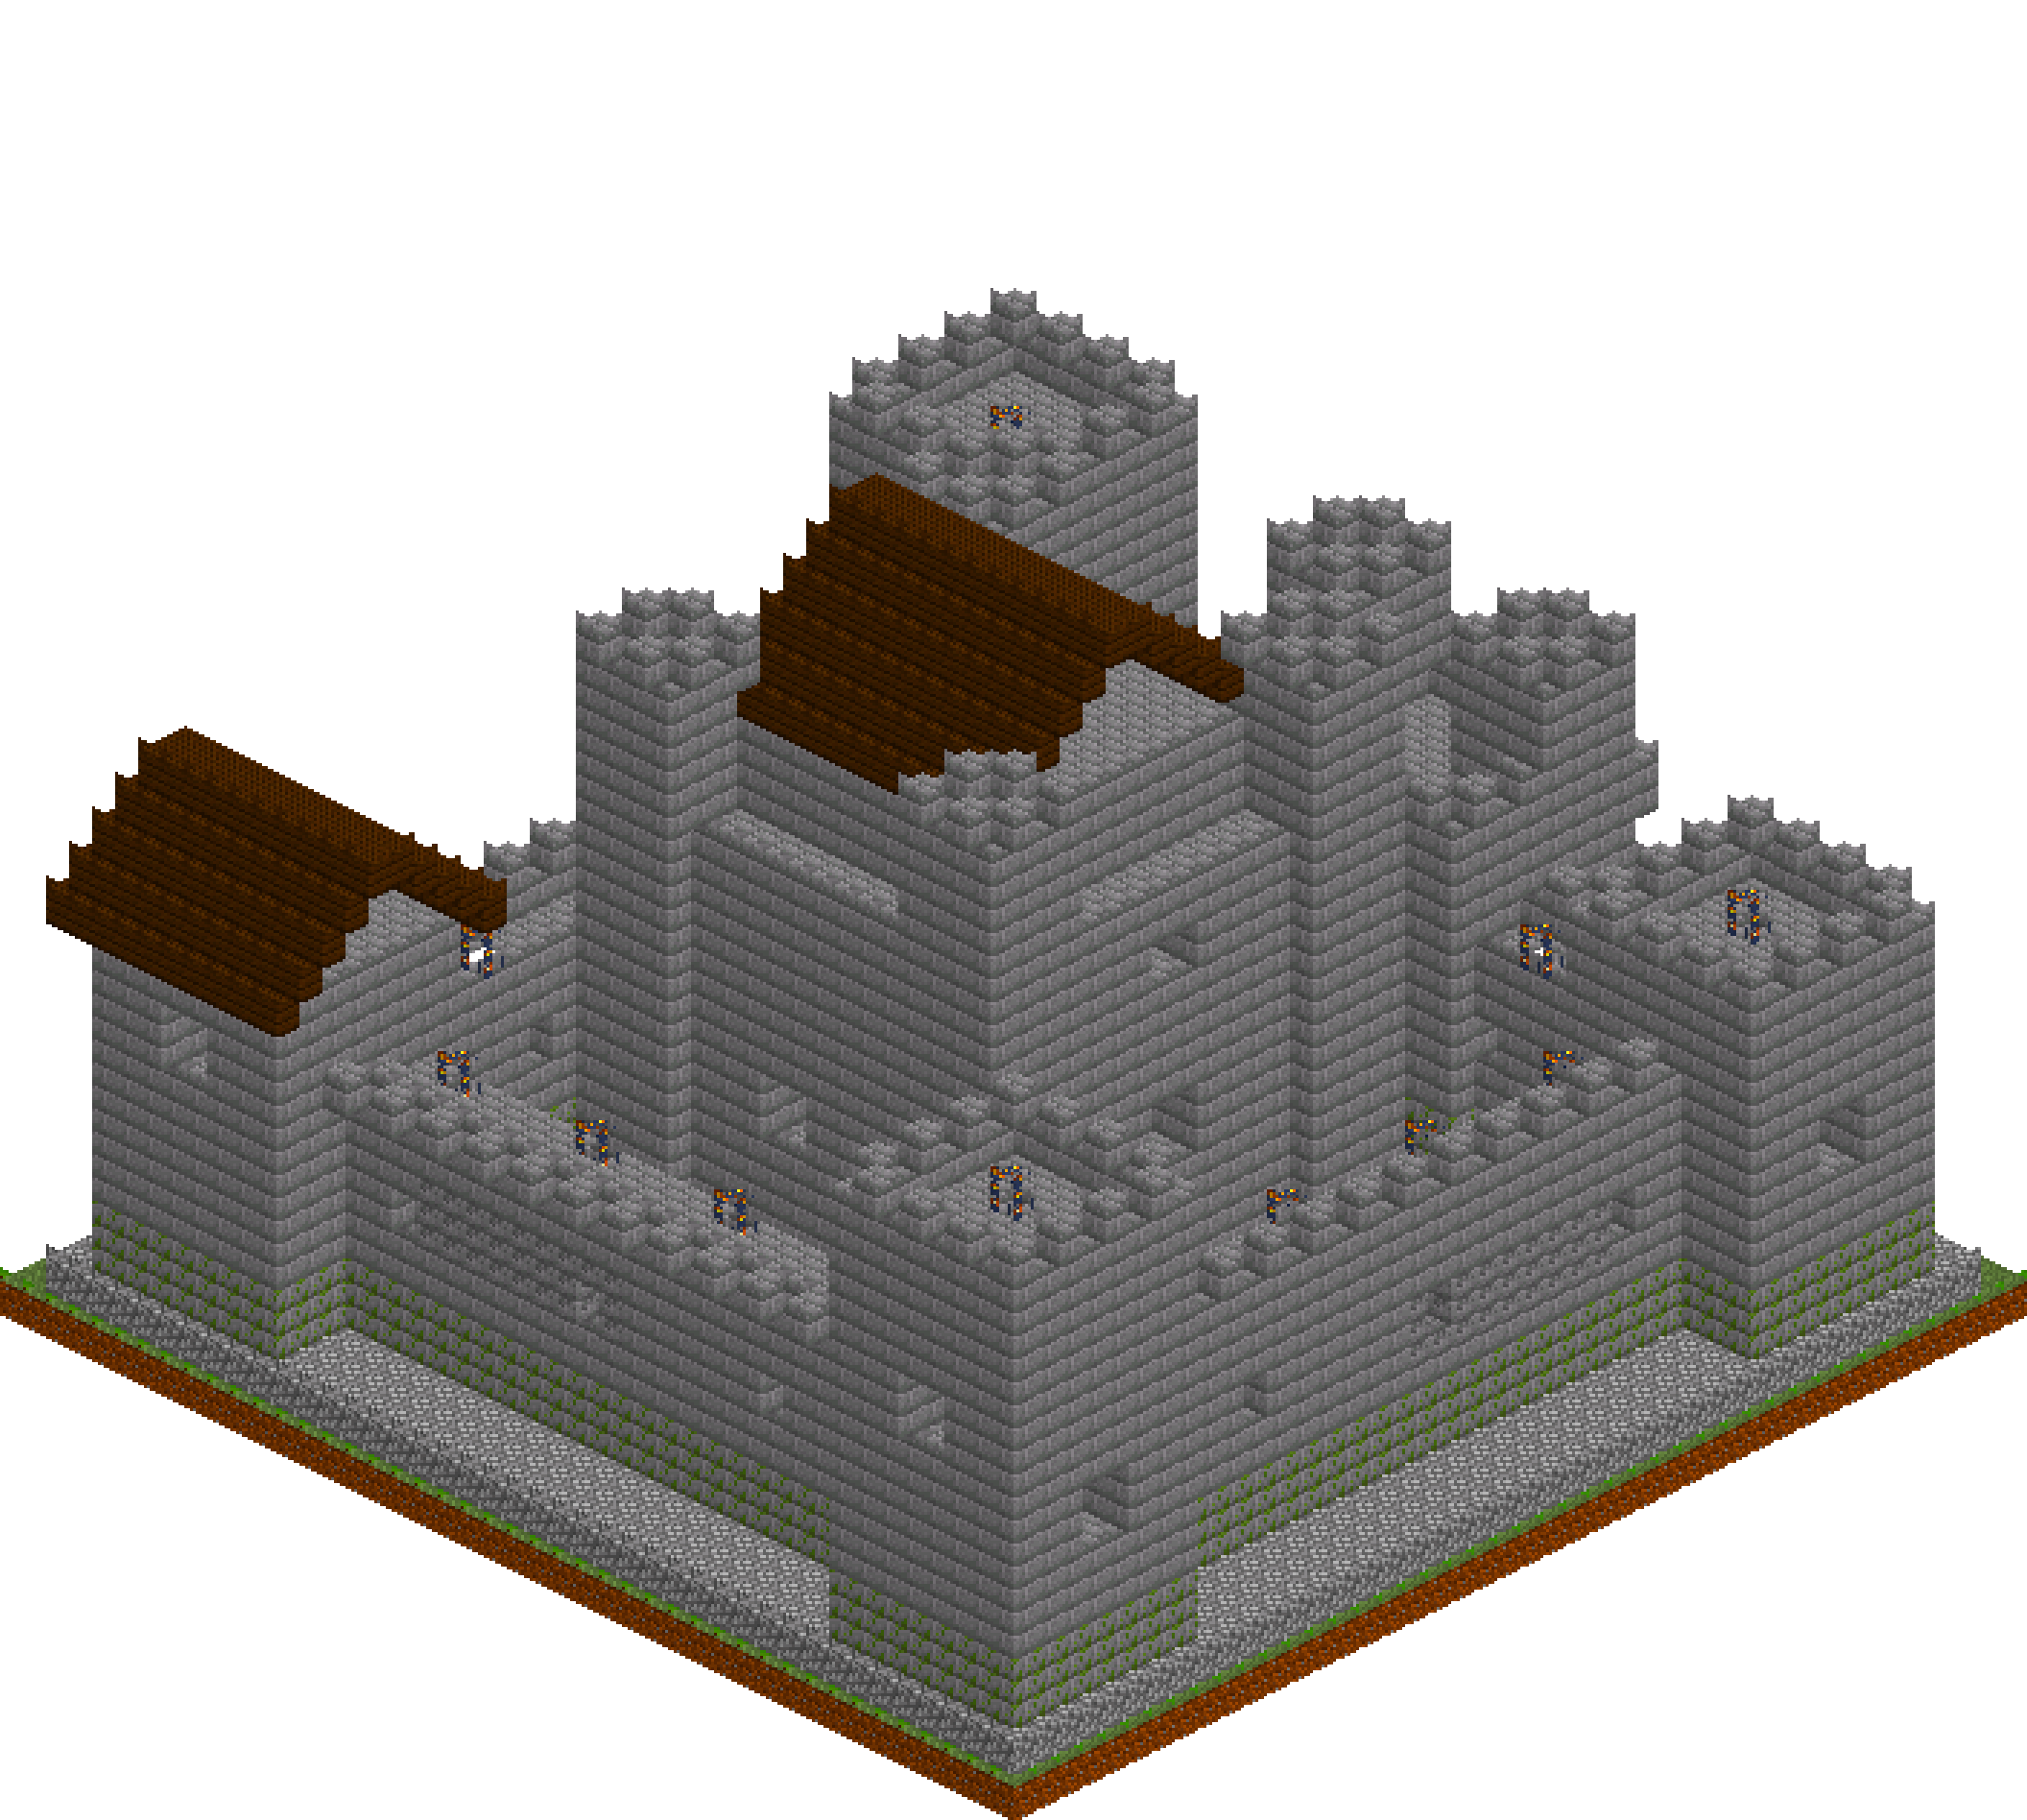
A castle is recognised by its silhouette long before anyone reads the stonework: four towers of unequal height, a gatehouse shouldering forward out of the curtain, and a keep climbing clear above all of it. This one is forty-four blocks square and goes up the way a real one did — wall first, then the towers that stiffen its corners, then the gate, then the great tower in the middle of the yard. Stone brick carries the mass, mossy and cracked variants do the ageing for free, and dark oak caps the roofs so the top of the build reads warm against all that grey. Every wall is three blocks thick, so the wall-walk is something you can actually walk.
What you need
| Block | Count |
|---|---|
| Stone bricks | 9231 |
| Mossy stone bricks | 2804 |
| Cobblestone | 2420 |
| Dark oak planks | 480 |
| Mossy cobblestone | 436 |
| Cracked stone bricks | 252 |
| Grass block | 172 |
| Gravel | 52 |
| Lantern | 21 |
| Oak log | 12 |
| Water | 4 |
Counts are exact for the model above. Mine a little spare — nobody places every block first time.
Building it
Each stage names the layers it covers. Drag the slider on the model to that layer and you are looking at exactly what the stage describes.
1.Ground, terrace and courtyard
Lay the grass out first so you can see the whole footprint, then set a cobblestone terrace one block proud across everything inside the outer edge. That single step matters more than it sounds: a castle sitting flush on the ground looks dropped there, while a castle standing on its own platform looks founded. Pave the yard in mossy cobblestone. It is the surface that gets walked on, rained on and never swept, and the moss does the work of a hundred detail blocks before a single wall exists.
2.The curtain wall, aged as it rises
The curtain is one solid box from y2 to y11, thirty-four blocks square, with the middle cleared out afterwards in a single op. Never try to hollow it course by course. Three blocks thick is the number to hold on to: it leaves a two-wide wall-walk with a parapet still to come. Skin the bottom three courses in mossy stone brick, then drive two slabs of cracked stone brick across the middle of the east-west and north-south runs. Damp climbs from the ground, damage lands where a siege engine could reach it, and that logic is the whole difference between aged stone and randomly speckled stone.
3.Loops, wall-walk and battlements
Cut the arrow loops before anything goes on top: six long clears, each two blocks tall, driven straight through the wall from one side to the other so a single op opens a slit on both faces at once. Then run the parapet as a one-block ring along the outer edge at y12 and crenellate it at y13. Use the parity trick — place a merlon wherever x plus z is even and the alternation turns all four corners without a miscount. Two diagonal flights of stone brick against the inside of the west wall get you up there.
4.Four corner towers, four heights
Towers now, and this is where the silhouette is won or lost. All four are eight by eight and no two are the same: the south-west runs to y21 with battlements at 23, the north-east stops at 19, the north-west at 16 with a dark oak roof pitched over it, and the south-east, the corner furthest from anything worth defending, only reaches 15. Build each as a solid box, re-skin the bottom four courses in mossy stone, then clear a four-by-four shaft up the inside. Tops that get merlons want the plain ring first, then the alternating course above it.
5.The gatehouse and its twin turrets
The gatehouse projects four blocks forward of the curtain and pushes two back into the yard, so it reads as a building rather than a thickening of the wall. Drive the passage through it four wide and five tall, then take a second pass two blocks wide at y7 to turn the flat lintel into an arch — that one op is the difference between a hole and a gate. Above it goes a guard chamber with a dark oak floor and windows front and back, a corbelled course overhanging the entrance at y14, and two four-by-four turrets carried up to y20 to frame the gap.
6.The keep, stepped and roofed
The keep is the reason the walls are worth building. Sixteen square up to y22, then stepped back to twelve square for four more courses so the mass tapers as it climbs, with a mossy plinth skirting the base. Four turrets clasp the corners and run to y28, projecting a block so they cast their own shadow line, and a dark oak gable roof tops out at y32, a clear nine blocks above the tallest tower. Hollow the whole shaft in one go, drop two plank floors in at y9 and y16, then cut the arched door facing the gate and the windows last, once every wall they pass through actually exists.
7.Doorways, well and lantern light
Last comes everything that makes it a place rather than a model. Four long clears at y12 punch the wall-walk doorways through both towers on each side and straight through the gatehouse, one op per side, so the circuit is continuous. A gravel road runs from under the gate arch to the keep door. The well is a mossy cobble ring with water in the bottom, four oak posts and a small dark oak roof. Then light it where light belongs: hanging lanterns in the gate passage, a pair flanking the keep door, one on each tower top and a steady rhythm along the wall-walk.
Make it yours
- Build the curtain wall as one solid box and clear the middle out afterwards; hollowing a thirty-four block square course by course is where most castles die of boredom.
- Keep the mossy stone in a band at the bottom and the cracked stone in patches at mid height. Moss reads as damp rising out of the ground, cracks read as impact, and swapping them looks wrong even if you cannot say why.
- The towers must not all be the same height. Give one a clear head over the rest, cap another with a dark oak roof instead of merlons, and let the shortest sit at the corner furthest from the gate.
- Crenellate on a strict alternation: a merlon wherever x plus z is even. The pattern turns every corner cleanly and you never have to count along a run.
- Cut the wall-walk doorways last, as single long clears running the full length of each side. One pass punches through both towers on that side and leaves the walkway continuous.