How to build the Sunken Shipwreck in Minecraft
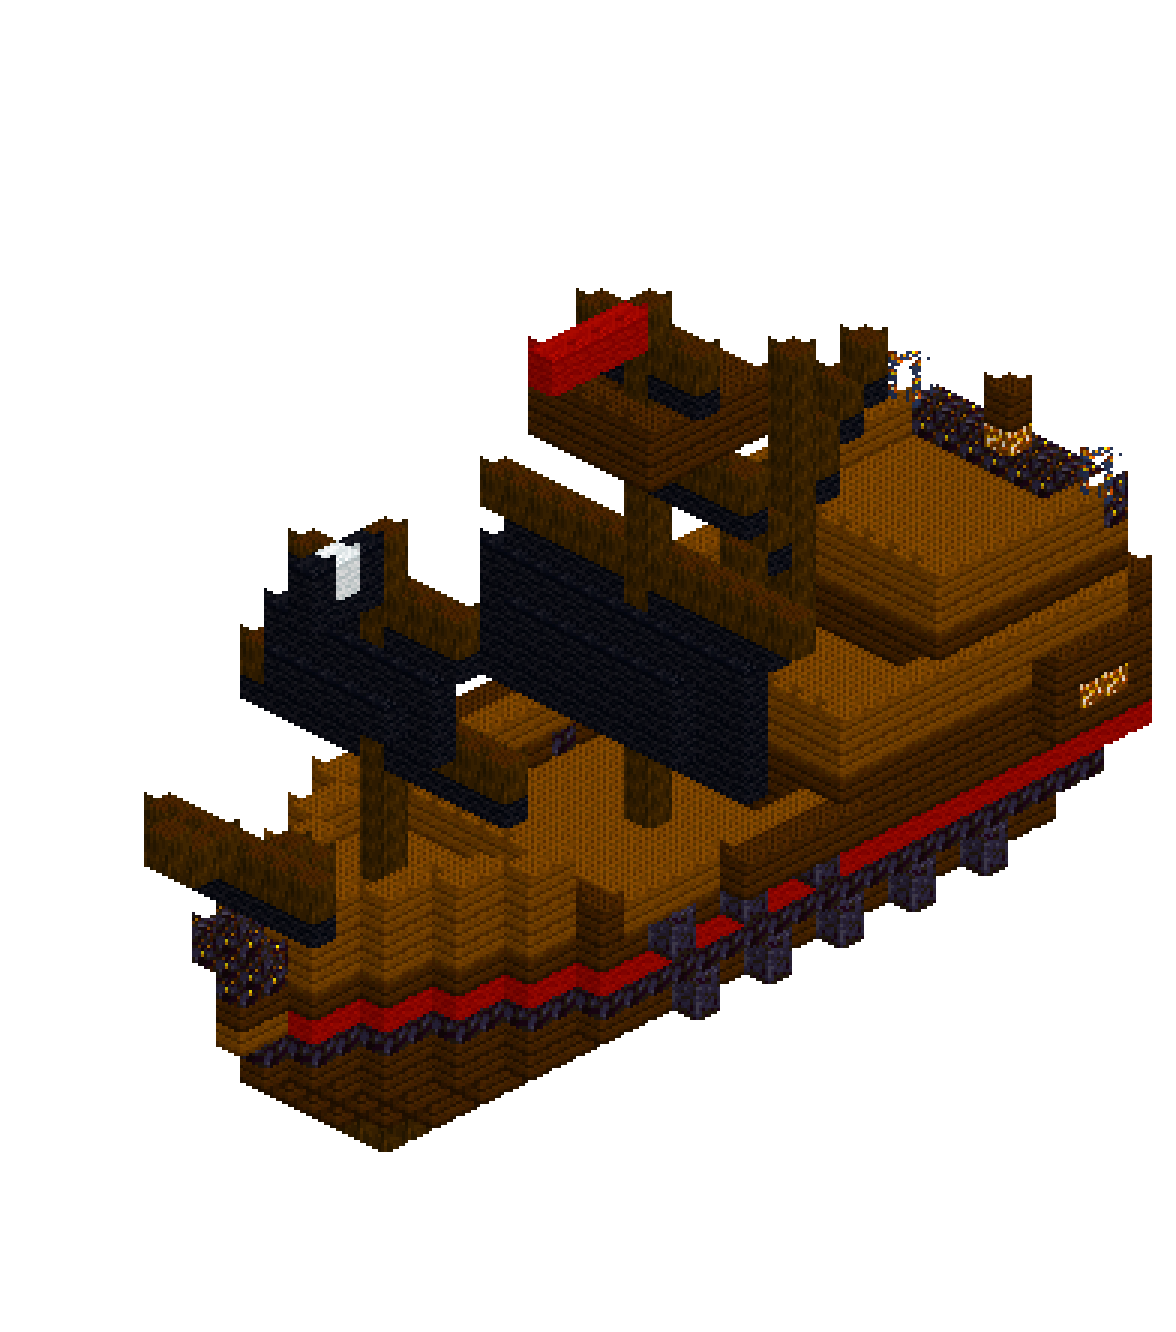
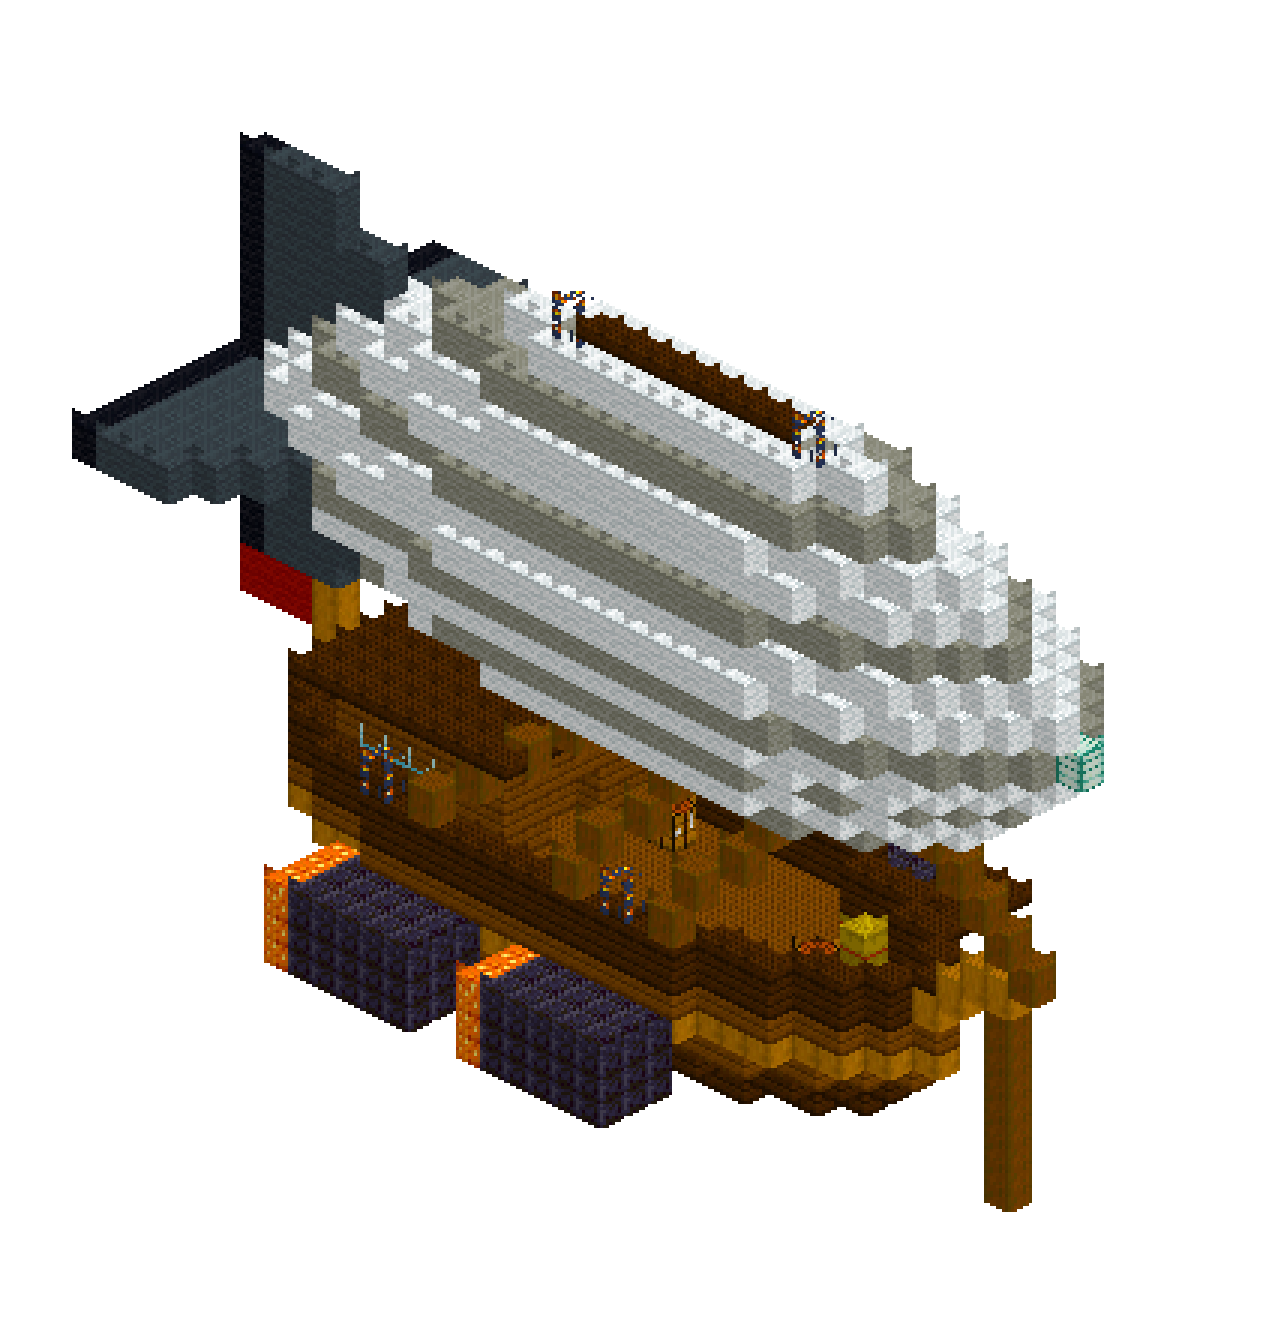
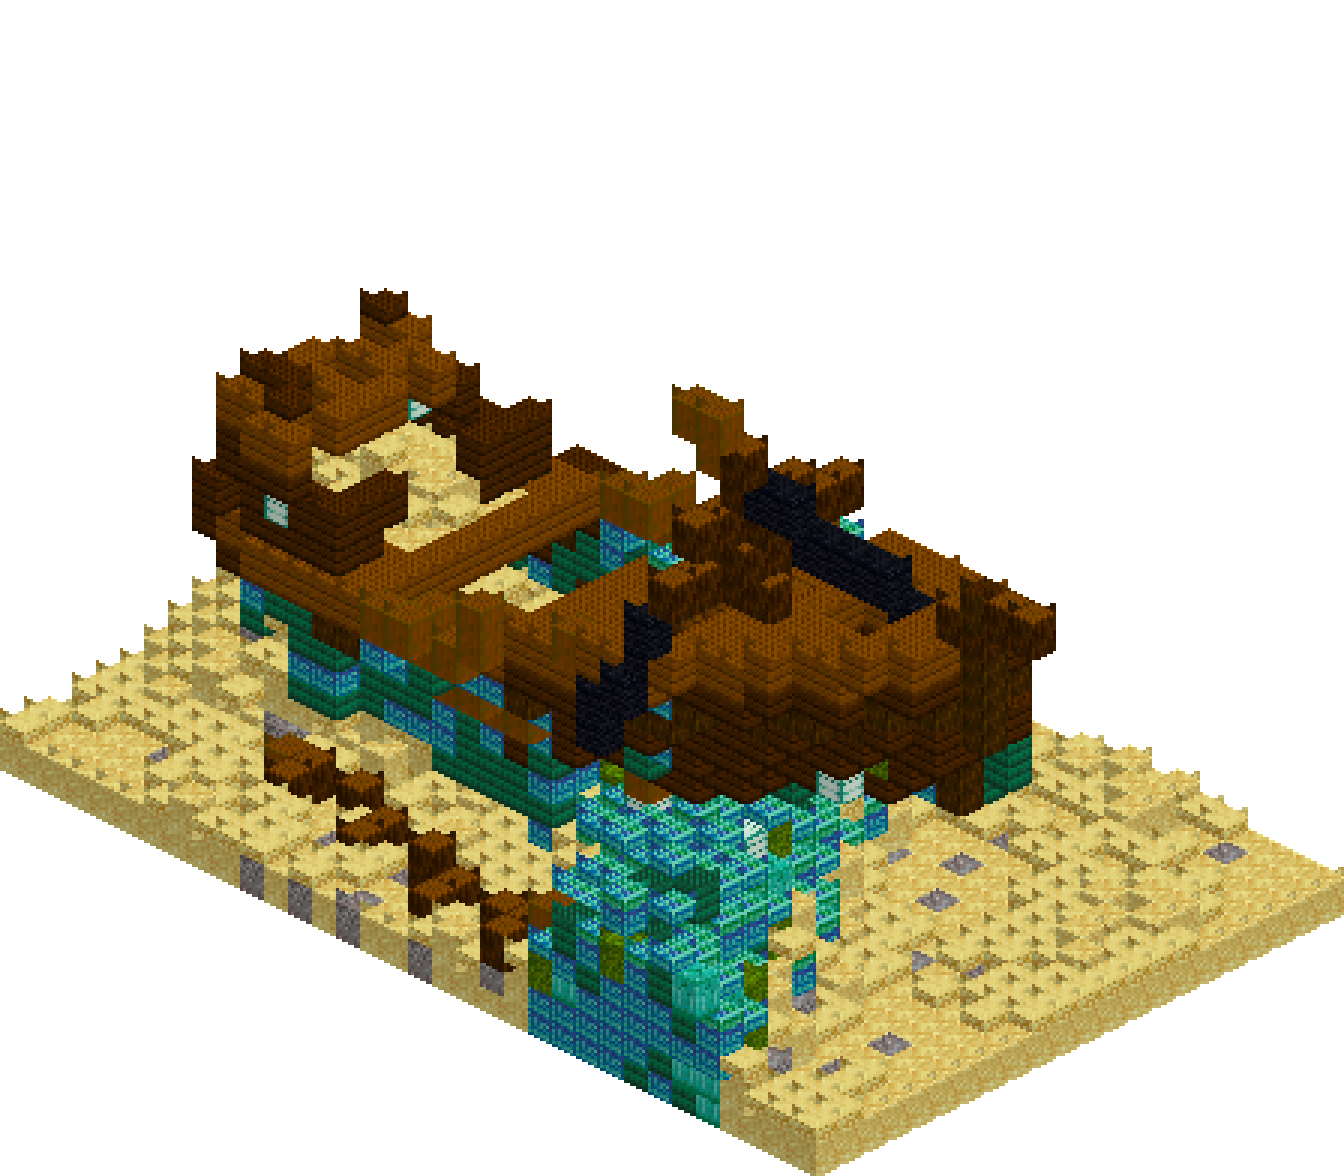
A merchantman that came onto the reef beam-on, broke her back across the crest and never came off. The stern half lies flat and silting up, the bow half is tipped stern-down on the ridge with its frames hanging bare where the planking tore away, and the mast is snapped a few blocks above the yard. It is built entirely in cross-sections — one layer per level, each a slice of hull that narrows, widens and slides sideways as it climbs — which is the only way a curved wooden hull ever comes out looking curved. Sea lanterns do the rest, burning inside coral heads and behind the stern gallery windows.
What you need
| Block | Count |
|---|---|
| Sand | 910 |
| Prismarine | 654 |
| Dark oak planks | 313 |
| Dark prismarine | 259 |
| Sandstone slab | 256 |
| Spruce planks | 158 |
| Prismarine bricks | 121 |
| Gravel | 107 |
| Prismarine slab | 79 |
| Dark oak log | 68 |
| Stripped spruce log | 44 |
| Spruce log | 37 |
| Moss block | 28 |
| Sea lantern | 23 |
| Black wool | 13 |
| Magma block | 4 |
| Dark oak planks slab | 4 |
Counts are exact for the model above. Mine a little spare — nobody places every block first time.
Building it
Each stage names the layers it covers. Drag the slider on the model to that layer and you are looking at exactly what the stage describes.
1.Reef ridge and drifted seabed
Lay sand across the whole 34x22 footprint, then drive a prismarine ridge diagonally through it, from about x=11 at the near edge to x=27 at the far one. Four blocks proud at the crest, thinning to nothing five blocks either side. Salt it with prismarine bricks, dark prismarine and moss so it never reads as one flat colour, and cap the half-height columns with prismarine and sandstone slabs — that is what turns a blocky heightmap into a seabed. Swell the sand into a dune around x=5, z=9, because the stern is going to settle into it, and drop a couple of magma blocks on the reef's port flank for a vent.
2.Keel up: the hull in cross-sections
Every hull layer is two runs of blocks, one per side, never a filled slab. At each station take the half-beam — widest around x=14, tapering to nothing at the prow — and multiply it by 0.3 + 0.7 x sqrt(h/depth), so the sides flare hard off the keel and then stand almost upright. Two things kill the symmetry. The stern half's slices slide 0.42 of a block to starboard every level, so it lists; the bow half rides a keel line climbing 0.45 per block toward the prow, with its centreline offset nearly two blocks, so the halves are visibly out of true at the break. Dark oak planking throughout, a dark oak log wale two below the deck.
3.The split, and the frames it leaves
Now stop the planking short. On the stern half the upper strakes are gone from x=11 forward, the plank line dropping roughly a block per station until nothing survives above the turn of the bilge. On the bow half the bottom is torn out instead: nothing below six blocks up at x=16, easing away to nothing by x=21. Then put the frames back — bleached stripped spruce, at x=11, 13, 15, 16, 19 and 21 only. Same two-run arc as the planking, carried past the deck line, and at x=16 hanging three levels below the tear. Coral encrusts the feet and ties them down to the reef, so the ribcage is planted rather than floating. Silt the open hold with sand and gravel.
4.Decks, ragged rail and the drift
Fill the deck plan across the top of every intact station. Spruce planks against dark oak reads as a different job of timber and stops the ship going monotone. The stern deck is flat at y=9; the bow deck climbs with its keel from y=11 at the break to y=15 at the prow, stepping up roughly every third station. Punch three staved-in holes through the bow deck so the frames show from above, and keep the rail ragged: one course of dark oak on the sheer line, skipped wherever it feels right, slab-capped here and there. Then drift sand down the middle of the stern deck, two or three deep at the centre, feathering out with sandstone slabs.
5.Sterncastle and the stern lights
A short aftercastle from x=3 to x=8 gives the buried end vertical mass to answer the raised bow. Dark oak walls three high on the sheer line, sea lanterns set into the side walls and the transom at y=11 — those are the stern gallery windows, and they are the only strong light in the aft half. Smash the forward wall open and leave about a third of the quarterdeck at y=13 missing, with a few slab remnants above. Elsewhere, bury lanterns inside coral heads on the reef and one or two in the open hold, where the glow leaks out between the frames.
6.Mast, spars and the prow
Step the mast at x=23, y=12 and rake it aft: up one, over one, up one. Rise first and lean afterwards, so every block shares a face with the next and the pole reads as continuous rather than as a staircase. Snap it at y=19, with two blocks of stripped spruce for the splintered end. Hang the yard across it at y=16, one arm dropping to y=15 and the other to y=14, a black wool shroud dangling from the low arm and a forestay stepping down to the stem head. Forward, a dark oak log stem rises two above the prow deck and the bowsprit juts to the very edge of the build. The snapped topmast lies out on the sand off the port quarter.
Make it yours
- Draw each hull layer as two runs of blocks, one per side, never a filled slab — the open shell is what lets the frames and the lantern glow read from outside.
- Where the half-beam grows by more than one block between layers, carry the lower row's z across as well, or you will leave a seam of pinholes down the planking.
- Give every slice of the stern half the same sideways shift as it climbs. A consistent lean reads as a list; offsets that wander read as a mistake.
- Bleached stripped spruce for the frames against dark oak planking does the heavy lifting. Build the ribs from the same wood as the hull and the break vanishes.
- Grow the prismarine by height above the seabed rather than height up the hull, so the buried stern goes green while the raised prow keeps clean timber.