How to build the Crystal Cavern in Minecraft
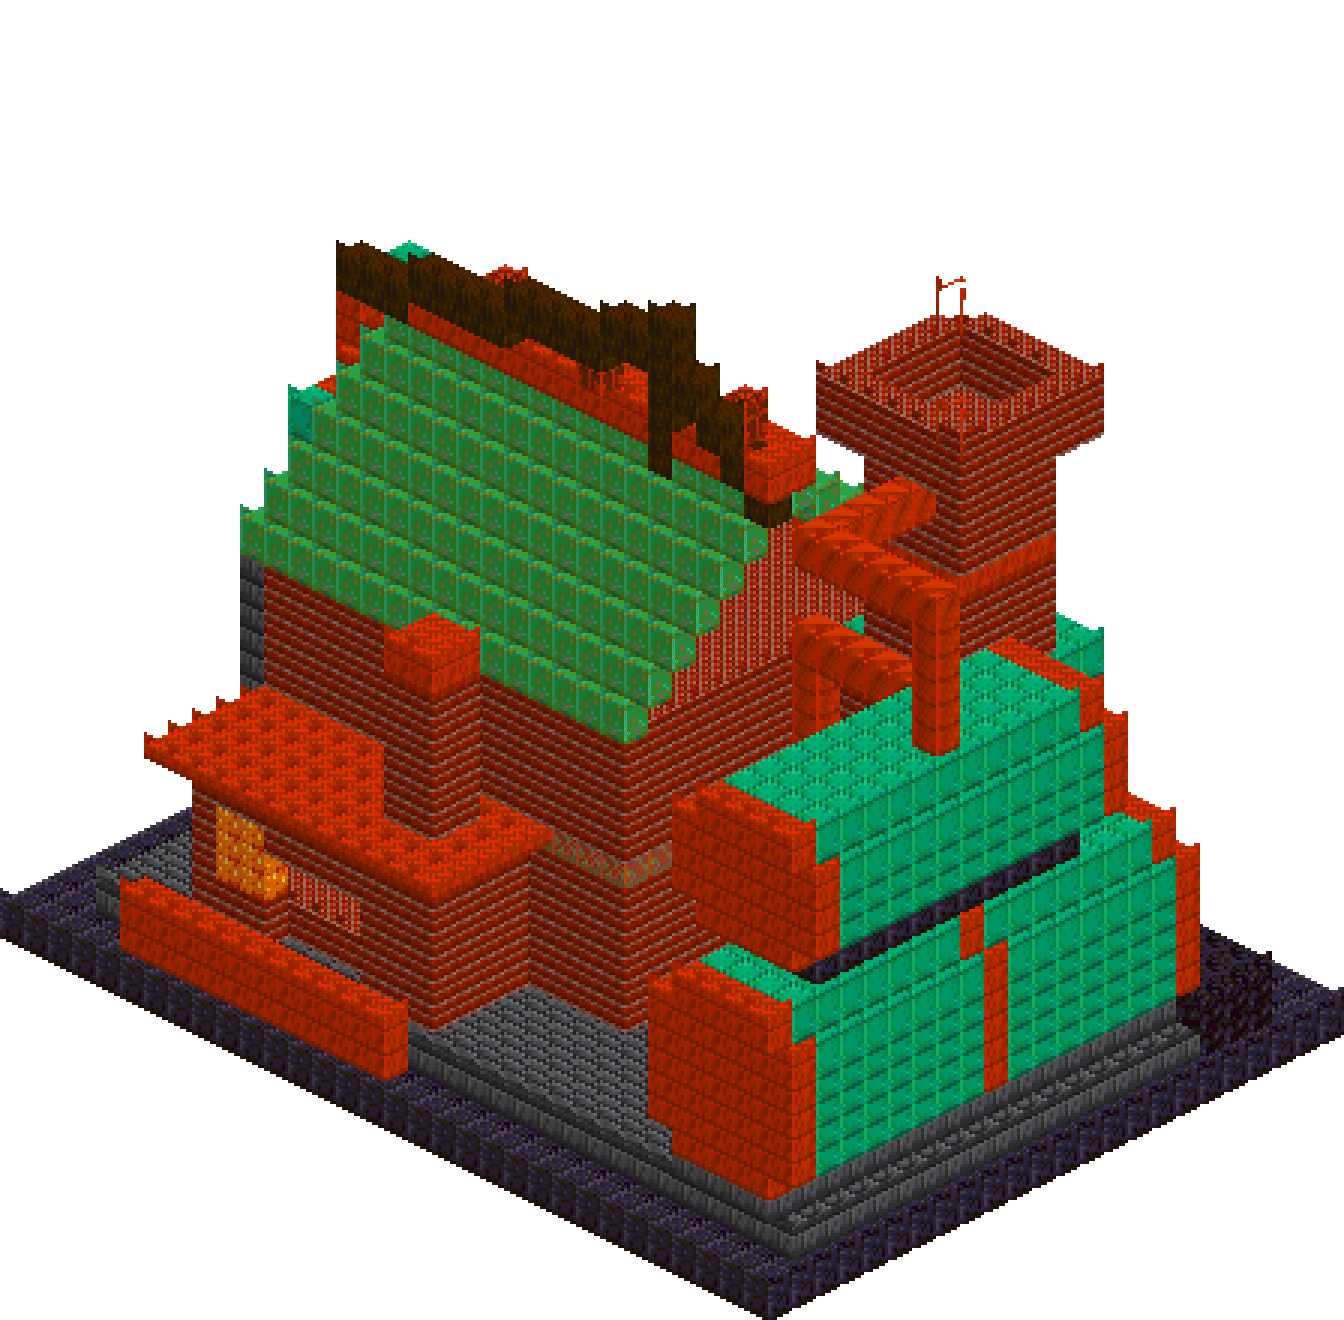
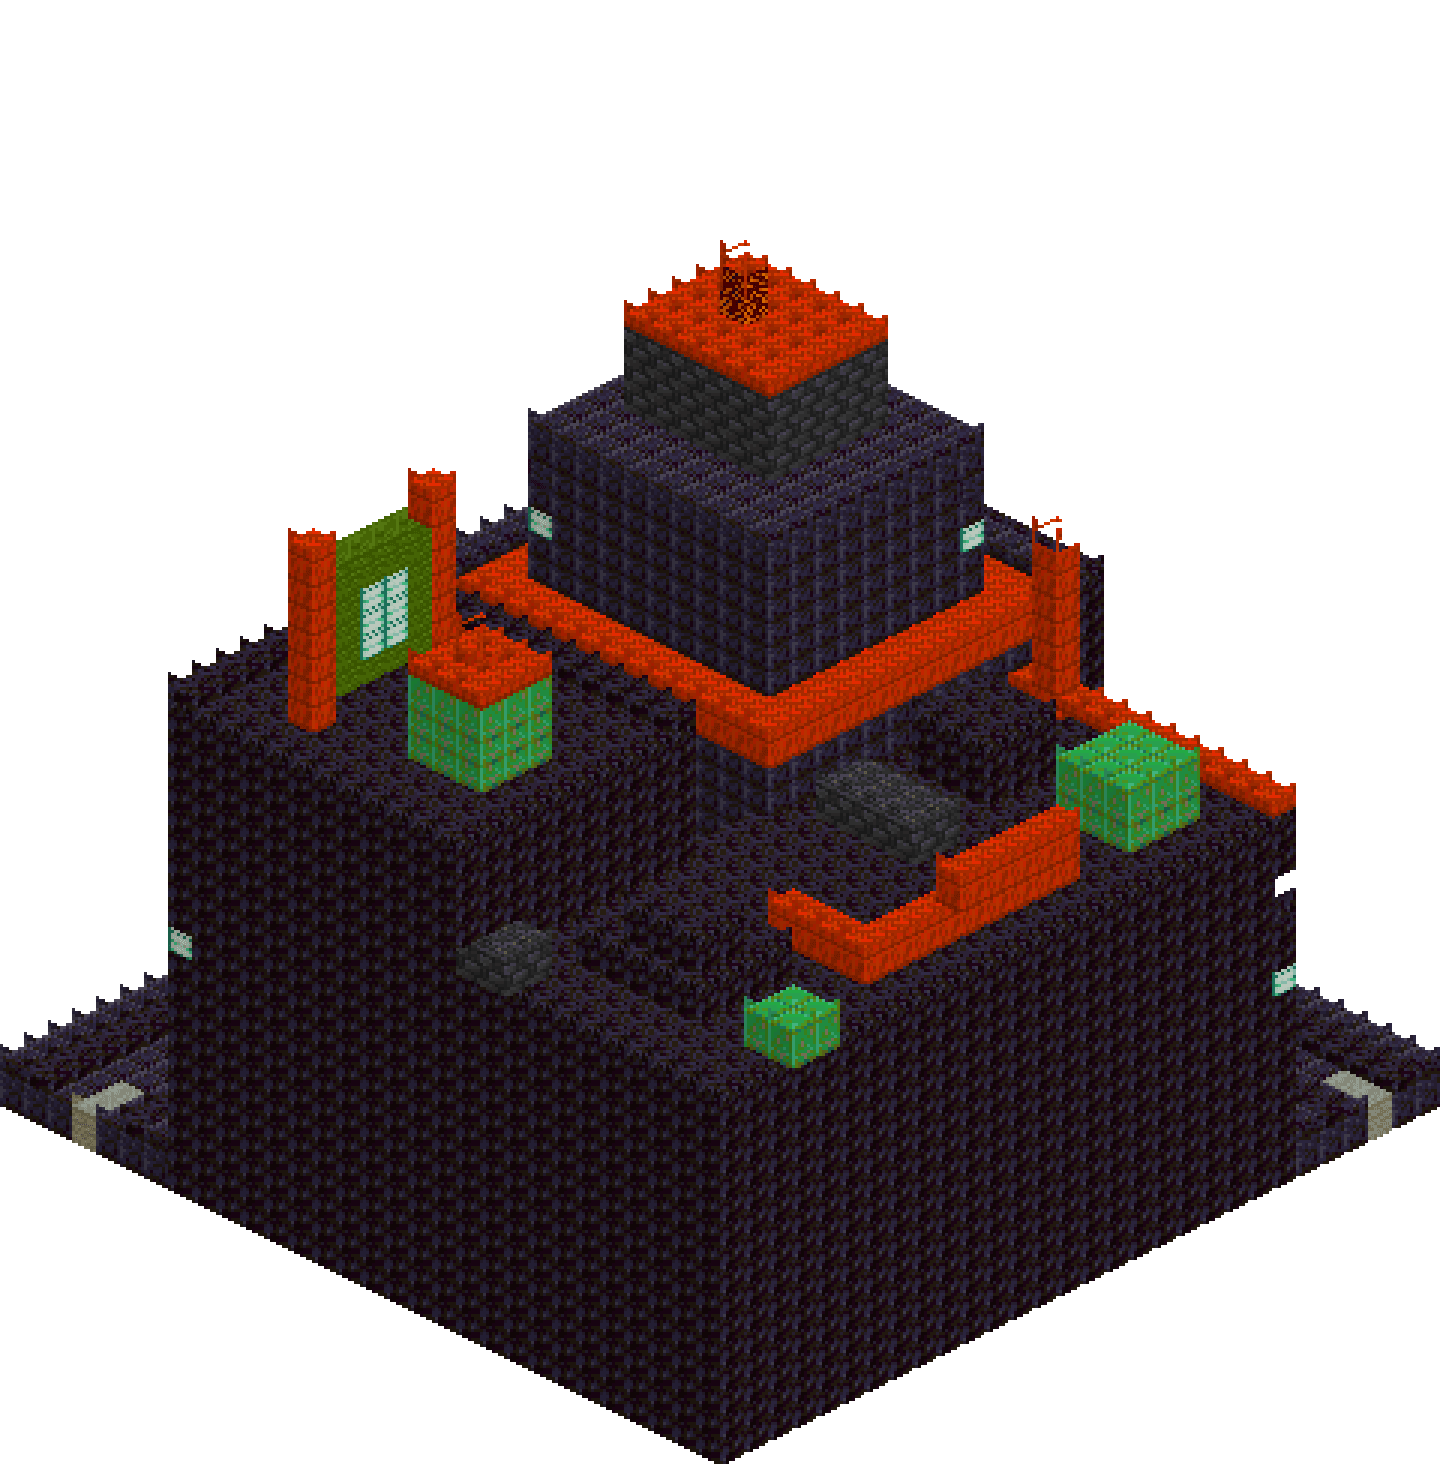
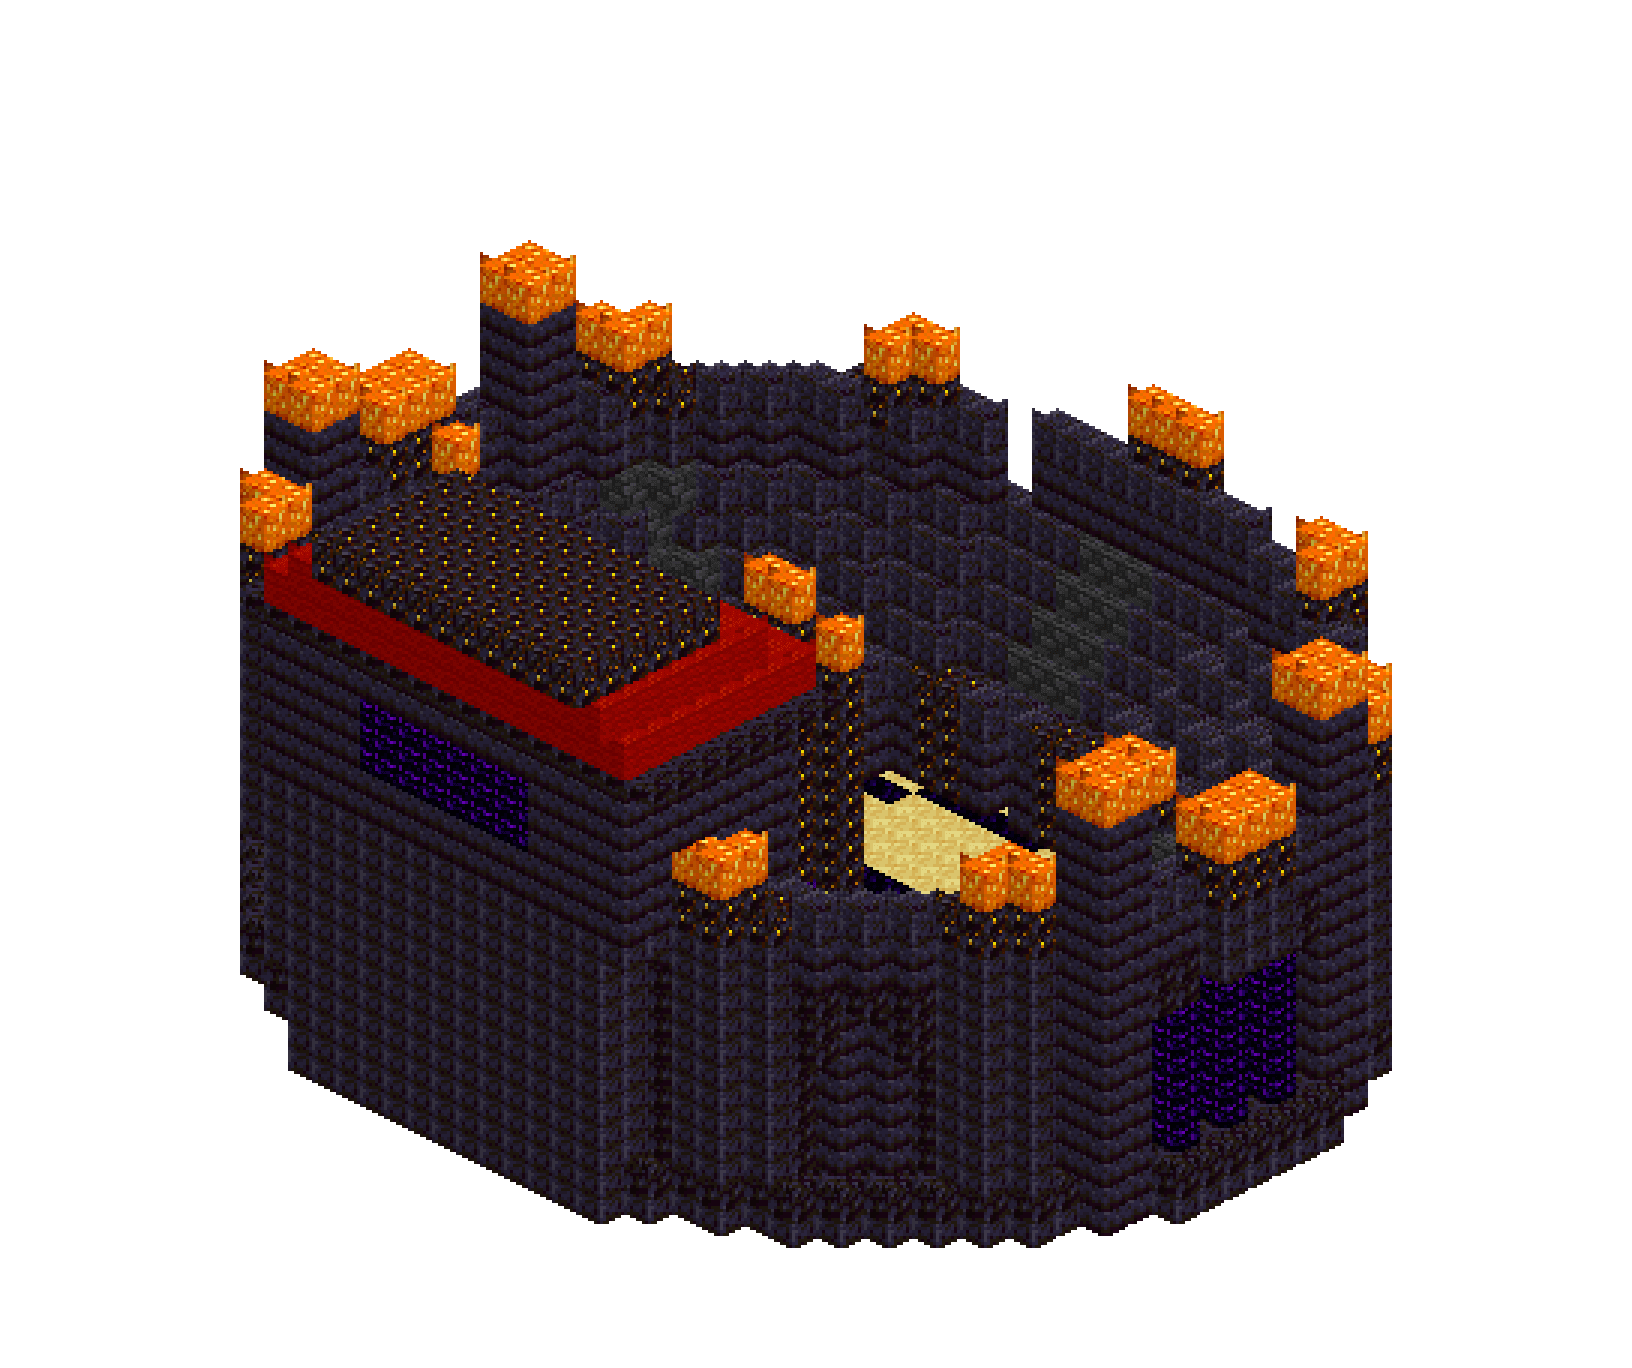
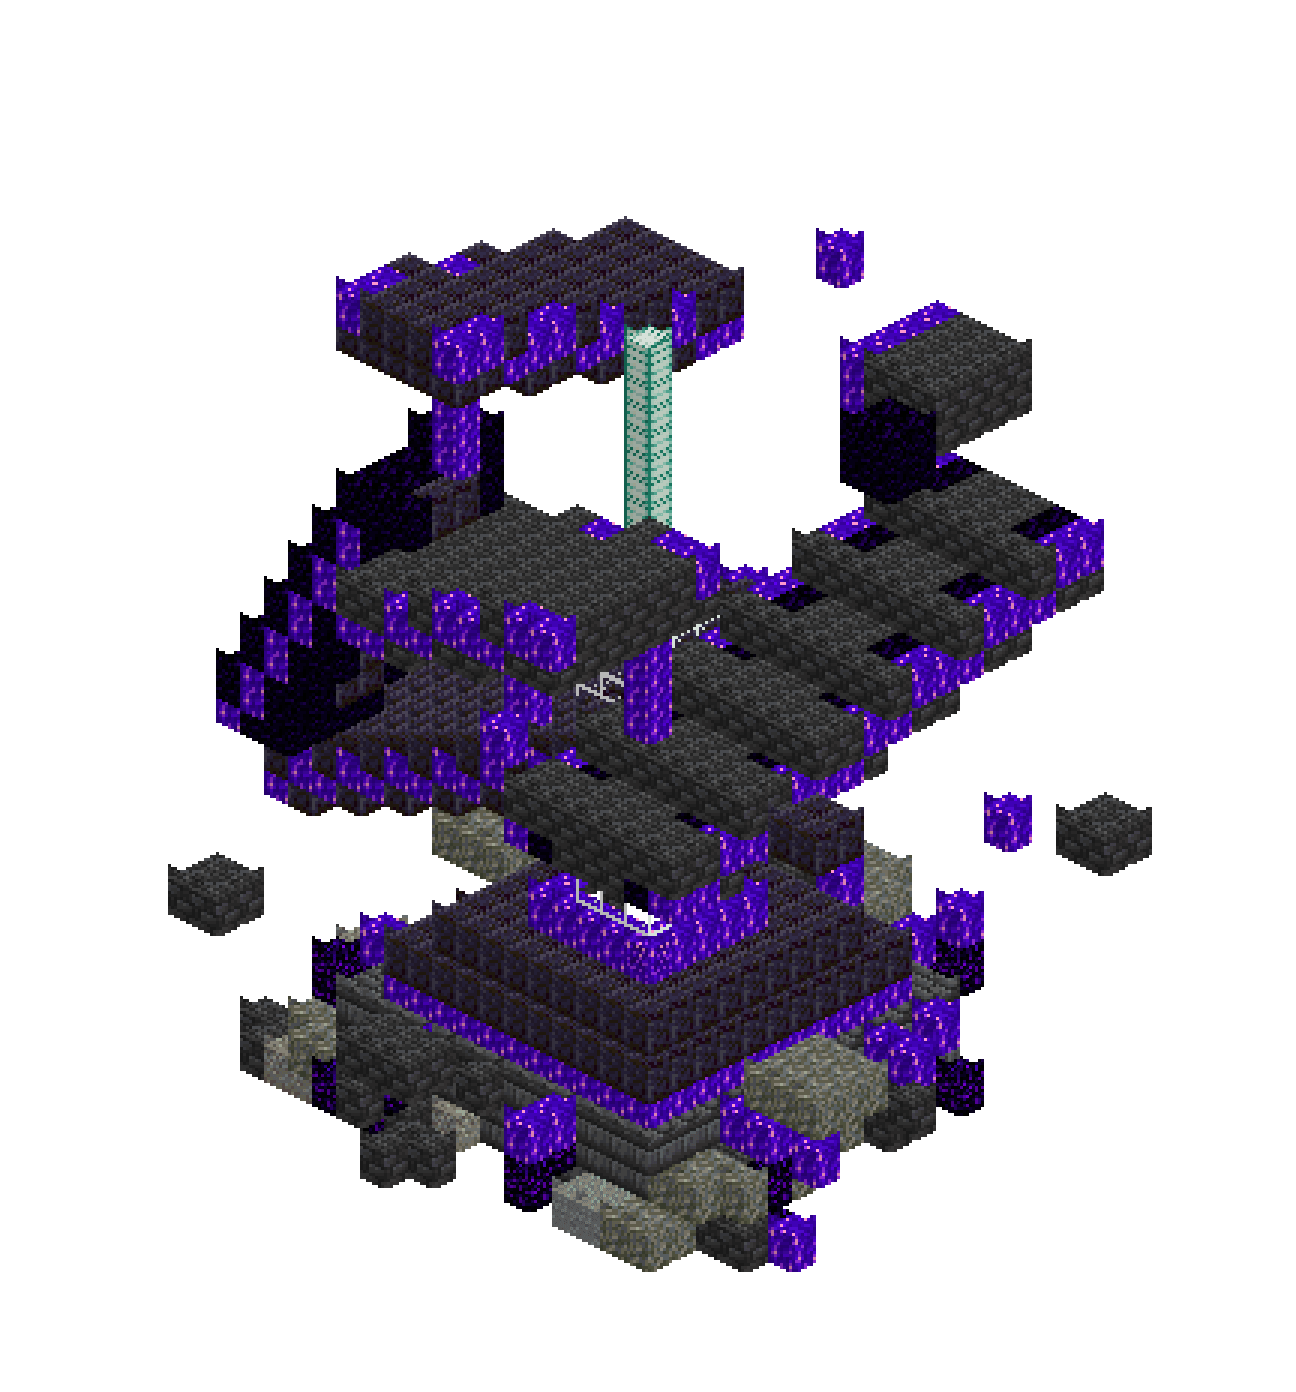
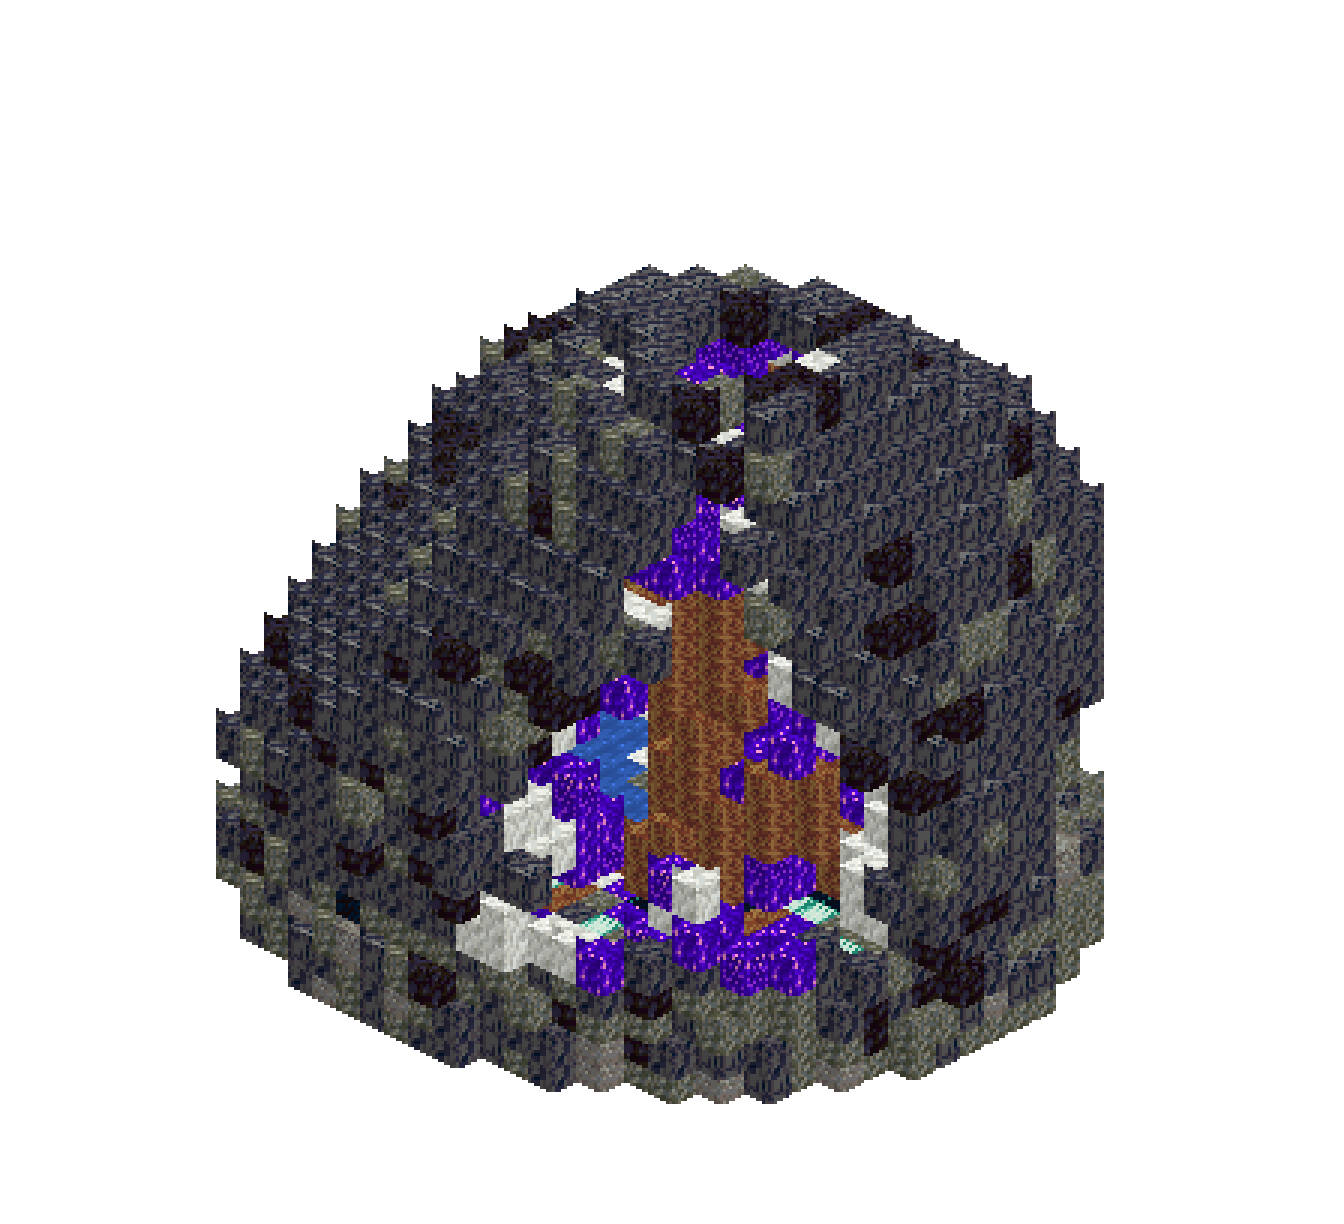
Most cave builds are a hole with some crystals dropped in it. This one is the crystal. A geode the size of a small house sits half-buried in bedrock, cracked open from its base right over its crown, so the whole chamber reads from outside. The skin follows Minecraft's own recipe — a mottled basalt rind, a single white calcite seam under it, then a druse of amethyst on the inner face. Inside, spires lean out of a mossy floor, dripstone columns run roof to floor, and a still pool with magma buried beneath it throws light back up onto the ceiling. It is built as twenty-two stacked cross-sections, which is the only sane way to get a curved shell out of cubes.
What you need
| Block | Count |
|---|---|
| Smooth basalt | 1047 |
| Tuff | 1009 |
| Calcite | 760 |
| Amethyst block | 613 |
| Basalt | 551 |
| Blackstone | 302 |
| Dripstone block | 251 |
| Budding amethyst | 175 |
| Gravel | 126 |
| Water | 97 |
| Sculk | 88 |
| Diorite | 54 |
| Sea lantern | 24 |
| Clay | 20 |
| Moss block | 11 |
| Magma block | 10 |
Counts are exact for the model above. Mine a little spare — nobody places every block first time.
Building it
Each stage names the layers it covers. Drag the slider on the model to that layer and you are looking at exactly what the stage describes.
1.Bedrock apron and the cavern floor
Lay a rough disc roughly twenty-six across and four deep, mottled from tuff, smooth basalt, basalt, blackstone and a little gravel. Keep the outline wobbly — a clean circle here reads as a display plinth rather than living rock. The top course at y3 does two jobs at once: outside the future chamber it stays dark stone, inside it becomes cave floor, tuff broken up with dripstone, calcite, moss and gravel. Sink the pool while the floor is still open: a lobed blob about nine across, water at y2 and y3 so the surface sits flush with the floor rather than in a bathtub, and a bed of clay and tuff at y1 with a dozen magma blocks scattered through it.
2.Springing the shell
From here up every layer is a ring, never a disc. The outer edge sits about twelve blocks from the centre, wobbled by a slow sine so no two layers share an outline, and the wall is 3.6 thick. Split that thickness into three bands and the geode does the work for you: the outer 1.5 blocks are crust — smooth basalt with basalt, tuff and blackstone speckled through it; the next block is a calcite seam; the innermost 1.2 blocks are the lining, patches of amethyst and budding amethyst on a calcite ground. Drift the ring centre 0.1 east and 0.08 north with each layer you climb. That lean is barely visible layer to layer and completely obvious in the finished silhouette.
3.Amethyst spires from the floor
Each spire is a stack of discs whose radius falls as base × (1 − t)^0.62, where t is the fraction of the way to the tip. The exponent matters: a straight taper gives a dull pyramid, the curve gives a fat shoulder and a genuine point. The hero rises from the floor near the centre-east, thirteen tall on a base radius of 2.6, shifting 0.1 east and 0.06 south per layer so it leans out over the pool. Cluster three or four shorter ones around each big spire rather than spacing them evenly. Every spire starts at y3 so its base is set into the floor, and none of them are allowed within two blocks of the outer crust.
4.Closing the dome
The rings now shrink fast: about 11 across the radius at y12, 9.6 at y15, 7.6 at y18, 4 at y21. Thin the wall as you go, from 3.6 down to about 2 at the crown, so the crust and calcite stay legible but the interior keeps as much headroom as possible. Because the centre is still drifting, the top of the dome sits nearly two blocks off the base centre — the boulder leans. Finish by punching a ragged oculus of radius two through the last two layers. Daylight drops straight down onto the tallest spire, and from directly above the whole thing reads as a dark egg with one violet eye.
5.Stalactites, columns and the roof crystals
Hanging features use the same cone maths upside down, but start them at the roof rather than at a chosen height: walk up each column until you hit stone, then grow the cone downward from one block below it so nothing floats. The largest hangs over the water and reaches nine blocks down. The dripstone column is an hourglass rather than a cone — radius 2.2 at floor and roof, pinched to 0.85 at mid-height — and one column is deliberately broken, a stump standing in the pool with its other half still hanging from the ceiling five blocks above. That gap is the best piece of negative space in the build.
6.Splitting the shell open
Carve last, and only through the wall band — everything you have grown inside stays. The fracture is an angular wedge facing the south-east corner, about 26 degrees either side of centre at the base, widening to 33 at the shoulder, then narrowing to a nine-degree cleft that runs over the crown and joins the oculus. Jitter the edge by up to ten degrees per layer and the break comes out ragged instead of sawn. Add a hairline fissure a few degrees wide on the opposite side between y8 and y18 so light reaches the back wall. The mouth exposes the three bands in section: black rind, white seam, purple flesh.
7.Sculk, shards and the last light
Sculk creeps in from the edges, not the middle. Decide it patch by patch on a coarse 2×2 grid, then speckle within the winning patches — a floor band roughly two blocks in from the wall, a ring around the shore, and a few climbing patches on the inner lining up to y8. For light, drop a scatter of sea lanterns into floor blocks touching a spire base so the crystals appear to be standing in their own glow, and leave the magma buried under the water. Finally, tumble five or six broken chunks of calcite, basalt and amethyst onto the apron in front of the mouth. They cost almost nothing and they explain the whole thing.
Make it yours
- Taper crystals with radius = base × (1 − height fraction)^0.62 rather than a straight line — the curve keeps a fat shoulder low down and still lets the last two blocks come to a real point.
- Never let a spire reach the outer crust. Stop everything two blocks short of the skin, or purple leaks onto the outside of the boulder and the reveal through the crack is wasted.
- Keep the calcite seam exactly one block thick. It is what makes the basalt read as rind and the amethyst as flesh; any thicker and the whole shell goes chalky and flat.
- Bury the magma two blocks under the pool surface. It lights the water from below, cannot set anything alight through the water, and the still surface does the rest.
- Roll sculk in patches, never per block. Pick winning patches on a coarse 2×2 grid first, then speckle inside them — scattered single blocks just read as dirt on the floor.