How to build the End Gateway Shrine in Minecraft
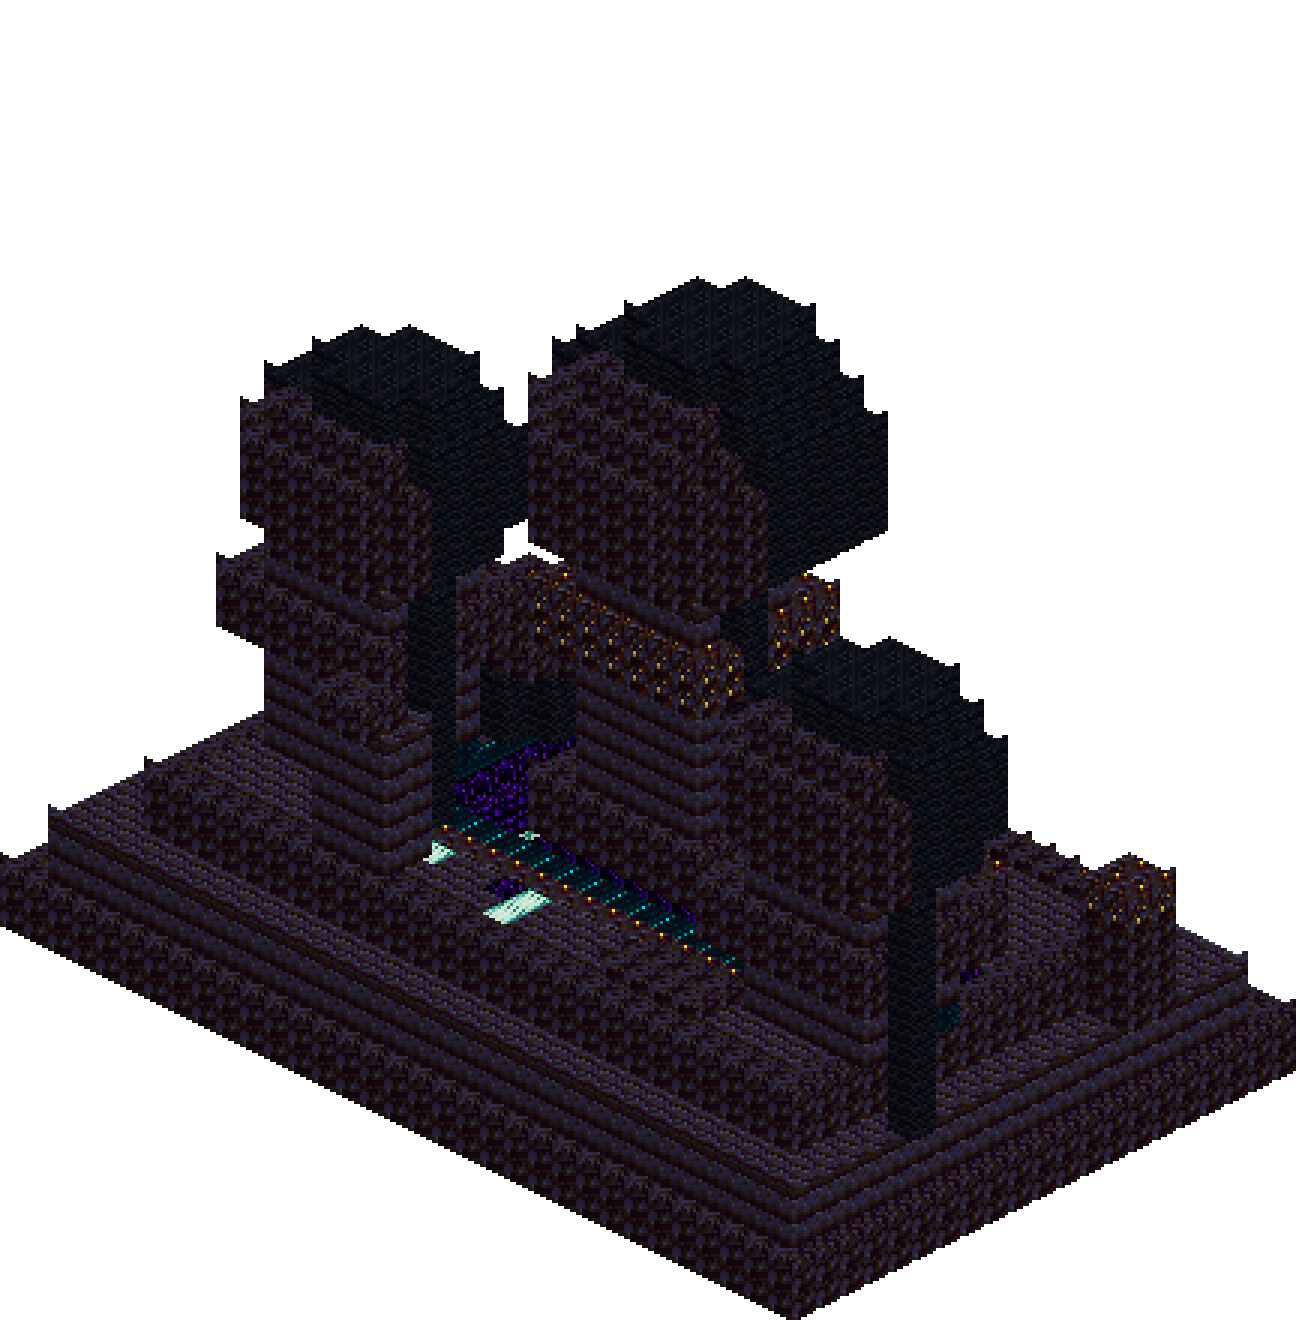
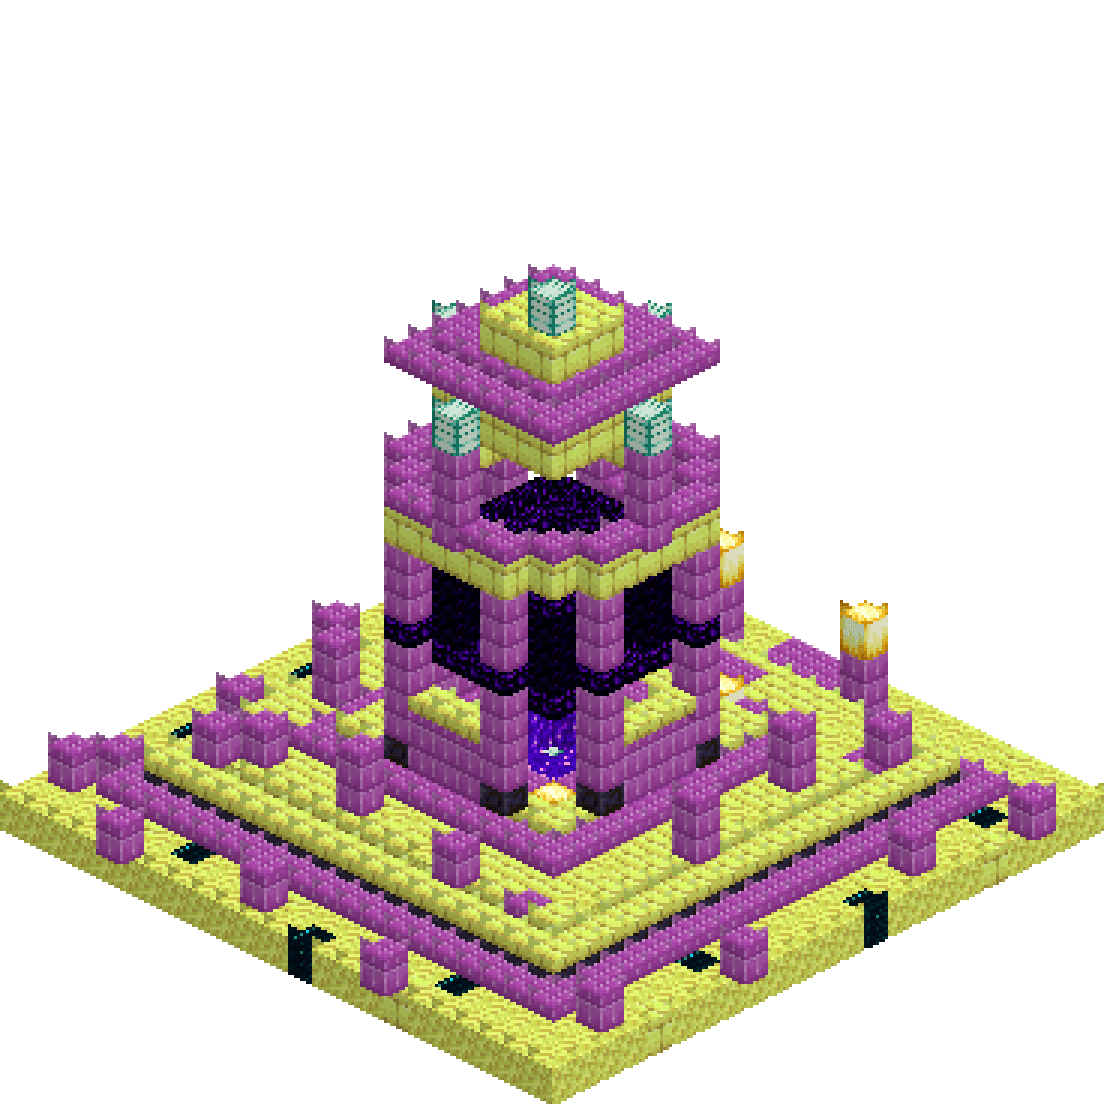
The end gateway is the game's smallest and strangest piece of architecture: a cube of obsidian with a hole through the middle and nowhere at all to stand. This gives it the setting it never had — a stepped end stone plinth, eight thin purpur columns carrying an octagonal architrave, a well of cold light sunk into the floor directly beneath the frame, and a capstone hanging above the lot with nothing underneath it. No rare blocks are involved, just end stone, purpur, obsidian and a handful of lanterns, but the two floating masses make it read as somewhere magic actually happens.
What you need
| Block | Count |
|---|---|
| End stone | 507 |
| End stone bricks | 309 |
| Polished blackstone | 269 |
| Purpur block | 191 |
| Purpur block slab | 160 |
| End stone bricks slab | 73 |
| Crying obsidian | 50 |
| Amethyst block | 48 |
| Sea lantern | 18 |
| Sculk | 12 |
| Obsidian | 12 |
| Froglight | 9 |
Counts are exact for the model above. Mine a little spare — nobody places every block first time.
Building it
Each stage names the layers it covers. Drag the slider on the model to that layer and you are looking at exactly what the stage describes.
1.Plinth, approach and the outer ground
Lay the ground as one sheet of end stone, then stack inwards: polished blackstone at 17x17, end stone bricks at 15x15. That dark course is doing real work — it reads as the shadow line under the shrine and stops the whole thing turning into one pale slab of custard. Every course is exactly one block high, so the plinth is its own staircase and no separate steps are needed. Run a purpur path up the middle from z=0, edge each course with a slab ring so the steps get a half-height lip instead of a hard corner, and stand two froglight-topped purpur markers either side of the approach.
2.Shrine floor and the well of cold light
Set the 9x9 shrine floor, then build the light before you close it up. Drop a solid 5x5x3 block of amethyst into the plinth, carve a 3x3x2 hole back out of its top and floor that hole with sea lanterns. Carving a solid mass beats trying to line a shaft in mid-air, and the amethyst rim left behind gives the opening a purple lip. Sea lanterns rather than glowstone: the End wants cold light, and warm yellow fights purpur every single time. Finish with a 7x7 purpur outline around it so the floor has a centre worth walking to.
3.Colonnade, balustrades and the doorway
Eight single-block purpur columns on an octagon four out from the centre. Thin is the whole point — a 2x2 pier would swallow the gateway. Blackstone at every foot ties them back to the base course, and a band of crying obsidian at y=9 crosses all eight at the height the frame's middle will sit. Fill three of the four straight bays with a two-high purpur balustrade capped in end stone brick slabs and leave the fourth open as the door, then bridge that gap at y=10 with a lintel and a glowing keystone. An offering slab against the back rail gives the space something to face.
4.Architrave and cornice
The ring that ties the columns together runs five blocks across on the axes and single blocks stepping the diagonals — 5, 1, 1, 1, 1, 1, 1, 1, 5 down the rows. Draw it in end stone bricks at y=13 so it lands square on the column tops, then repeat the identical ring one block higher in purpur slabs. Two courses is all it takes: the slab overhang throws a shadow line right round the building and the colonnade stops reading as eight sticks stood in a circle.
5.The floating gateway
Build this last, off a scaffold tower, once every surrounding height is locked in. Start with a hollow 5x5x5 obsidian shell, then make three cuts through it — a 3x3 tunnel on each horizontal axis and a 3x3 shaft top to bottom. What survives is the twelve edges of a cube, which is exactly the gateway shape and far more reliable than placing forty-odd blocks by eye. Swap the top and bottom rings for crying obsidian, hang a three-block sea lantern core in the middle, and pull the scaffold. It should touch nothing, and it should sit dead over the well.
6.Pinnacles and the levitating capstone
Four purpur pinnacles rise off the architrave on the axes and finish in sea lanterns at y=18. The capstone starts three blocks above the frame with a single sea lantern as its lowest point, widens through crying obsidian into a 5x5 body, oversails at y=19 with a purpur slab ring and steps back to a lit apex. Point-down and top-heavy is what sells the levitation; anything with a flat underside reads as a roof that lost its walls. Keep one clear block between the pinnacle tips and the capstone, then fly a lap underneath before calling it finished.
Make it yours
- Build the gateway solid-then-carve: a hollow 5x5x5 obsidian shell with three 3x3 cuts driven through it leaves the twelve edges of a cube, far cleaner than eyeballing four corner posts in mid-air.
- Every dimension is odd — 23 across, a 9x9 floor, a 5x5 frame — so there is always a true centre column for the well, the core lantern and the capstone tip to stack on.
- Keep the light cold. Sea lanterns and pearlescent froglight sit happily beside purpur; glowstone and ordinary lanterns drag the palette orange and the End look dies instantly.
- Lay the floor rings as outlines rather than filling a square and digging it out again — the kerb, the inlay ring and the capstone cornice are all one block wide and cost half as much that way.
- Scaling up? Push the octagon radius out rather than adding columns. Eight thin shafts at radius six still reads as a shrine; twelve turns it into a bandstand.