How to build the Gnome Village in Minecraft
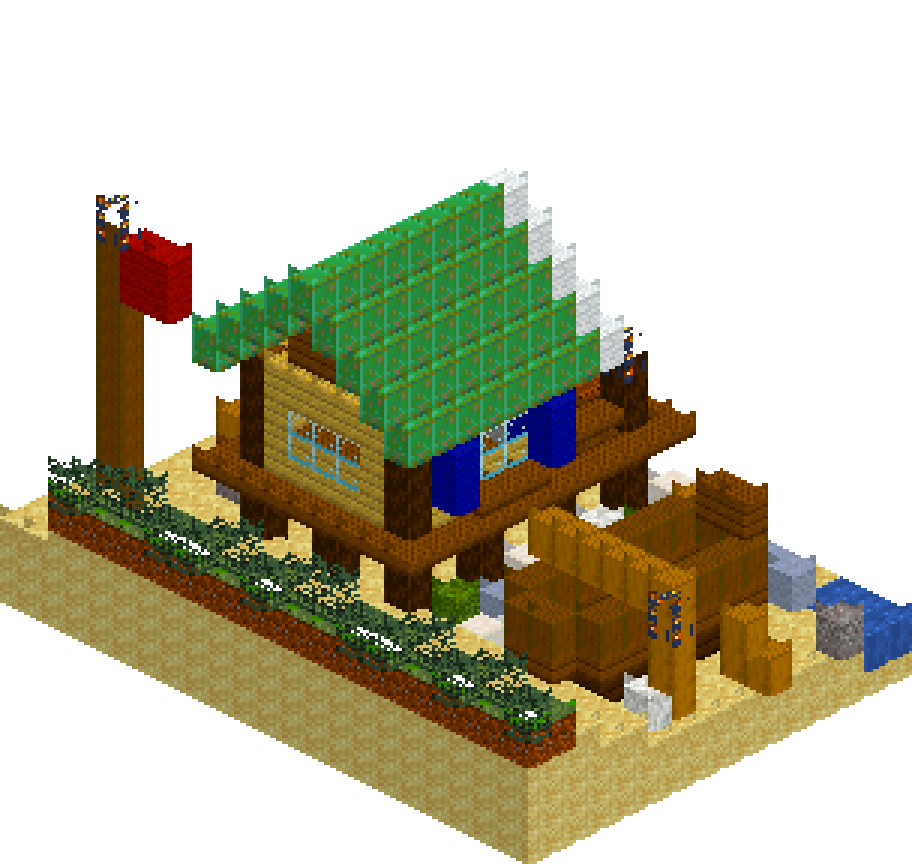
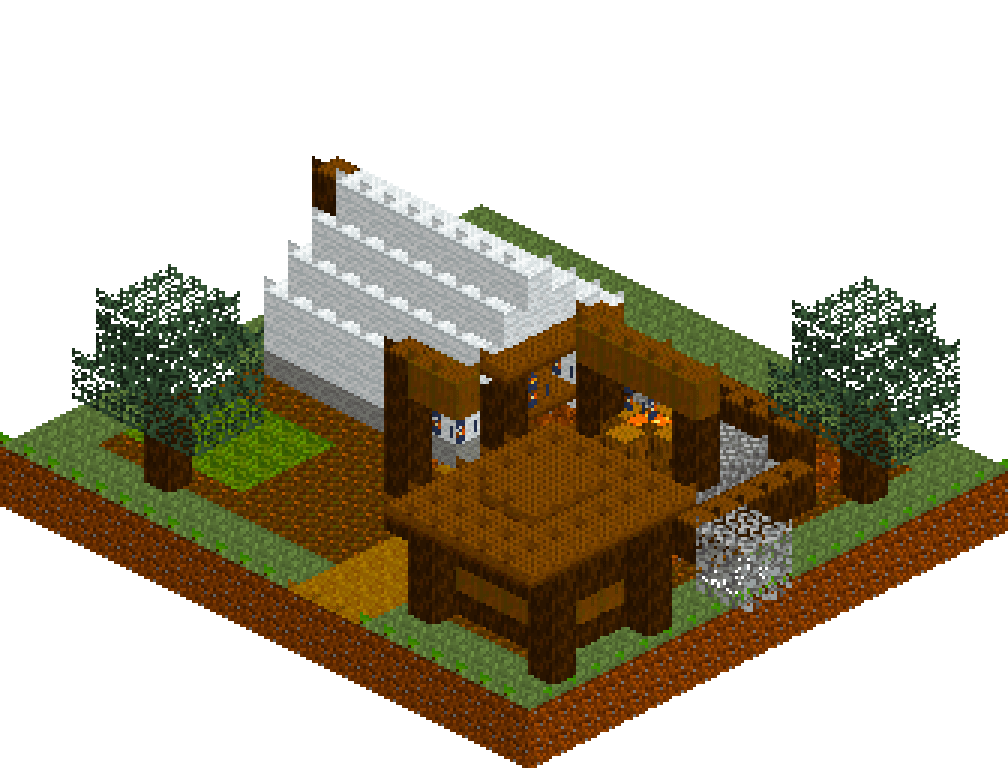
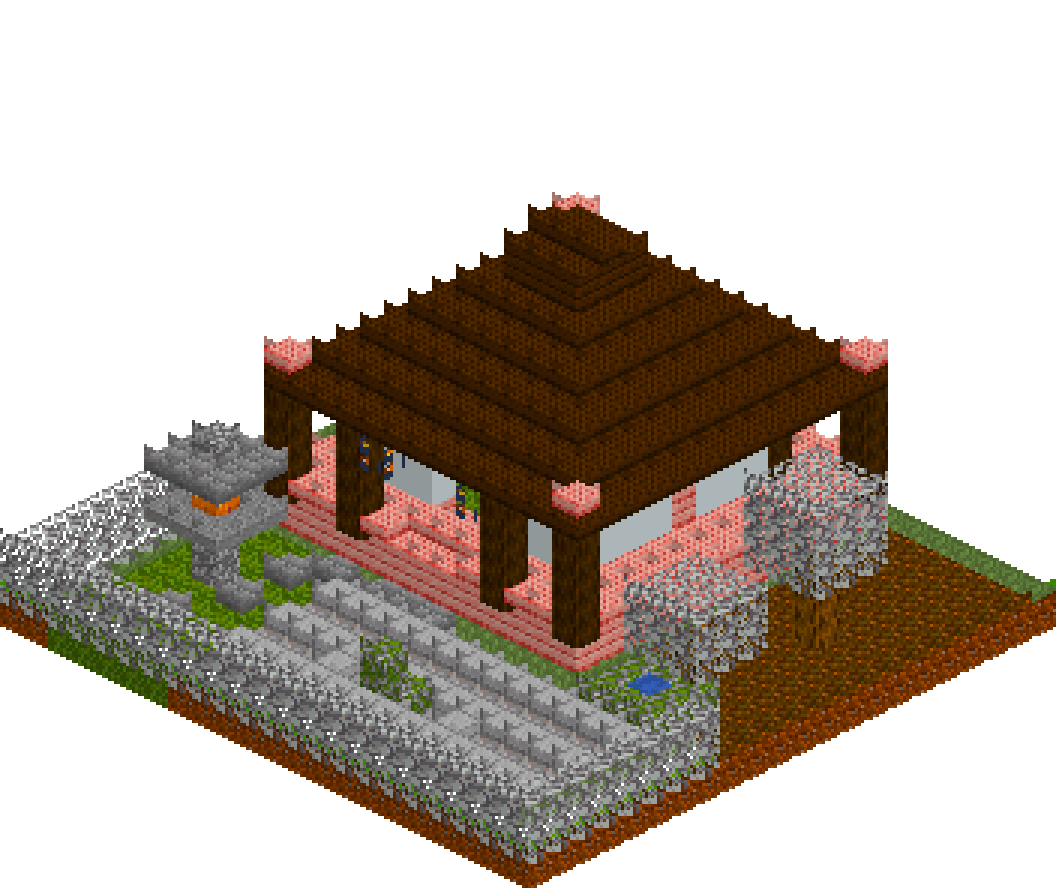
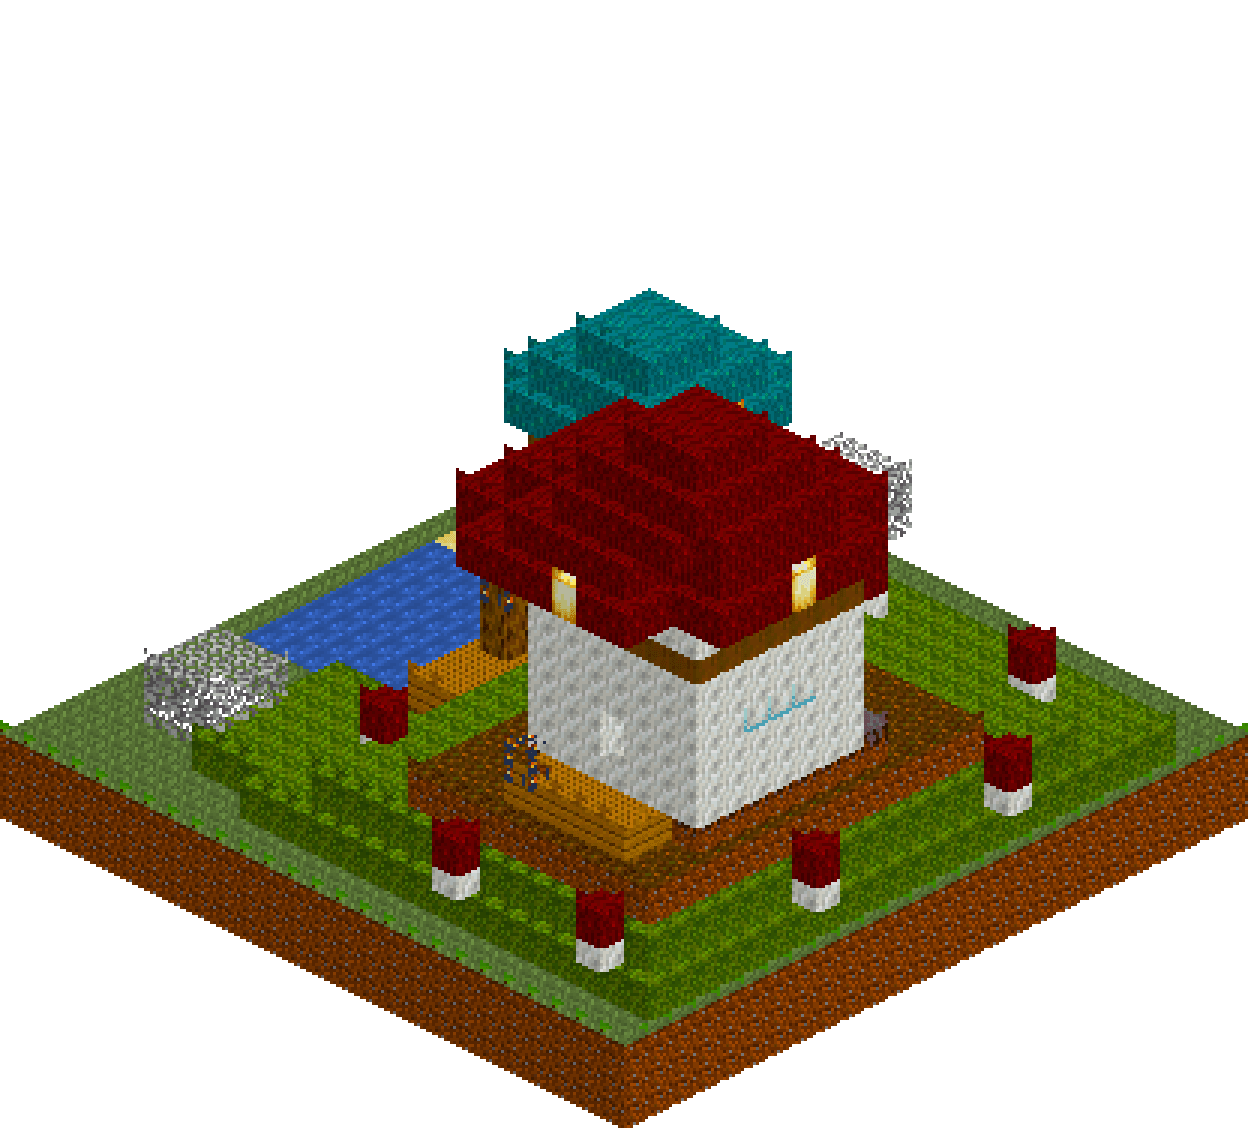
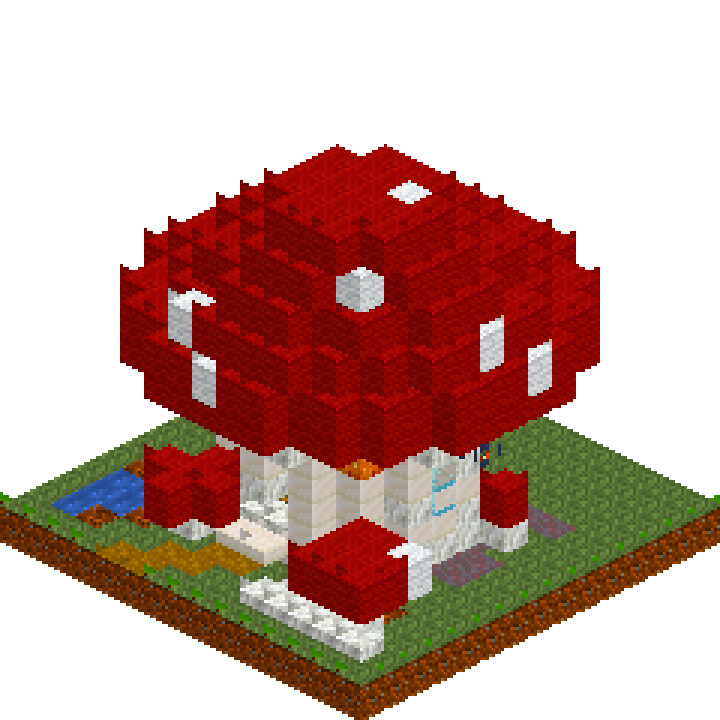
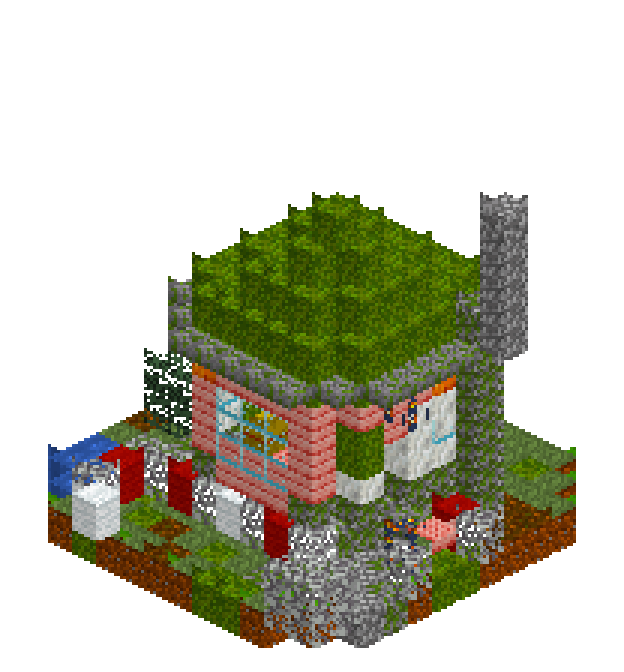
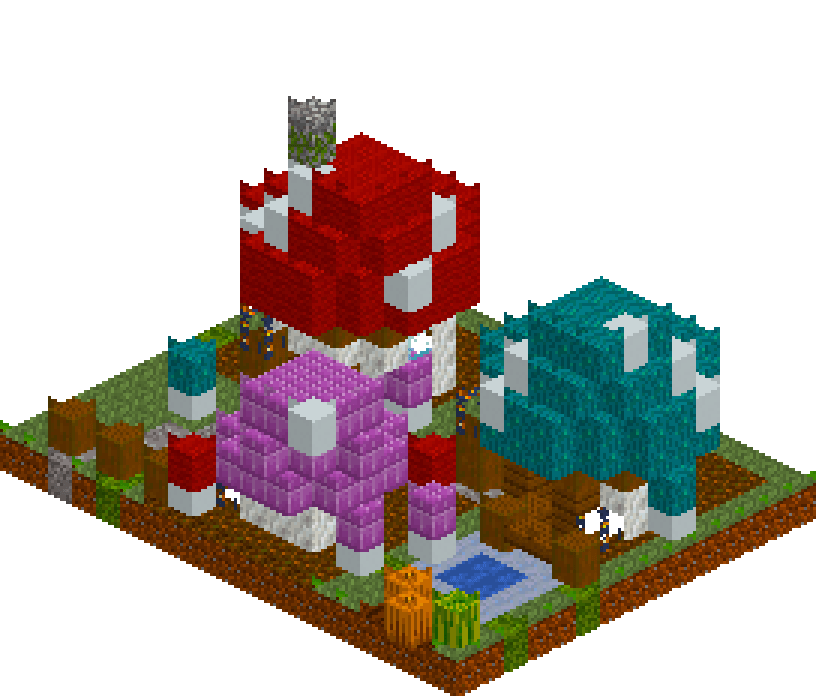
Three little houses, no two the same height, sharing one patch of shaded podzol. Calcite stems with spruce door frames, and domed toadstool caps in red, teal and lilac, each of them three or four courses stepped in a block at a time so the silhouette curves instead of squaring off. A gravel lane winds between them past a clay-rimmed pond, a low picket fence, a pumpkin patch and a scatter of thumb-sized mushrooms. Nothing stands more than eleven blocks tall, so it goes up without scaffolding and reads as a whole hamlet from the first course.
What you need
| Block | Count |
|---|---|
| Podzol | 136 |
| Grass block | 95 |
| Warped wart block | 90 |
| Red wool | 89 |
| White concrete | 48 |
| Calcite | 46 |
| Purpur block | 36 |
| Stripped spruce log | 35 |
| Spruce planks | 30 |
| Gravel | 24 |
| Clay | 12 |
| Glass | 10 |
| Mossy cobblestone | 9 |
| Moss block | 8 |
| Spruce planks slab | 7 |
| Farmland | 6 |
| Lantern | 6 |
| Water | 4 |
| Shroomlight | 3 |
| Pumpkin | 2 |
| Bookshelf | 2 |
| Composter | 1 |
| Melon | 1 |
| Furnace | 1 |
| Crafting table | 1 |
| Cobblestone slab | 1 |
Counts are exact for the model above. Mine a little spare — nobody places every block first time.
Building it
Each stage names the layers it covers. Drag the slider on the model to that layer and you are looking at exactly what the stage describes.
1.Ground, lane and pond
Lay the whole 19 x 15 plate first; it is one course, and everything after it is positioned off it. Grass for the meadow, podzol wherever a cap will later throw shade, and a gravel lane that leaves the front edge at x=2, wanders up through x=4 and straightens into a little high street along z=7. Sink a two-by-two pond at the right with a clay rim, till six blocks of farmland in the front corner, and speckle a few moss blocks through the grass so it is not one flat green.
2.Three stems, three doorways
Each house is an octagon, not a square: draw a five-by-five ring of calcite and knock the four corners off, and the walls read as round from every angle. House A sits at x2-6/z2-6, house B at x12-16, house C is a three-by-three at x8-10/z10-12. Frame every doorway with spruce planks and leave the middle column open for both courses; on the little house that opening is a third of the whole front. Glass one side of house A, give house B a three-wide window facing the green, then dress the ground with fence posts and slab rails, a log stump, a composter, pumpkins on the farmland and eight white-stemmed toadstools.
3.Collars, lamps and the lilac cap
Finish house B and the little house with a course of stripped spruce log. That collar is what turns a plain white cylinder into a mushroom stem, so do not skip it. House A takes one more course of calcite and gets its collar a level higher. Then the smallest cap: a five-wide disc at y3 centred on 9,11 with the corners cut, purpur on the ring and white concrete over the room, one shroomlight in the middle so light spills through the doorway. Step it in to a three-by-three with four stubs at y4, then a plain three-by-three at y5. Lanterns crown the three log posts at y3, low enough to light the lane rather than the sky.
4.The teal cap over house B
House B's cap is a seven-wide disc at y4: rows of three, five, seven, seven, seven, five, three, which is a circle as close as blocks allow. Keep the ring warped wart block and fill the central three-by-three with white concrete, because that is the ceiling seen from inside, and a shroomlight at its centre is the only light the house needs. Repeat the same disc at y5 so the cap has thickness rather than a paper brim, then five-wide at y6 and three-by-three at y7. Four white spots, placed on cells the layer above will not cover, finish it.
5.The red toadstool
Same recipe, a level higher and on the tallest stem: seven-wide discs at y5 and y6 centred on 4,4, five-wide at y7, three-by-three at y8. It overhangs the walls by a full block all round, which puts the doorway in shade and runs the lane under the brim, and that overhang is most of why the house looks grown rather than built. White concrete beneath the brim doubles as the ceiling. Scatter the spots off-centre; a tidy pattern reads as a beach ball, an untidy one reads as fly agaric.
6.One chimney, deliberately too tall
Run a single column of mossy cobblestone from y1 to y9 at x2/z4, straight up through the left edge of the red cap, and finish it with a cobblestone slab at y10. Nine blocks of chimney on a four-block house is the joke the whole village hangs on. Place it last and it simply overwrites the wall and cap blocks it passes through, so there is no shaft to leave and no hole to patch afterwards.
Make it yours
- Cut the corners off every circle you draw. A five-wide ring minus its four corners reads as round from every angle and costs four blocks less than the square would.
- Vary the three heights deliberately: four courses, three and two, with the caps stacked on top. Matching heights turn a village into a set of garden ornaments.
- Keep the light under the caps rather than on them. A shroomlight in each ceiling and lanterns on short log posts hold the glow at gnome height once night falls.
- Use podzol only where a cap will shade the ground and grass everywhere else; the dark patches make the lane and pond read instantly and look caused by the build.
- Lay the lane before the houses. Once the gravel is down, the doors have something to face and the fence has a line to follow instead of being placed at random.