How to build the Japanese Pagoda in Minecraft
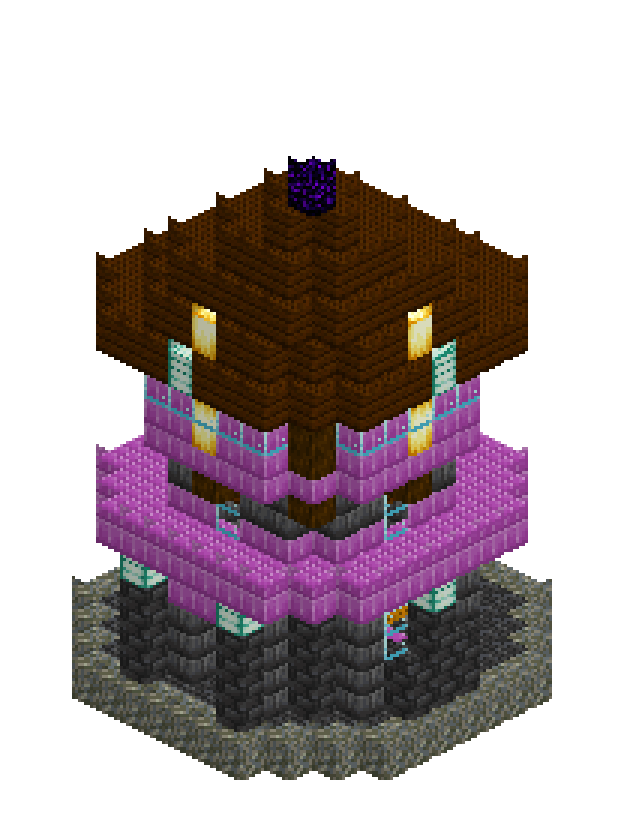
A pagoda is one idea repeated three times, each repeat smaller: a box, a roof that flares wider than the box, then a smaller box standing on that roof. Get the ratio right and it reads as a week's work. This one sits on a 19x19 stone plinth ringed by water, reached by a short plank bridge, with dark prismarine roofs over cherry planks and stripped oak framing, and white stained glass standing in for shoji screens. It has a shinbashira — the central pillar that runs from the ground floor all the way to the glowing finial — and three storeys you can actually stand up in.
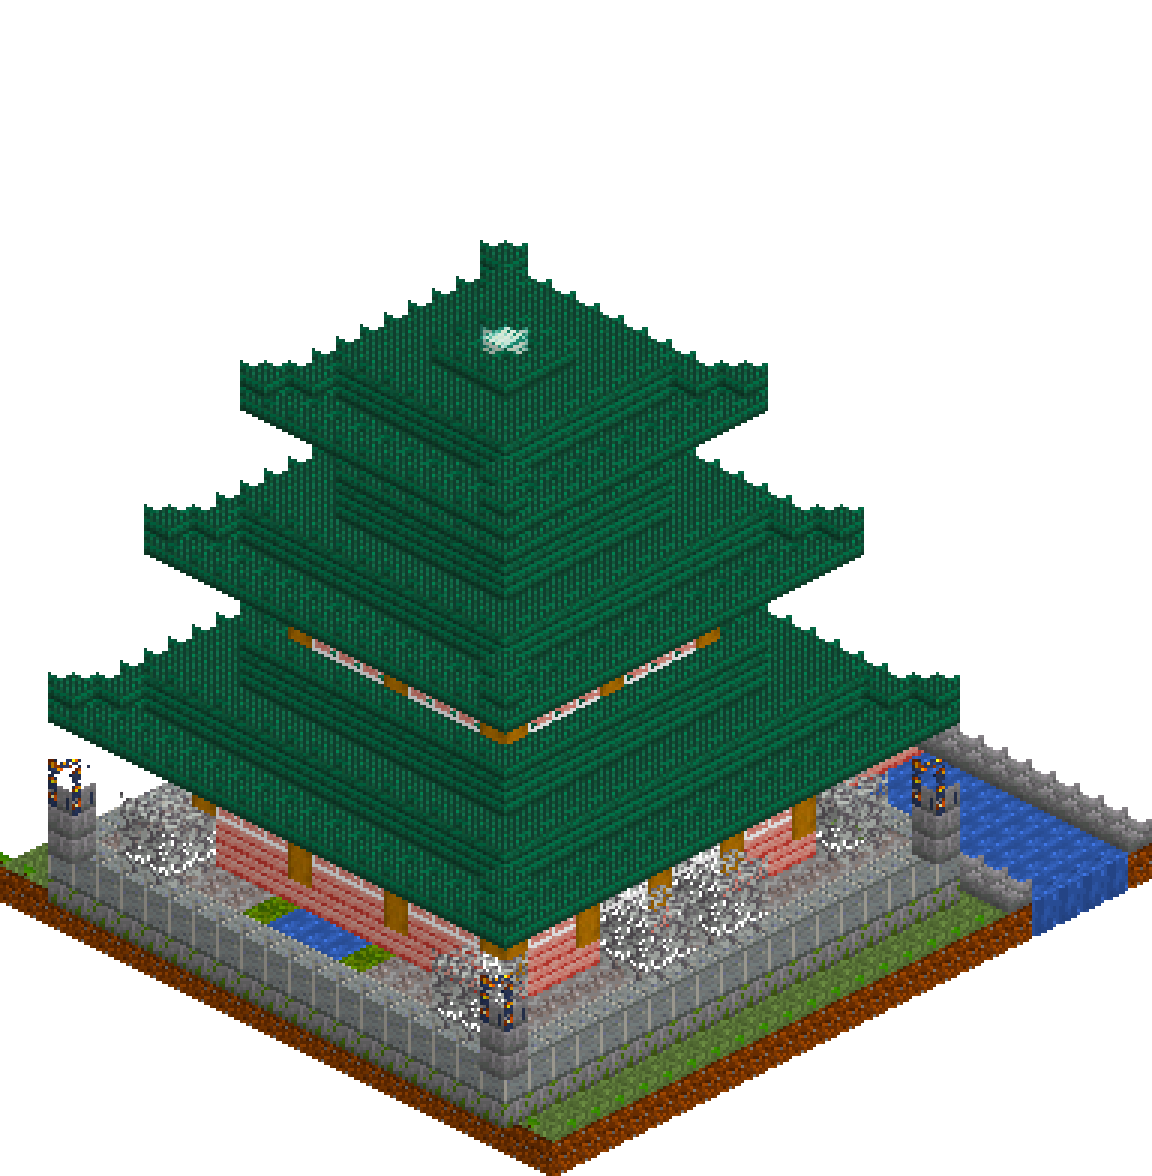
What you need
| Block | Count |
|---|---|
| Dark prismarine slab | 811 |
| Dark prismarine | 556 |
| Grass block | 483 |
| Mossy stone bricks | 361 |
| Cherry planks | 275 |
| Stripped oak log | 193 |
| Stone bricks | 181 |
| White stained glass | 118 |
| Gravel | 100 |
| Water | 98 |
| Polished andesite | 78 |
| Oak leaves | 64 |
| Stone bricks slab | 39 |
| Lantern | 14 |
| Moss block | 4 |
| Sea lantern | 2 |
Counts are exact for the model above. Mine a little spare — nobody places every block first time.
Building it
Each stage names the layers it covers. Drag the slider on the model to that layer and you are looking at exactly what the stage describes.
1.Water, ground and the moat kerb
Lay the grass plate over the whole 23x25 footprint first so you can see the plot, then cut the moat straight across the front at z=1 to z=4 and flood it one deep. One block of water is plenty — it still gives you the reflection of the roofs, which is the entire reason the moat is there, and it will not drown anyone who misses the bridge. Kerb both banks with stone brick slabs at y=1, but break the kerb between x=9 and x=13: that gap is where the bridge lands, and a kerb running through it would trip the approach. Leave the strip at z=5 as grass; the plinth starts at z=6 and wants a little bank in front of it.
2.The plinth, gardens and the bridge
The plinth is a 19x19 block of stone bricks from x=2 to x=20 and z=6 to z=24, two courses tall. Swap the lower course for mossy stone bricks — it is the course closest to the water, so it should look it — and run a polished andesite rim around the top course to draw a hard edge under the eaves later. Break the top surface up: a pale andesite entry path from the bridge to the door, two raked gravel gardens with clipped leaf shrubs flanking it, and a small still pool set into the back court. The bridge decks at y=1 over the water then steps to y=2 at z=5, so you walk straight off it onto the plinth without a lip. Two stripped oak posts with lanterns mark where the bridge meets the stone.
3.Ground storey: frame, shoji, doorway
The ground storey is a 13x13 cherry plank shell from x=5 to x=17, z=9 to z=21, standing on the plinth with a three-block veranda all round. Build the shell, lay a plank floor at y=3 so the room sits raised the way a timber floor should, then clear the inside from y=4 to y=7 — four blocks of headroom under the roof slabs. Wrap a band of white stained glass at y=5 and y=6 for the shoji screens and clear the inside again so you do not leave glass floating in the room. Stripped oak posts at y=4 to y=6 break that glass band into bays, and a full log ring at y=7 ties the wall heads together — that beam is what makes the eave above look supported rather than balanced. Cut the door three wide and three tall at x=10 to x=12, with a slab step outside it.
4.First roof: the wide flare
Three courses, each stepping in two blocks per side, which is the whole trick: step in one and you get a cottage roof, step in two and you get the shallow pagoda splay. The eave course at y=8 is dark prismarine slabs over the full 19x19, landing exactly above the plinth edge — line the drip line up with the stone below or the building looks like it is falling forward. Full blocks at y=9 (15x15) and y=10 (11x11) give the roof mass and double as the floor of the storey above. Then the corners: two slabs on a diagonal one level up at each eave corner, nothing more. That tiny lift reads as an upswept corner from thirty blocks away, and a full ridge line at this scale just looks heavy. Finish with a slab parapet ring at y=11 around the exposed lip.
5.Second storey and its roof
Same recipe, 9x9: shell from x=7 to x=15, z=11 to z=19, hollowed from y=11 up so the prismarine plate below becomes the floor, glass at y=12 and y=13, log corner posts, and a log beam ring at y=14. Before the roof goes on, punch a one-block shaft down through the plates at x=9, z=13 — that is your ladder run from the ground floor, and it is far easier to cut now than to chisel out later. The roof repeats the 15 / 11 / 7 progression at y=15, y=16 and y=17, slabs at the eave and full blocks above, with the same two-slab corner lifts at y=16. Parapet ring at y=18. Each tier is deliberately the same shape as the one below at three quarters the size; that repetition is what your eye reads as a pagoda.
6.Third storey and the crown
The top storey is only 5x5, x=9 to x=13 and z=13 to z=17, three blocks of headroom, one band of glass at y=19 and a log at each corner. Keep it plain — at this height detail turns to noise. Cut the second ladder shaft at x=11, z=16 through the y=15 to y=17 plates before you cap anything. The crown is two plates, an 11x11 slab eave at y=21 and a 7x7 at y=22, with corner lifts again, then a 3x3 slab cap at y=23 with a sea lantern at its centre. That lantern is the finial: it glows at night, it is the highest thing for a hundred blocks, and it is the reason the silhouette resolves instead of just stopping.
7.Central pillar and the light pass
Last op, and it must be last: a single stripped oak column at x=11, z=15 from y=4 all the way to y=22, punched straight through every roof plate. That is the shinbashira, the free-standing central mast real pagodas are built around. Inside the plates it is invisible; inside the rooms it stands in the middle of the floor exactly where it should, and at the top it carries the finial. Then walk the light: lanterns hanging under the ground-floor ceiling, one per upper storey, a sea lantern on the low prismarine altar at the back wall, lanterns on the bridge posts and on the two front plinth pillars. Light at the water, light at the door, light at the peak — nothing in between needs it.
Make it yours
- Align the y=8 eave with the plinth edge exactly — both are 19x19 from x=2 to x=20 — so the roof drips onto the stone rim and not onto the grass.
- Step every roof course in by two blocks per side, never one. One block per course gives a steep cottage pitch; two gives the shallow splay that reads as East Asian.
- Build the roofs as solid plates rather than hollow rings, then hollow the storey that sits on top. Ring roofs leave you with floors that have no middle.
- Cut the ladder shafts through the roof plates before you place the central pillar, otherwise you are digging logs back out of a finished tier.
- Corner uplift is two slabs on a diagonal, one level above the eave corner. Anything longer turns into a ridge and the roof starts to look armoured.
- If the teal fights your biome, swap dark prismarine for deepslate tiles with weathered copper slabs at the eaves — the geometry carries the build, not the colour.