How to build the Medieval Townhouse in Minecraft
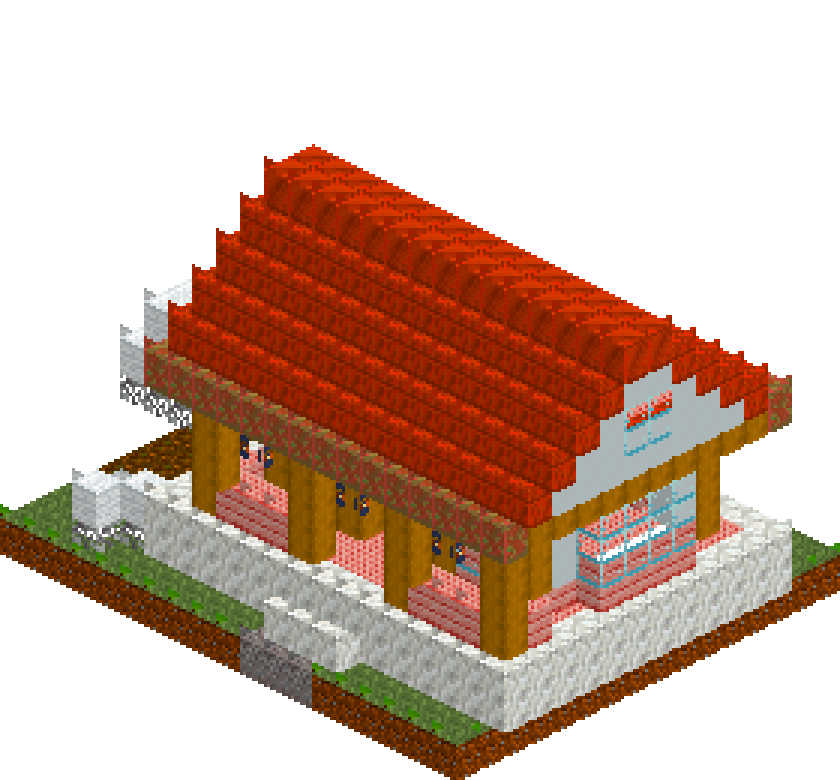
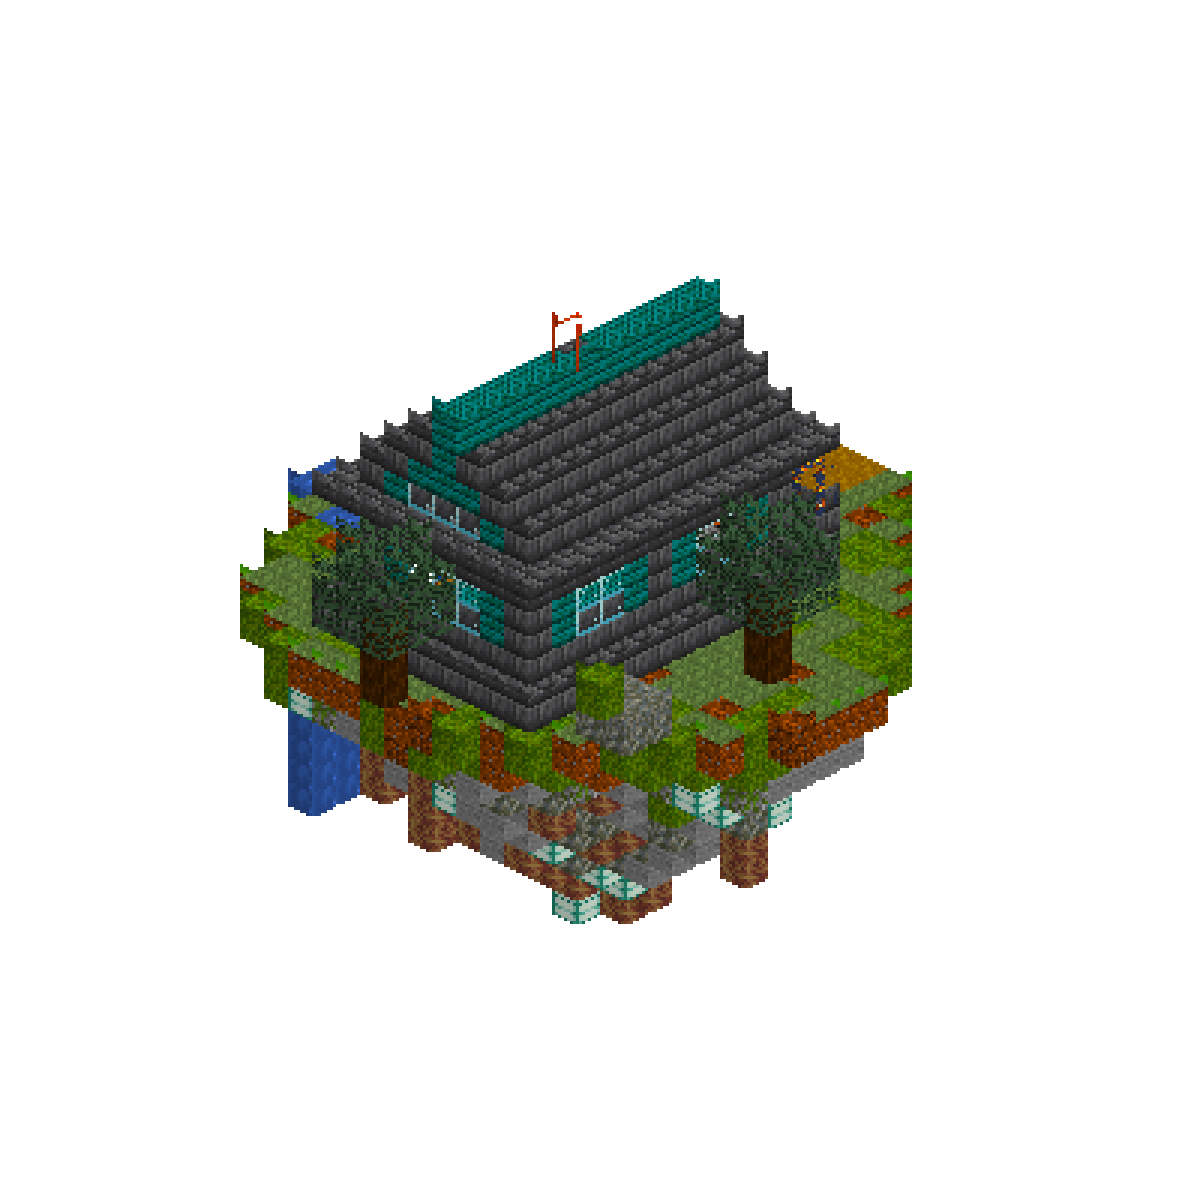
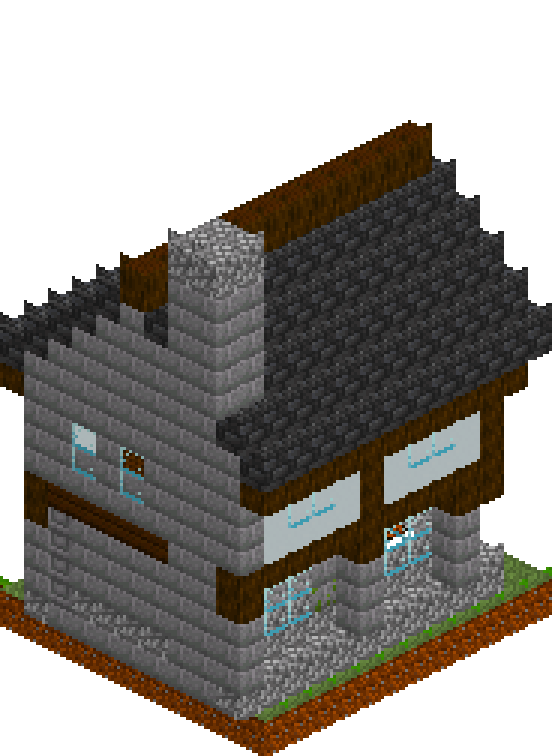
Most medieval houses fall flat because they are a white box with brown stripes painted on. This one earns the look structurally. A stone ground floor takes the damp and the wear. The first floor is jettied a full block out over the street on timber corbels, so the façade throws its own shadow before a single decoration goes on. The steep slate roof turns its gable end to the road, the way a town plot with a narrow frontage forces it to. Eleven blocks wide and twelve deep, so it slots into a row rather than eating half a village square — and mirrored along the street it makes a convincing terrace.
What you need
| Block | Count |
|---|---|
| Stone bricks | 237 |
| Dark oak log | 154 |
| Grass block | 132 |
| Deepslate tiles | 116 |
| Dark oak planks | 82 |
| Glass | 55 |
| Cobblestone | 52 |
| White concrete | 38 |
| Chiselled stone bricks | 12 |
| Lantern | 6 |
| Bookshelf | 6 |
| Mossy cobblestone | 2 |
| Mossy stone bricks | 2 |
| Crafting table | 1 |
| Furnace | 1 |
| Shroomlight | 1 |
Counts are exact for the model above. Mine a little spare — nobody places every block first time.
Building it
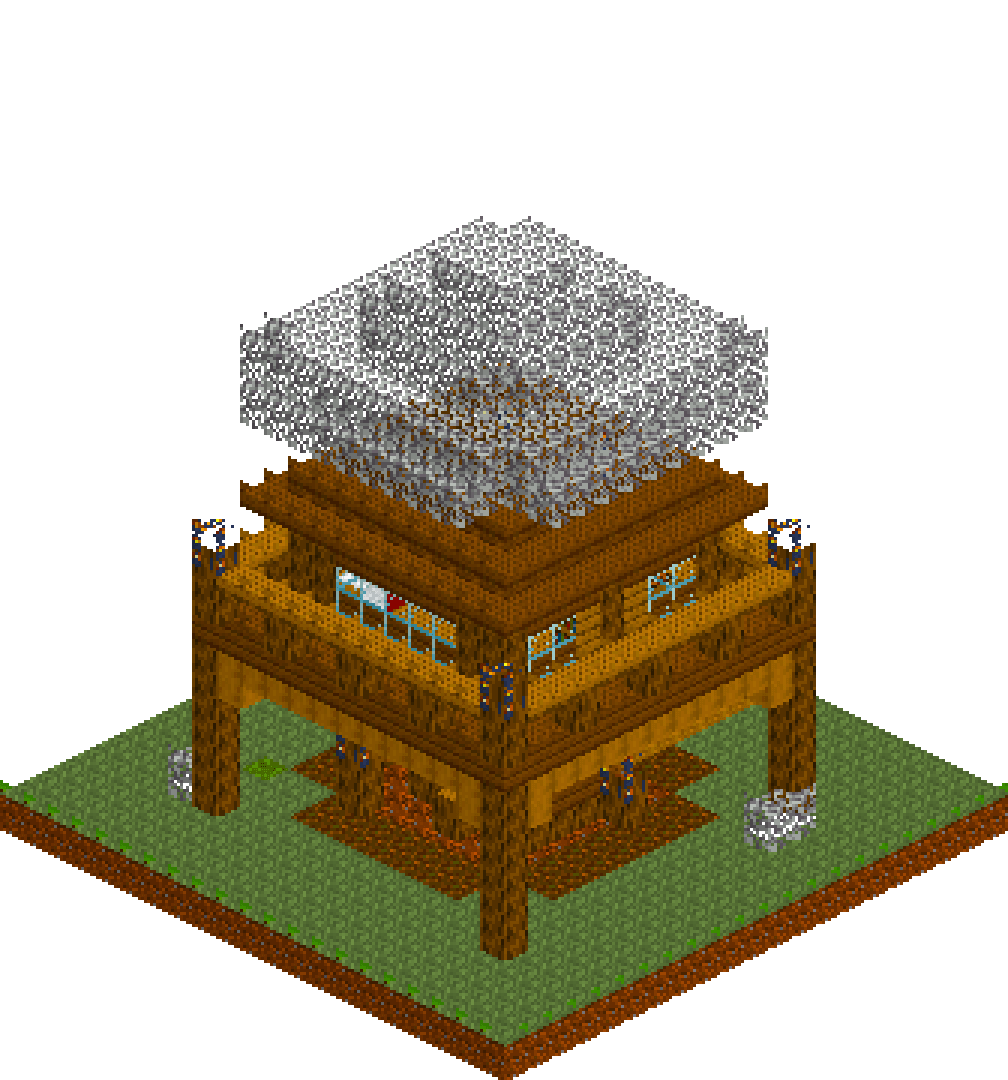
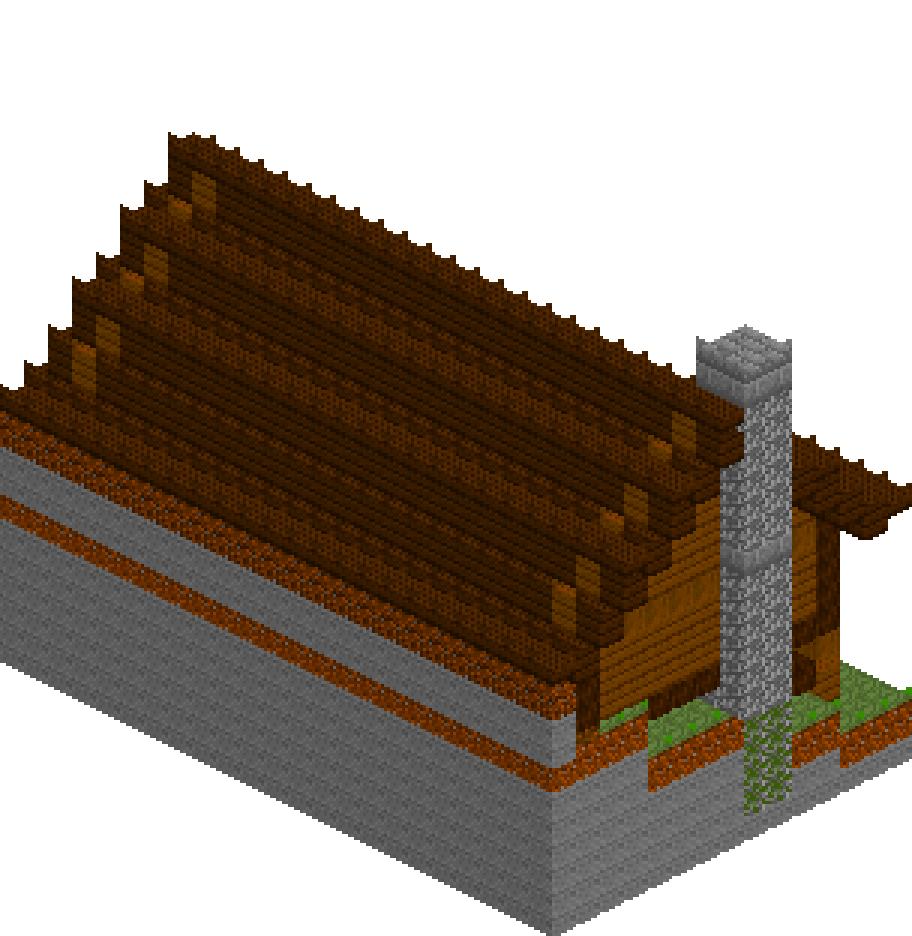
Each stage names the layers it covers. Drag the slider on the model to that layer and you are looking at exactly what the stage describes.
1.Plot, plinth and doorstep
Lay the full 11x12 grass plate first so you can see the plot edges while you work. On top of it goes a cobblestone plinth from x1..9, z1..11 — one block wider than the house on the two long sides and the front. Then the stone brick floor slab at x2..8, z2..11 sits inside it, which leaves a one-block cobble kerb showing all the way round. That kerb is doing real work: it reads as a damp course, it stops the walls meeting the grass in a hard line, and it gives you a dry threshold. Finish with three stone bricks at z=0, x4..6 as the doorstep, lined up with where the door will go.
2.The stone ground floor
Fill x2..8, y2..5, z2..11 solid in stone bricks and carve the inside back out — far faster than placing four walls and it guarantees the corners meet. Swap the bottom course at y=2 for cobblestone so the wall gets rougher as it nears the ground, and run chiselled stone bricks up all four corners as quoins. The door is a single column at x=5, three tall, with dark oak log jambs either side and a log lintel across at y=5. Glass goes in pairs — x=3 and x=7 on the street, z5..6 and z9..10 on each flank — because a band of small openings reads medieval where one big hole reads modern. Two stone buttresses on each side at z=4 and z=8 break the flat wall and give the jetty something to land on.
3.Throwing out the jetty
This is the move the whole build rests on. Cap the buttresses and the front corners with dark oak logs at y=5 — seven corbels in all, at the two street corners, above the door, and on each buttress head. Then lay the first floor deck at y=6 across x1..9, z1..11: a full block further out than the stone below it on three sides. Ring the deck edge in dark oak log so the bressummer beam reads as a separate timber from the planks it carries. Hang a lantern under the overhang at x=3 and x=7 so the recess it creates is lit rather than a black slot. Cut a 2x2 hole in the deck at x3..4, z3..4 for the stair.
4.Timber frame and window band
Four layers, drawn rather than boxed, because the framing changes at every course. Posts in dark oak log stand at x=1, x=5 and x=9 on the street front and at z=6 on the flanks; the blocks flanking the corner posts at y=7 are logs too, and the mullions at y8..9 sit one step inwards, so the eye reads a diagonal brace. Between the posts, white concrete below the sill and glass in the band above, split by log mullions into four narrow lights per bay. The rear wall stays stone brick from ground to roof — a party wall against the next house, and the reason the chimney can climb it. Cap everything at y=10 in log, then push that plate out to x=0 and x=10 so the eaves have something solid to spring from.
5.The slate roof
One gable from [0,11,0] to [10,16,11] with the ridge running along z, so the pitched faces shed sideways and the triangle faces the street. Eleven blocks across rises five, which puts the ridge at y=16 — do that sum before you commit to a height. Hollow the attic out in descending steps: clear x1..9 at y=11, x2..8 at y=12, x3..7 at y=13, x4..6 at y=14 and just x=5 at y=15. Clearing the same width at every level is how people punch holes straight through their own roof. Repeat the same stepped clear on the z=0 plane only, which leaves the sloping edge standing as a barge board with the gable wall recessed a block behind it. Deepslate tiles read as slate; a dark oak ridge beam along the top finishes it.
6.Street gable and chimney
The gable wall sits at z=1, one block behind the barge boards. A dark oak tie beam runs the full width at y=11, then white concrete steps up in a triangle with a log at each outer end of every course — x2 and x8 at y=12, x3 and x7 at y=13, and so on — so a second dark line climbs parallel to the roof pitch. A three-wide attic window with a single block peak fills the middle. The rear gable is plain stone brick, matching the party wall below. Then the chimney: a 2x2 stack of stone bricks at x7..8, z10..11 running from the floor slab all the way to y=17 with a cobblestone cap at y=18. It punches out through the slope near the rear rather than at the ridge, which is where a real flue would come.
7.Inside
Both storeys get four blocks of headroom, which is the minimum before a room starts feeling like a crate. Downstairs, carve a two-block hearth into the face of the chimney breast and drop a shroomlight in the bottom of it for the ember glow; two lanterns hang from the deck above at z=5 and z=8. Upstairs, throw a dark oak tie beam across at y=11, z=5 — it stops the open attic reading as a void and gives you somewhere honest to hang the last two lanterns. Bookshelves along the stone rear wall fill the corner the chimney does not. Leave the roof underside exposed; a flat ceiling would waste the whole truss.
Make it yours
- If your plot sits in a dark forest the dark oak posts disappear against the trees — swap them for stripped spruce log and drop the infill to light grey wool so the frame still reads from fifty blocks away.
- The jetty only works if you can see under it. Keep the columns at x=0 and x=10 empty from y=1 to y=9; the moment you fill that gap with fences or flower pots the overhang stops casting a shadow and the whole façade goes flat.
- Clear the attic in descending widths (x2..8, then x3..7, then x4..6). Clearing a straight x1..9 rectangle at every level punches holes right through the slate — it is the single most common way this build gets ruined.
- In-game, glass panes rather than full glass blocks in the upper window band make the mullions read much stronger. Keep full blocks only if you want the thick, bottle-glass look.
- Repeat the house at x+11 with the door mirrored and you have a terrace. Run the plinth continuously across both and only the ridge line should give away that it is two separate builds.
- Swap the deepslate tiles for bricks if you want a southern European tile roof — it warms the whole palette and makes the white infill read as cream plaster rather than cold render.