How to build the Suspension Bridge in Minecraft
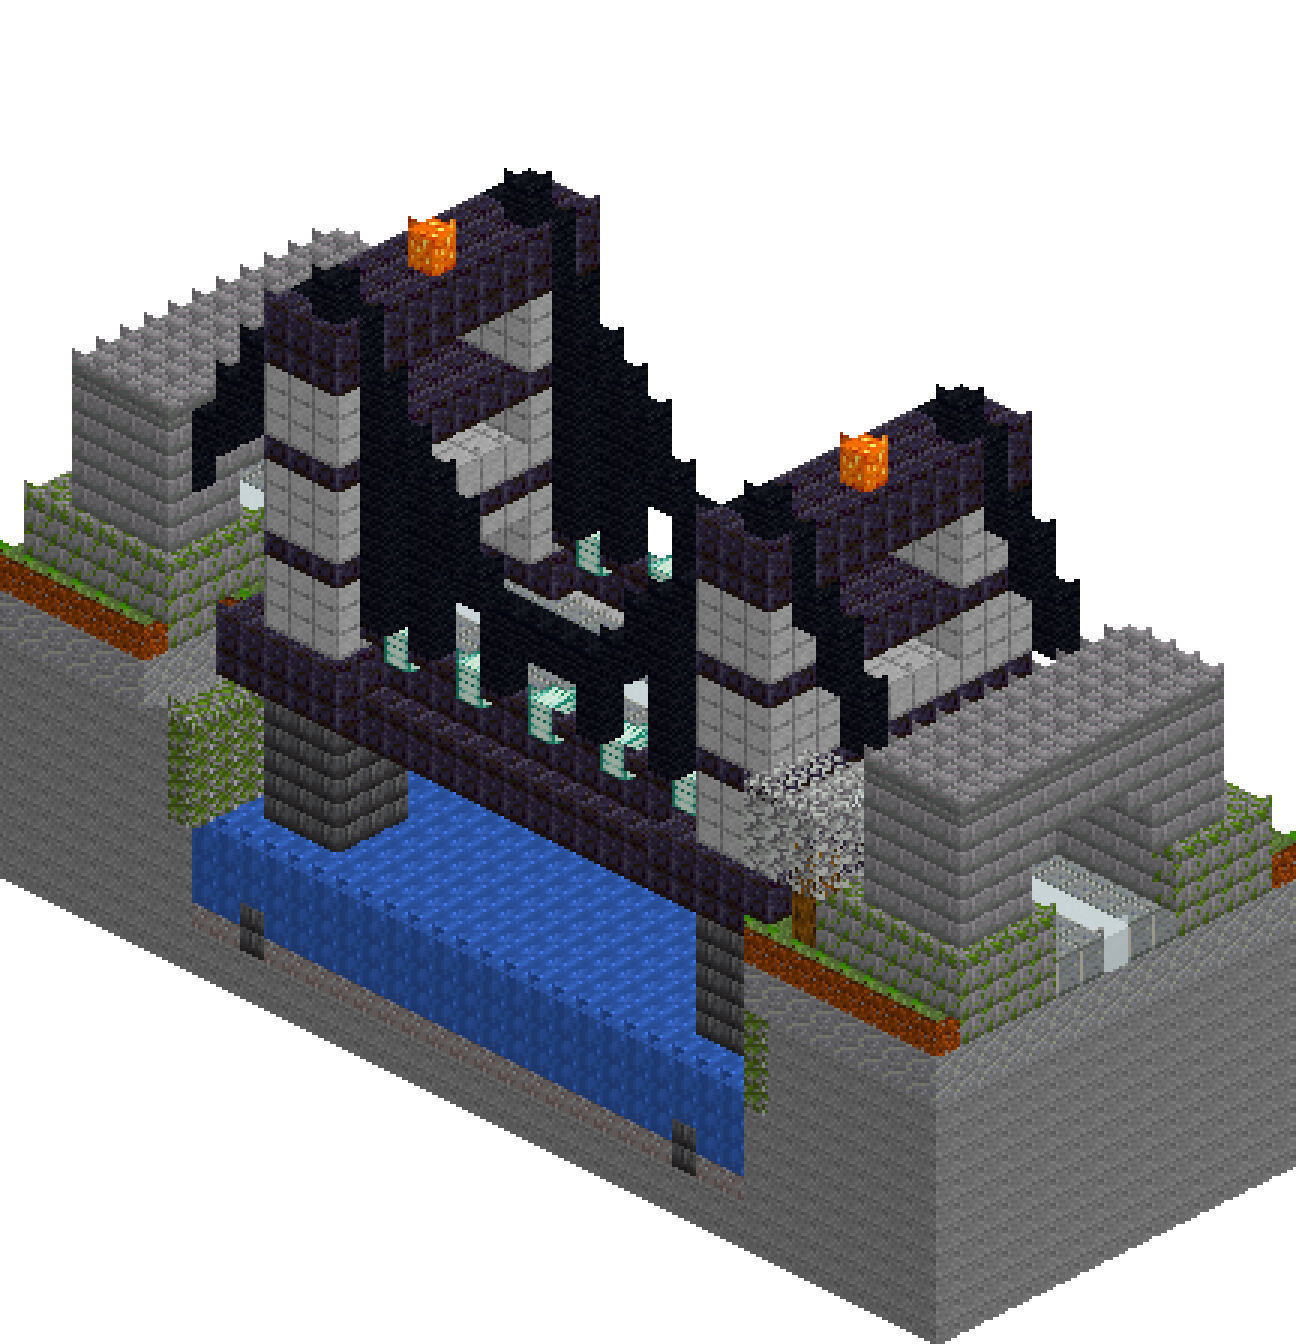
Most Minecraft bridges are a flat slab on legs. This one earns its span: two smooth stone towers stand on battered deepslate piers in the river, a black cable is slung between their crowns in a curve that genuinely sags, and vertical hangers carry the deck off it. Stone anchorages at each end swallow the backstays and let the road through an arched portal, so the bridge lands somewhere instead of stopping in mid air. Thirty-nine blocks end to end over a flooded gorge — big enough to read as infrastructure from the far bank, and every part of it is doing a job.
What you need
| Block | Count |
|---|---|
| Stone | 2970 |
| Water | 863 |
| Polished blackstone | 687 |
| Andesite | 456 |
| Smooth stone | 432 |
| Stone bricks | 416 |
| Deepslate bricks | 408 |
| Gravel | 253 |
| Mossy stone bricks | 228 |
| Black wool | 158 |
| Polished andesite | 156 |
| Mossy cobblestone | 120 |
| Stone bricks slab | 88 |
| Grass block | 52 |
| Polished blackstone slab | 50 |
| Oak leaves | 50 |
| White concrete | 39 |
| Sea lantern | 18 |
| Oak log | 10 |
| Shroomlight | 2 |
Counts are exact for the model above. Mine a little spare — nobody places every block first time.
Building it
Each stage names the layers it covers. Drag the slider on the model to that layer and you are looking at exactly what the stage describes.
1.Cut the gorge and flood it
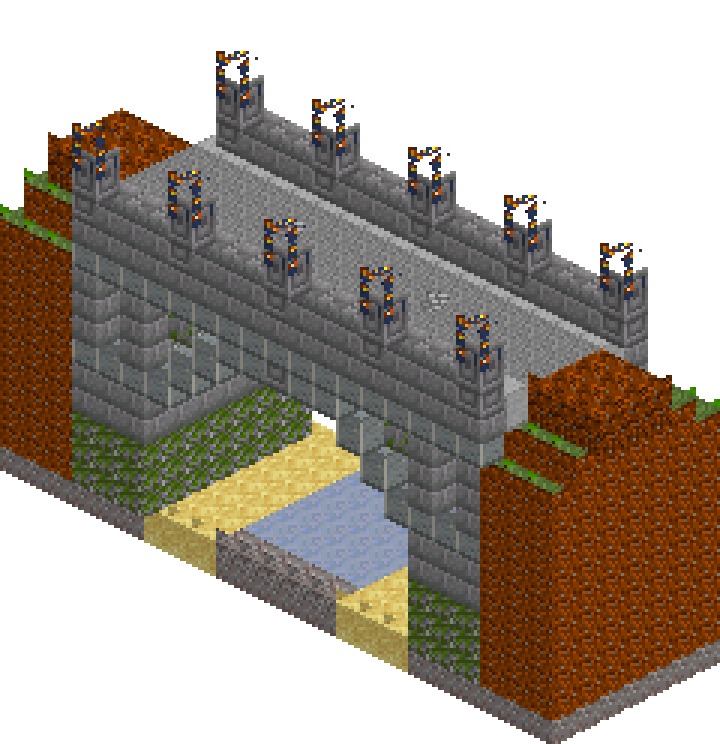
A bridge needs something to cross. Lay a solid stone table three deep across the whole footprint, then keep land only at x 0-7 and x 31-38 so a 23-wide gorge opens between them. Gravel the bed at y 2 and pour water y 3-5, which puts the surface six blocks below the deck — enough clearance to feel like a river, not a puddle. Band the cliffs so they are not one grey mass: plain stone to y 9, a course of andesite at y 10-11 reading as a stratum, and a skin of mossy cobblestone down the exposed faces at x 7 and x 31 where rock stays wet. Finish by clearing a small notch out of each cliff lip. A razor-straight edge is the giveaway of a wall rather than a landscape.
2.Four battered piers with cutwaters
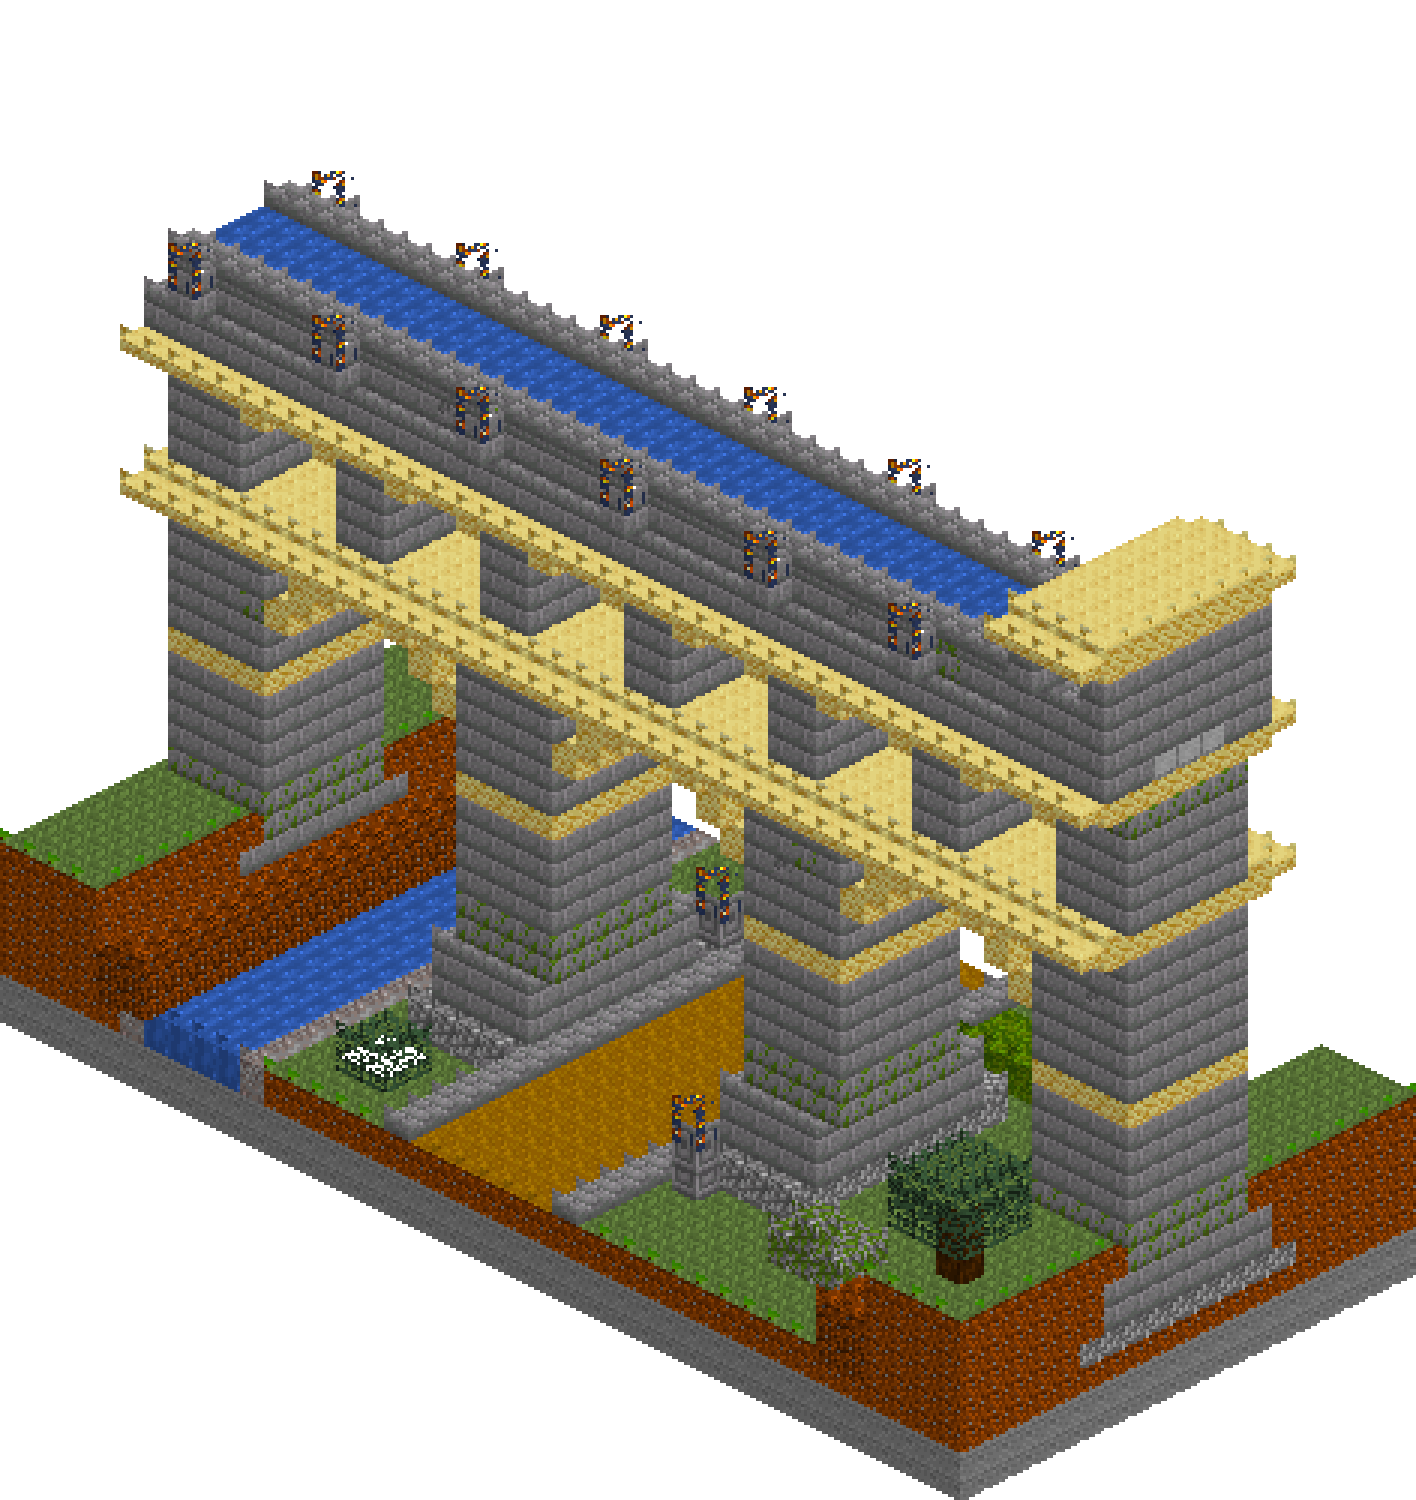
Two piers under each tower, drawn as three horizontal plans rather than a stack of boxes. At y 2-3 each footprint is five wide and seven long with the ends stepped 5-3-1 into a point — that point is the cutwater, and it faces up and down the flow so the current splits instead of piling against a flat face. At y 4 the plan loses a ring all round, and from y 5 up the shaft is a plain 3x3 of deepslate brick. That inward stagger is the batter, and it is the difference between a pier and a pillar: something the same width top to bottom looks like scaffolding. Swap the y 5 course to mossy stone brick for a waterline stain, and leave z 7 open so the river actually flows between the pairs.
3.The deck, kerb to kerb
Run a polished blackstone girder the full width of the gorge at y 11 so the deck has visible depth from underneath, then draw the entire y 12 level in a single pass: blackstone slab cornice at z 2 and z 12 oversailing the girder, smooth stone footways at z 3-4 and z 10-11, a polished andesite carriageway across z 5-9, and a white concrete centre line down z 7 that carries straight on across both banks. Parapets are one course of polished blackstone at y 13 with a slab cap at y 14. Three materials across nine blocks of width is what stops a deck reading as a runway, and the cornice is the two-op move that breaks the flat side elevation.
4.Anchorages and their road portals
A suspension cable pulls sideways, so it must end in something visibly heavy. Each bank gets a mossy stone brick plinth at y 12-14, six wide, with a stone brick block above it at y 15-19 stepped in one block all round. Then punch the road straight through: clear a five-wide opening up to y 16, then a narrower one at y 17 so the head steps inward and reads as an arch rather than a doorway. Cap the mass at y 20 with a slab course. Sea lanterns set into the passage ceiling at y 18 keep the portal from becoming a black hole after dusk, and the backstay cables will bury themselves in this stone in the next stage — which is exactly what an anchorage is for.
5.Raise the towers
Each tower is two legs, 3x3 at x 9-11 and x 27-29, standing on the piers at z 2-4 and z 10-12 with the deck threading between them and the roadway running clean through the middle. Flare the base with a blackstone collar at y 12-13 that oversails to x 8 and x 12, so the tower looks grown out of the deck rather than dropped onto it. Tie the legs together with a portal beam at y 16-18 over the road — that leaves exactly three blocks of headroom — then dark belts at y 17 and y 21 that run right across both legs, and a two-course blackstone crown at y 25-26. Stop the legs at y 24 so the crown reads as a separate cap and the tower has a top instead of just ending.
6.Strike the cable curve
This is the part everyone flattens. Do not freehand it — set five control points and join them with straight runs. The saddles sit at x 10 and x 28, y 27, on top of the crowns. The shoulders sit at x 13 and x 25, y 22. The mid-section is dead flat from x 17 to x 21 at y 17. Now line saddle to shoulder (five down over three across), shoulder to flat (five down over four across), then the flat itself. Each segment is shallower than the one before it, so the joined chain curves even though no single piece does. The test is simple: walk the cable column by column and check it never drops two blocks in one step. One step per column, or it reads as a staircase. Finally run backstays from each saddle down to y 16 inside the anchorage.
7.Hangers and lights
Hangers are single columns of black wool on both cable lines at x 12, 14, 17, 21, 24 and 26, each running from the parapet cap at y 15 up to one block short of the cable. Their lengths fall away toward mid-span — eight, six, two, two, six, eight — and that taper is what sells the curve to somebody standing on the deck who cannot see the whole profile. Light it properly: swap sea lanterns into the parapet cap slabs every three blocks at x 13, 16, 19, 22 and 25, set lanterns into the tower soffit at y 16 so the roadway under the portal beam is lit, and finish each crown with a shroomlight at y 27 as a warning light. Two oaks on the bank tops give the whole thing scale.
Make it yours
- Check the cable column by column before placing a single hanger. If any column holds two cable blocks while the next sits two lower, the curve has a visible step in it, and no amount of detail elsewhere will disguise it.
- Build the deck before the towers and let the tower legs overwrite the parapet and cornice where they cross. A parapet running unbroken through a tower leg is the fastest way to make a bridge look painted on rather than assembled.
- The sag here is ten blocks over an eighteen-block span, far deeper than any real bridge. At Minecraft scale a true 1:10 sag is indistinguishable from a straight line, so exaggerate it deliberately or the cable simply disappears.
- In survival, top out both towers first and lay a temporary scaffold line across at y 27. Striking the cable from above is far easier than trying to place blocks out over open water at height with nothing to stand on.
- Water flows around the piers rather than through them because z 7 is left open between each pair. Widen the piers into one solid wall and you have built a dam, and the river stops reading as a river.